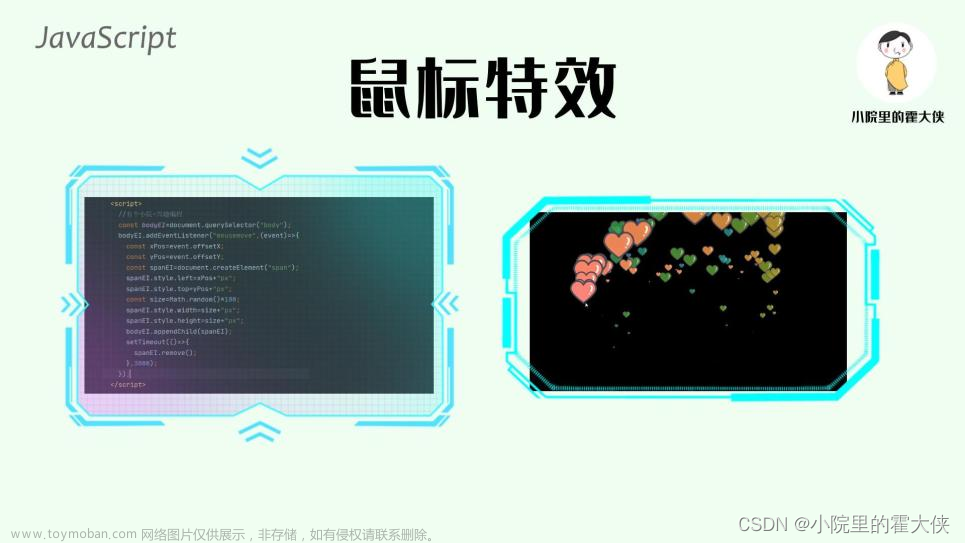
近日,越来越多的网站开始使用鼠标跟随特效来增加用户体验和视觉效果。本文将详细介绍如何给鼠标添加跟随特效,以及相应的优化规则,从而使你的网站更具吸引力。文章来源:https://www.toymoban.com/diary/web/548.html
在开始之前,我们需要明确一点:为了避免修改主题模板导致的问题,我们将使用自定义CSS和JavaScript代码来实现鼠标特效。这样,即使主题模板更新了,我们的代码也能保留。文章来源地址https://www.toymoban.com/diary/web/548.html
CSS示例代码
.mouse-cursor {
    position:fixed;
    left:0;
    top:0;
    pointer-events:none;
    border-radius:50%;
    -webkit-transform:translateZ(0);
    transform:translateZ(0);
    visibility:hidden
}
.cursor-inner {
    margin-left:-3px;
    margin-top:-3px;
    width:6px;
    height:6px;
    z-index:10000001;
    background:#999999;
    -webkit-transition:width .3s ease-in-out,height .3s ease-in-out,margin .3s ease-in-out,opacity .3s ease-in-out;
    transition:width .3s ease-in-out,height .3s ease-in-out,margin .3s ease-in-out,opacity .3s ease-in-out
}
.cursor-inner.cursor-hover {
    margin-left:-18px;
    margin-top:-18px;
    width:36px;
    height:36px;
    background:#999999;
    opacity:.58
}
.cursor-outer {
    margin-left:-15px;
    margin-top:-15px;
    width:30px;
    height:30px;
    border:2px solid #999999;
    -webkit-box-sizing:border-box;
    box-sizing:border-box;
    z-index:10000000;
    opacity:.5;
    -webkit-transition:all .08s ease-out;
    transition:all .08s ease-out
}
.cursor-outer.cursor-hover {
    opacity:0
}
.main-wrapper[data-magic-cursor=hide] .mouse-cursor {
    display:none;
    opacity:0;
    visibility:hidden;
    position:absolute;
    z-index:-1111
}
@media screen and (max-width:1023px) {
    .mouse-cursor {
    display:none;
}
}
“.cursor-inner”中“background:#999999;”为中心圆点的颜色代码。 “.cursor-outer”中“border: 2px solid #999999;”为外圆的颜色和2px标签边界像素。 “.cursor-inner.cursor-hover”中“background:#999999;”就是选中时的背景色。
Javascript代码
<div class="mouse-cursor cursor-outer"></div>
<div class="mouse-cursor cursor-inner"></div>
<script>
jQuery(document).ready(function($) {
    var myCursor = jQuery(".mouse-cursor");
    if (myCursor.length) {
        if ($("body")) {
            const e = document.querySelector(".cursor-inner"),
            t = document.querySelector(".cursor-outer");
            let n,
            i = 0,
            o = !1;
            window.onmousemove = function(s) {
                o || (t.style.transform = "translate(" + s.clientX + "px, " + s.clientY + "px)"),
                e.style.transform = "translate(" + s.clientX + "px, " + s.clientY + "px)",
                n = s.clientY,
                i = s.clientX
            },
            $("body").on("mouseenter", "a, .cursor-pointer",
            function() {
                e.classList.add("cursor-hover"),
                t.classList.add("cursor-hover")
            }),
            $("body").on("mouseleave", "a, .cursor-pointer",
            function() {
                $(this).is("a") && $(this).closest(".cursor-pointer").length || (e.classList.remove("cursor-hover"), t.classList.remove("cursor-hover"))
            }),
            e.style.visibility = "visible",
            t.style.visibility = "visible"
        }
    }
})
</script>
到此这篇关于如何给鼠标添加跟随特效教程,鼠标特效教程的文章就介绍到这了,更多相关内容可以在右上角搜索或继续浏览下面的相关文章,希望大家以后多多支持TOY模板网!


