功能要求
1、创建登录界面,点击注册按钮,弹出注册窗口。
2、创建注册窗口,输入用户名和密码,在SQLite中存储用户名和密码。
3、注册成功,跳转到登录界面,进行登录。
4、注册成功,把用户名和密码保存到SharedPreferences中,登录时自动填充用户名和密码。
具体实现
初步思路
登录页面具有两个输入框和两个按键,输入框分别用于获取用户名和密码,按键分为登录按键和注册按键,分别跳往不同的页面。登陆成功后,进入到欢迎界面。注册跳转到注册页面,注册成功后,将数据存储到SharedPreferences和数据中,返回登录页面将SharedPreferences中的数据填充到输入框中。
涉及的代码文件
- MainActivity.java :主界面
- Mysql.java:利用sqlite的SQLiteOpenHelper类创建数据库
- Register.java:注册页面
- Welcome.java:登陆成功后的欢迎界面:
- activity_main.xml:登录页面的布局文件
- activity_register.xml:注册页面的布局文件
- activity_welcome.xml:欢迎页面的布局文件
一般在Android studio 中创建Activity都会自动在AndroidManifest.xml中好,本次代码中也不需要对AndroidManifest.xml做任何更改。
实现效果
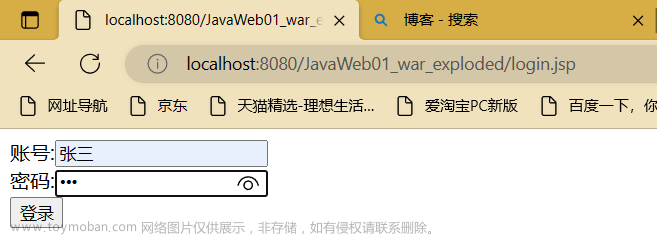
1登录页面:
这是我之前注册过后的账户,所以点击进去就自动填充好了信息。
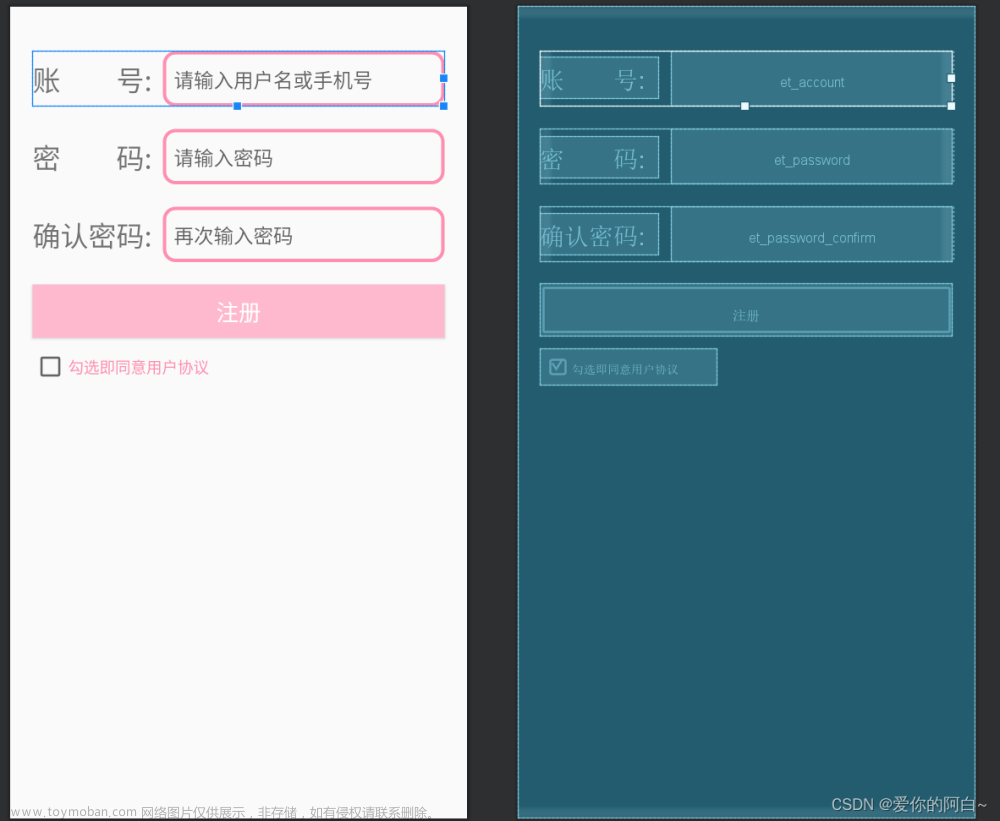
2.注册页面:
注册页面写的非常简略,如果想实现更多的效果可以网上查查,也可以参照下我上一篇文章中的注册页面。
编写一个简单的andriod注册页面,并跳转后显示注册信息
3.注册成功后:
注册成功后会自动跳转到登录页面,并且填充信息。
4.登录成功后:
登陆成功后会将用户名取出来,并显示欢迎。
代码文件
1.登录界面——MainActivity.java :
这里登录比对数据的时候,我采用的方法是从数据库中查询与输入的用户名、密码相同的记录,若记录存在则登陆成功。不存在则提示用户用户名或密码输入错误。
package com.example.test06;

import androidx.appcompat.app.AppCompatActivity;

import android.content.Intent;
import android.content.SharedPreferences;
import android.database.Cursor;
import android.database.sqlite.SQLiteDatabase;
import android.os.Bundle;
import android.view.View;
import android.widget.Button;
import android.widget.EditText;
import android.widget.Toast;

public class MainActivity extends AppCompatActivity {
    EditText name,pwd;
    Button btnlogin,btnreg;
    Mysql mysql;
    SQLiteDatabase db;
    SharedPreferences sp1,sp2;
    @Override
    protected void onCreate(Bundle savedInstanceState) {
        super.onCreate(savedInstanceState);
        setContentView(R.layout.activity_main);
        name = this.findViewById(R.id.name);            //用户名输入框
        pwd = this.findViewById(R.id.pwd);              //密码输入框
        btnlogin = this.findViewById(R.id.login);         //登录按钮
        btnreg = this.findViewById(R.id.reg);               //注册按钮
        sp1 =  this.getSharedPreferences("useinfo",this.MODE_PRIVATE);
        sp2 = this.getSharedPreferences("username",this.MODE_PRIVATE);

        name.setText(sp1.getString("usname",null));
        pwd.setText(sp1.getString("uspwd",null));
        mysql = new Mysql(this,"Userinfo",null,1);      //建数据库或者取数据库
        db = mysql.getReadableDatabase();
        btnlogin.setOnClickListener(new View.OnClickListener() {                //登录事件
            @Override
            public void onClick(View v) {
                String username = name.getText().toString();
                String password = pwd.getText().toString();                 //获取用户输入的用户名和密码
                //查询用户名和密码相同的数据
                Cursor cursor = db.query("logins",new String[]{"usname","uspwd"}," usname=? and uspwd=?",new String[]{username,password},null,null,null);

                int flag = cursor.getCount();                            //查询出来的记录项的条数,若没有该用户则为0条
                if(flag!=0){                                            //若查询出的记录不为0,则进行跳转操作
                    Intent intent = new Intent();
                    intent.setClass(MainActivity.this,Welcome.class);            //设置页面跳转
                    SharedPreferences.Editor editor = sp2.edit();
                    cursor.moveToFirst();                                   //将光标移动到position为0的位置,默认位置为-1
                    String loginname = cursor.getString(0);
                    editor.putString("Loginname",loginname);
                    editor.commit();                                        //将用户名存到SharedPreferences中
                    startActivity(intent);
                }
                else{
                    Toast.makeText(MainActivity.this,"用户名或密码错误!",Toast.LENGTH_LONG).show();             //提示用户信息错误或没有账号
                }

            }
        });

        btnreg.setOnClickListener(new View.OnClickListener() {                  //注册事件
            @Override
            public void onClick(View v) {

                Intent intent = new Intent();
                intent.setClass(MainActivity.this,Register.class);          //跳转到注册页面
                startActivity(intent);
                Toast.makeText(MainActivity.this,"前往注册!",Toast.LENGTH_SHORT).show();
            }
        });
    }
}
这是对应的布局文件activity_main.xml
<?xml version="1.0" encoding="utf-8"?>
<androidx.constraintlayout.widget.ConstraintLayout xmlns:android="http://schemas.android.com/apk/res/android"
    xmlns:app="http://schemas.android.com/apk/res-auto"
    xmlns:tools="http://schemas.android.com/tools"
    android:layout_width="match_parent"
    android:layout_height="match_parent"
    tools:context=".MainActivity">

    <LinearLayout
        android:layout_width="match_parent"
        android:layout_height="match_parent"
        android:orientation="vertical">
        <LinearLayout
            android:layout_width="match_parent"
            android:layout_height="wrap_content"
            android:layout_marginTop="10dp"
            android:orientation="horizontal">
            <TextView
                android:layout_width="0dp"
                android:layout_height="wrap_content"
                android:layout_weight="0.3"
                android:gravity="center"
                android:textSize="18dp"
                android:text="用户名:"/>
            <EditText
                android:id="@+id/name"
                android:layout_width="0dp"
                android:layout_height="wrap_content"
                android:layout_weight="1"
                android:layout_marginRight="20dp"/>
        </LinearLayout>

        <LinearLayout
            android:layout_width="match_parent"
            android:layout_height="wrap_content"
            android:layout_marginTop="10dp"
            android:orientation="horizontal">
            <TextView
                android:layout_width="0dp"
                android:layout_height="wrap_content"
                android:gravity="center"
                android:textSize="18dp"
                android:layout_weight="0.3"
                android:text="密    码:"/>
            <EditText
                android:id="@+id/pwd"
                android:layout_width="0dp"
                android:layout_height="wrap_content"
                android:inputType="textPassword"
                android:layout_weight="1"
                android:layout_marginRight="20dp"
                />
        </LinearLayout>
        <LinearLayout
            android:layout_width="match_parent"
            android:layout_height="wrap_content"
            android:orientation="horizontal">
            <Button
                android:id="@+id/login"
                android:layout_width="wrap_content"
                android:layout_height="wrap_content"
                android:layout_weight="1"
                android:layout_margin="5dp"
                android:text="登录"
                />
            <Button
                android:id="@+id/reg"
                android:layout_width="wrap_content"
                android:layout_height="wrap_content"
                android:layout_weight="1"
                android:layout_margin="5dp"
                android:text="注册"
                />
        </LinearLayout>
    </LinearLayout>


</androidx.constraintlayout.widget.ConstraintLayout>
2.注册界面——Register.java
注册时,会先对用户名进行比对,若用户名存在则提醒用户名已存在。设置密码会比对两次输入的密码是否相同,不相同则发出提醒。
package com.example.test06;

import androidx.appcompat.app.AppCompatActivity;

import android.content.ContentValues;
import android.content.Intent;
import android.content.SharedPreferences;
import android.database.Cursor;
import android.database.sqlite.SQLiteDatabase;
import android.os.Bundle;
import android.view.View;
import android.widget.Button;
import android.widget.EditText;
import android.widget.Toast;

public class Register extends AppCompatActivity {
    EditText usename,usepwd,usepwd2;
    Button submit;
    Mysql mysql;
    SQLiteDatabase db;
    SharedPreferences sp;
    @Override
    protected void onCreate(Bundle savedInstanceState) {
        super.onCreate(savedInstanceState);
        setContentView(R.layout.activity_register);
        usename = this.findViewById(R.id.usename);			    //用户名编辑框
        usepwd =  this.findViewById(R.id.usepwd);				//设置初始密码编辑框
        usepwd2 = this.findViewById(R.id.usepwd2);			    //二次输入密码编辑框
        submit =   this.findViewById(R.id.submit);				//注册按钮
        mysql = new Mysql(this,"Userinfo",null,1);      //建数据库
        db = mysql.getReadableDatabase();
        sp = this.getSharedPreferences("useinfo",this.MODE_PRIVATE);


        submit.setOnClickListener(new View.OnClickListener() {
            boolean flag = true;            //判断用户是否已存在的标志位
            @Override
            public void onClick(View v) {
                String name = usename.getText().toString();				//用户名
                String pwd01 = usepwd.getText().toString();				//密码
                String pwd02 = usepwd2.getText().toString();			//二次输入的密码
                String sex = "";										//性别
                if(name.equals("")||pwd01 .equals("")||pwd02.equals("")){
                    Toast.makeText(Register.this, "用户名或密码不能为空!!", Toast.LENGTH_LONG).show();
                }
                else{
                    Cursor cursor = db.query("logins",new String[]{"usname"},null,null,null,null,null);

                    while (cursor.moveToNext()){
                        if(cursor.getString(0).equals(name)){
                            flag = false;
                            break;
                        }
                    }
                    if(flag==true){                                             //判断用户是否已存在
                        if (pwd01.equals(pwd02)) {								//判断两次输入的密码是否一致,若一致则继续,不一致则提醒密码不一致
                            ContentValues cv = new ContentValues();
                            cv.put("usname",name);
                            cv.put("uspwd",pwd01);
                            db.insert("logins",null,cv);
                            SharedPreferences.Editor editor = sp.edit();
                            editor.putString("usname",name);
                            editor.putString("uspwd",pwd01);
                            editor.commit();
                            Intent intent = new Intent();
                            intent.setClass(Register.this,MainActivity.class);      //跳转到登录页面
                            startActivity(intent);
                            Toast.makeText(Register.this, "注册成功!", Toast.LENGTH_LONG).show();
                        }
                        else {
                            Toast.makeText(Register.this, "密码不一致!", Toast.LENGTH_LONG).show();			//提示密码不一致
                        }
                    }
                    else{
                        Toast.makeText(Register.this, "用户已存在!", Toast.LENGTH_LONG).show();			//提示密码不一致
                    }

                }
            }


        });
    }
}
这是对应的布局文件activity_register.xml
<?xml version="1.0" encoding="utf-8"?>
<androidx.constraintlayout.widget.ConstraintLayout xmlns:android="http://schemas.android.com/apk/res/android"
    xmlns:app="http://schemas.android.com/apk/res-auto"
    xmlns:tools="http://schemas.android.com/tools"
    android:layout_width="match_parent"
    android:layout_height="match_parent"
    tools:context=".Register">
    <LinearLayout
        android:layout_width="match_parent"
        android:layout_height="match_parent"
        android:orientation="vertical">
    <!-- 用户名部分 -->
    <TextView
        android:layout_width="fill_parent"
        android:layout_height="wrap_content"
        android:text="用户名:" />

    <EditText
        android:id="@+id/usename"
        android:layout_width="fill_parent"
        android:layout_height="wrap_content"
        android:text=""
        />
    <!-- 密码部分 -->
    <TextView
        android:layout_width="fill_parent"
        android:layout_height="wrap_content"
        android:text="密 码:"
        />

    <EditText
        android:id="@+id/usepwd"
        android:layout_width="fill_parent"
        android:layout_height="wrap_content"
        android:inputType="textPassword"

        />
    <!-- 确认密码部分 -->
    <TextView
        android:layout_width="fill_parent"
        android:layout_height="wrap_content"
        android:text="确认密码:"
        />

    <EditText
        android:id="@+id/usepwd2"
        android:layout_width="fill_parent"
        android:layout_height="wrap_content"
        android:inputType="textPassword"
        />
        <Button
            android:id="@+id/submit"
            android:layout_width="fill_parent"
            android:layout_height="wrap_content"
            android:text="注册" />
    </LinearLayout>
</androidx.constraintlayout.widget.ConstraintLayout>
3.欢迎界面——Welcome.java
package com.example.test06;

import androidx.appcompat.app.AppCompatActivity;

import android.content.SharedPreferences;
import android.os.Bundle;
import android.widget.TextView;

public class Welcome extends AppCompatActivity {
    SharedPreferences sp;
    TextView showhello;
    @Override
    protected void onCreate(Bundle savedInstanceState) {
        super.onCreate(savedInstanceState);
        setContentView(R.layout.activity_welcome);
        sp = this.getSharedPreferences("username", this.MODE_PRIVATE);  //获取sharepreferences
        showhello = this.findViewById(R.id.mainword);           //显示欢迎

        showhello.setText("欢迎你!"+sp.getString("Loginname",""));     //获取用户名
    }
}
这是对应的布局文件activity_welcome.xml文章来源:https://www.toymoban.com/news/detail-400578.html
<?xml version="1.0" encoding="utf-8"?>
<androidx.constraintlayout.widget.ConstraintLayout xmlns:android="http://schemas.android.com/apk/res/android"
    xmlns:app="http://schemas.android.com/apk/res-auto"
    xmlns:tools="http://schemas.android.com/tools"
    android:layout_width="match_parent"
    android:layout_height="match_parent"
    tools:context=".Welcome">
    <TextView
        android:id="@+id/mainword"
        android:layout_width="fill_parent"
        android:layout_height="fill_parent"
        android:gravity="center"
        android:textSize="22dp"
        tools:ignore="MissingConstraints" />
</androidx.constraintlayout.widget.ConstraintLayout>
4.数据库——Mysql.java
package com.example.test06;

import android.content.Context;
import android.database.sqlite.SQLiteDatabase;
import android.database.sqlite.SQLiteOpenHelper;

import androidx.annotation.Nullable;

public class Mysql extends SQLiteOpenHelper {
    public Mysql(@Nullable Context context, @Nullable String name, @Nullable SQLiteDatabase.CursorFactory factory, int version) {
        super(context, name, factory, version);
    }

    @Override
    public void onCreate(SQLiteDatabase db) {
        String sql = "create table logins(id integer primary key autoincrement,usname text,uspwd text)";
        db.execSQL(sql);
    }

    @Override
    public void onUpgrade(SQLiteDatabase db, int oldVersion, int newVersion) {

    }
}
代码可能有些简陋,考虑也可能没那么全面,但基本的功能还是可以的。暂时没发现什么大的问题。文章来源地址https://www.toymoban.com/news/detail-400578.html
到了这里,关于Android studio 编写一个登录页面,并且具有注册功能的文章就介绍完了。如果您还想了解更多内容,请在右上角搜索TOY模板网以前的文章或继续浏览下面的相关文章,希望大家以后多多支持TOY模板网!