学习路径
环境
配置目标
- 为机器学习项目服务-项目需要pytorch库
- 适应自己的编程习惯-惯用vscode,我已经安装了python插件
环境需求递归
- github项目:ConvLSTM_pytorch->需要pytorch库
- pyTorch环境->需要cuda(有GPU情况下)&conda
-
CUDA(无需手动安装)
-
GPU为外接1060 3G(穷)

-
电脑上安装的是Py3.10(实际上不需要,后面会在虚拟环境中重新安装)
-
所以应该选择pytorch-1.12.1-py3.10-cuda11.6的版本 (此处版本考虑并不必要,因为虚拟环境配置时会自动安装)故应选择cuda11.6.2使用
-
但anatorch会自动配置cuda环境调用显卡,故不用手动安装。
-
所以首先安装conda(anaconda),然后安装PyTorch环境,最后配置。
-
软件安装
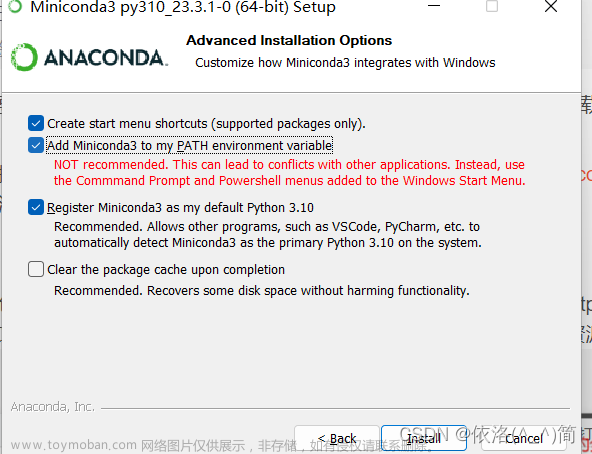
- conda-anaconda-软件包/环境管理器
- Anaconda官网下载安装
- 开始菜单打开Anaconda Prompt
- 建立环境
conda create -n pytorch_env python=3.10 (自己的python版本(并不需要和已经安装的版本相同))- 更换下载源:csdn-conda下载换源
conda config --add channels https://mirrors.tuna.tsinghua.edu.cn/anaconda/cloud/msys2/ conda config --add channels https://mirrors.tuna.tsinghua.edu.cn/anaconda/cloud/conda-forge conda config --add channels https://mirrors.tuna.tsinghua.edu.cn/anaconda/pkgs/free/ conda config --add channels https://mirrors.tuna.tsinghua.edu.cn/anaconda/cloud/pytorch/ conda config --add channels https://mirrors.tuna.tsinghua.edu.cn/anaconda/pkgs/main/ conda config --set show_channel_urls yes- 进入环境
conda activate pytorch_env -
PyTorch环境配置及安装
-
从官网找到合适的Pytorch版本并复制指令:pytorch官网

-
在刚刚建立好的pytorch_env环境下使用指令
-
弹出详情列表,按Y回车安装
-
调试与配置:
-
命令行下:

成功 -
vscode下:

运行失败
文件-首选项-设置-扩展-Python-在settings.json中编辑
在settings.json文件中修改如下:
"python.defaultInterpreterPath": "C:\\Users\\amazc\\AppData\\Local\\Programs\\Python\\Python310\\python.exe",
改为:
"python.defaultInterpreterPath": "C:\\Users\\amazc\\anaconda3\\envs\\pytorch_env\\python.exe",
即pytorch环境下python解释器
此时右下角弹出vscode的python拓展,提示更换解释器路径,更换即可。
在最后输入
"code-runner.executorMap":
这一句后会出现一大串提示,点第一个一样的后就会导入一大块语句
找到 “python”: “python -u” 这块,将其修改为对应的pytorch环境下python解释器路径即可。
最后是所有修改:
    //以下是安装pytorch时修改的
    "code-runner.executorMap":{
        "javascript": "node",
        "java": "cd $dir && javac $fileName && java $fileNameWithoutExt",
        "c": "cd $dir && gcc $fileName -o $fileNameWithoutExt && $dir$fileNameWithoutExt",
        "cpp": "cd $dir && g++ $fileName -o $fileNameWithoutExt && $dir$fileNameWithoutExt",
        "objective-c": "cd $dir && gcc -framework Cocoa $fileName -o $fileNameWithoutExt && $dir$fileNameWithoutExt",
        "php": "php",
        "python": "C:\\Users\\amazc\\anaconda3\\python.exe",
        "perl": "perl",
        "perl6": "perl6",
        "ruby": "ruby",
        "go": "go run",
        "lua": "lua",
        "groovy": "groovy",
        "powershell": "powershell -ExecutionPolicy ByPass -File",
        "bat": "cmd /c",
        "shellscript": "bash",
        "fsharp": "fsi",
        "csharp": "scriptcs",
        "vbscript": "cscript //Nologo",
        "typescript": "ts-node",
        "coffeescript": "coffee",
        "scala": "scala",
        "swift": "swift",
        "julia": "julia",
        "crystal": "crystal",
        "ocaml": "ocaml",
        "r": "Rscript",
        "applescript": "osascript",
        "clojure": "lein exec",
        "haxe": "haxe --cwd $dirWithoutTrailingSlash --run $fileNameWithoutExt",
        "rust": "cd $dir && rustc $fileName && $dir$fileNameWithoutExt",
        "racket": "racket",
        "scheme": "csi -script",
        "ahk": "autohotkey",
        "autoit": "autoit3",
        "dart": "dart",
        "pascal": "cd $dir && fpc $fileName && $dir$fileNameWithoutExt",
        "d": "cd $dir && dmd $fileName && $dir$fileNameWithoutExt",
        "haskell": "runhaskell",
        "nim": "nim compile --verbosity:0 --hints:off --run",
        "lisp": "sbcl --script",
        "kit": "kitc --run",
        "v": "v run",
        "sass": "sass --style expanded",
        "scss": "scss --style expanded",
        "less": "cd $dir && lessc $fileName $fileNameWithoutExt.css",
        "FortranFreeForm": "cd $dir && gfortran $fileName -o $fileNameWithoutExt && $dir$fileNameWithoutExt",
        "fortran-modern": "cd $dir && gfortran $fileName -o $fileNameWithoutExt && $dir$fileNameWithoutExt",
        "fortran_fixed-form": "cd $dir && gfortran $fileName -o $fileNameWithoutExt && $dir$fileNameWithoutExt",
        "fortran": "cd $dir && gfortran $fileName -o $fileNameWithoutExt && $dir$fileNameWithoutExt",
        "sml": "cd $dir && sml $fileName"
    },
    "python.defaultInterpreterPath":"C:\\Users\\amazc\\anaconda3\\python.exe",
    //以上是安装pytorch时修改的
测试可以使用,但出现此情况:
将anaconda软件加入系统环境变量:
 文章来源:https://www.toymoban.com/news/detail-402775.html
成功文章来源地址https://www.toymoban.com/news/detail-402775.html
到了这里,关于windows安装配置pytorch+vscode环境(纯入门轻喷)的文章就介绍完了。如果您还想了解更多内容,请在右上角搜索TOY模板网以前的文章或继续浏览下面的相关文章,希望大家以后多多支持TOY模板网!