目的:
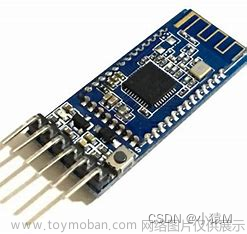
通过HC-06的蓝牙芯片,AT89C51的51单片机,借助keil,proteus,通过虚拟串口,在电脑上实现蓝牙串口通信,控制LED的开和关。
存在的问题:
单片机和蓝牙不能联动,暂未找出问题的原因
如何让keil和protus联动,参考文章:
使用Proteus和keil实现单片机的第一个程序_stanleyrain的博客-CSDN博客
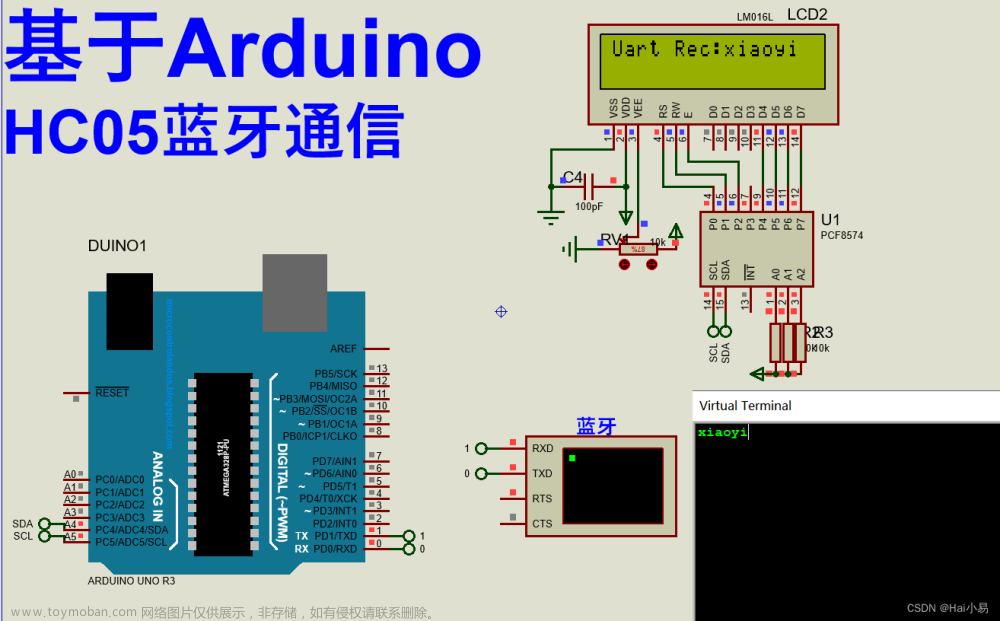
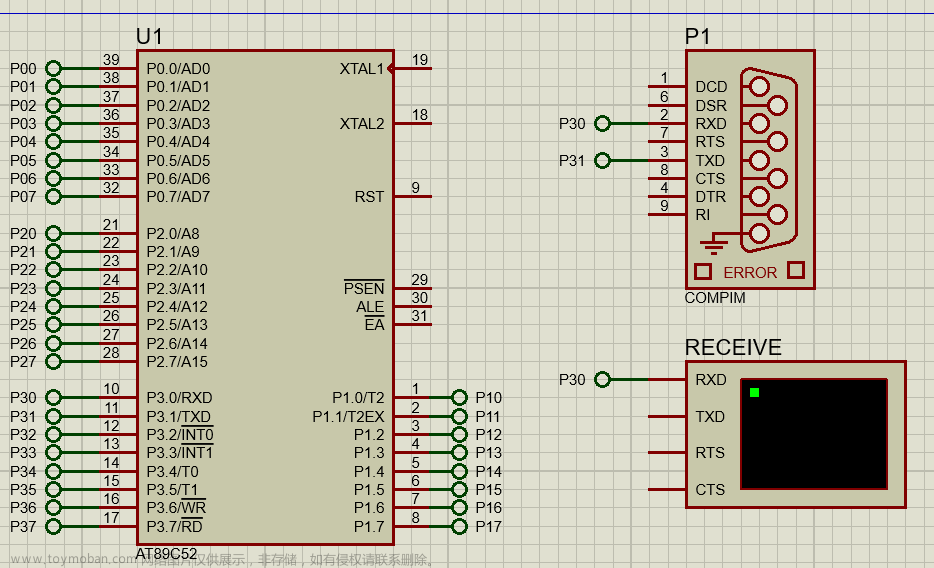
步骤1 使用proteus绘制电路图

注意:
1. proteus本身并不支持蓝牙仿真,需要下载蓝牙模块,并将模块拷贝到proteus库中
(1)蓝牙模块下载网址:
Download Bluetooth Library for Proteus rar
(2)解压缩

(3)将解压缩的文件,拷贝到proteus库文件夹

步骤2 使用keil编写程序

程序源代码如下:
#include<reg51.h>
#include <stdio.h>
#define uint unsigned int;
#define uchar unsigned char;

sbit LED0 = P1^0;
sbit LED1 = P1^1;
sbit LED2 = P1^2;
sbit LED3 = P1^3;

sbit P2_0 = P2^0;
sbit P2_1 = P2^1;
sbit P2_2 = P2^2;

uchar rev = 0;  //bluetooth receive
bit rok = 0;    //is the receive ok?

void Com_Init();   //initial serial port
void id_signal();  //judge the received signal and execute the sub-process

void main()
{
	P1 = 0x00;  //close all lights
	P2_0 = 0;
	P2_1 = 0;
	P2_2 = 0;

	Com_Init();

	while(1)
	{
		if(rok)
		{
			P2_1 = ~P2_1;
			id_signal();
		}
	}
}


void Com_Init()
{
	SCON = 0x50;   //serial port works on 1, allow receiving
	TMOD = 0x20;   //Timer works on 2

	PCON &= 0x7f;   //set SMOD = 0, make sure the correct baud rate


	TH1 = 0xFD;    //set baud rate is 9600
	TL1 = 0xFD;

	TR1 = 1;    //start baud rate generator
	ES = 1;     //open serial port interruption
	EA = 1;     //open general interruption

	REN = 1;    // allow receive

}

void id_signal()
{
	if(rev == 0x30)
		P2_2 = !P2_2;

	switch(rev)
	{
		case 0x30: LED0 = ~LED0; break;
		case 0x31: LED1 = ~LED1; break;
		case 0x32: LED2 = ~LED2; break;
		case 0x33: LED3 = ~LED3; break;
		default: break;
	}

	rok = 0;
	REN = 1;
}

void Com_Int() interrupt 4
{
	ES = 0;

	P2_0 = ~P2_0;

	if(RI)
	{
		rev = SBUF;
		RI = 0;
		rok = 1;
	}
	ES = 1;
}
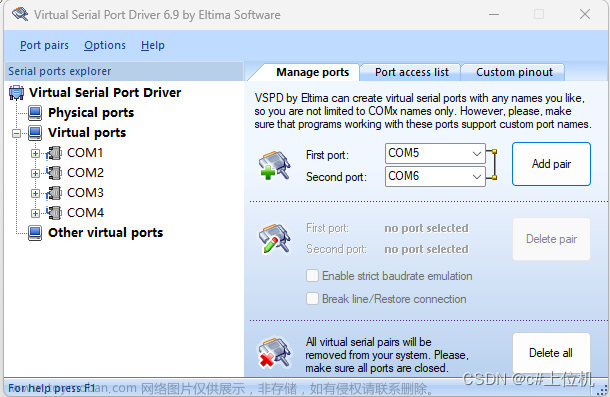
步骤3 安装虚拟串口软件
具体可以参加文章:
工具 | 虚拟串口软件的使用分享_51CTO博客_虚拟串口工具
下载地址:
Virtual Serial Port Driver - create and emulate virtual COM port
安装好后,创建一个虚拟串口对

在设备管理器中,检查虚拟串口存在

步骤4 使用串口助手发生串口信息给Proteus
下载一个串口助手软件,如:友善串口调试助手,下载地址:
友善串口调试助手_串口调试工具最新版官方下载-华军软件园
安装好软件后,打开软件,进行串口设置,如图所示

在Proteus中,配置蓝牙模块

注意:串口要配对
运行proteus,测试结果如下:


文章来源地址https://www.toymoban.com/news/detail-404981.html
问题及其说明
1. 在proteus上无法仿真串口的控制效果,虚拟串口的工具也换了好几种,问题应该出在电路侧,因为代码已经在keil的仿真器里面调试过,具体的调试方法说明如下:
(1)点击Options for Target,选中Debug选项,勾选Use Simulator


(2)开始Debug

(3)在命令行处,输入如下命令,图片处高亮位置。其作用是将模拟器的端口绑定到com1口

mode com1 9600,0,8,1
assign com1 <sin >sout
(4)使用串口助手,发送命令给模拟器

注意,此时代码停留在断点 if(rev == 0x30)处,表明软件被中断触发,代码可以正常执行。文章来源:https://www.toymoban.com/news/detail-404981.html
到了这里,关于使用keil,proteus,虚拟串口,完成蓝牙通信的文章就介绍完了。如果您还想了解更多内容,请在右上角搜索TOY模板网以前的文章或继续浏览下面的相关文章,希望大家以后多多支持TOY模板网!

