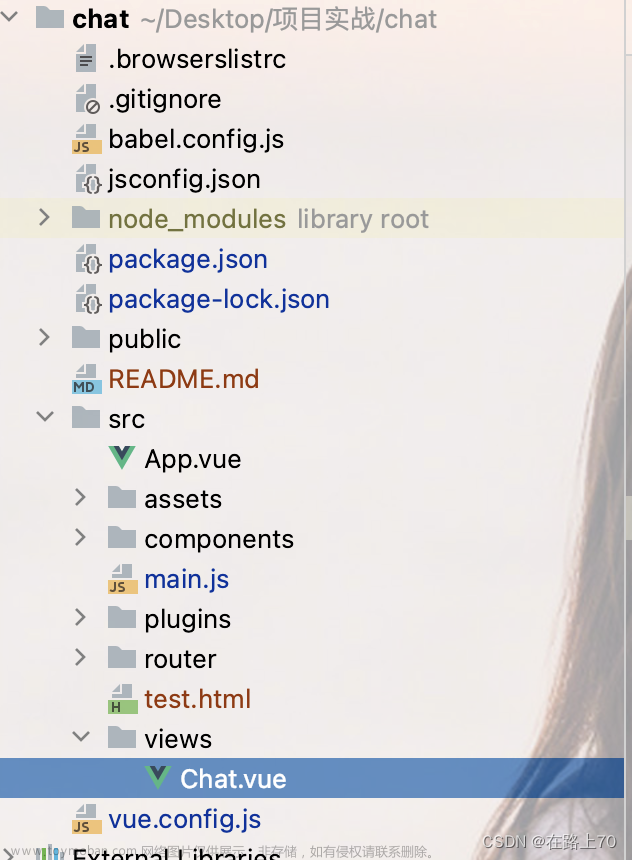
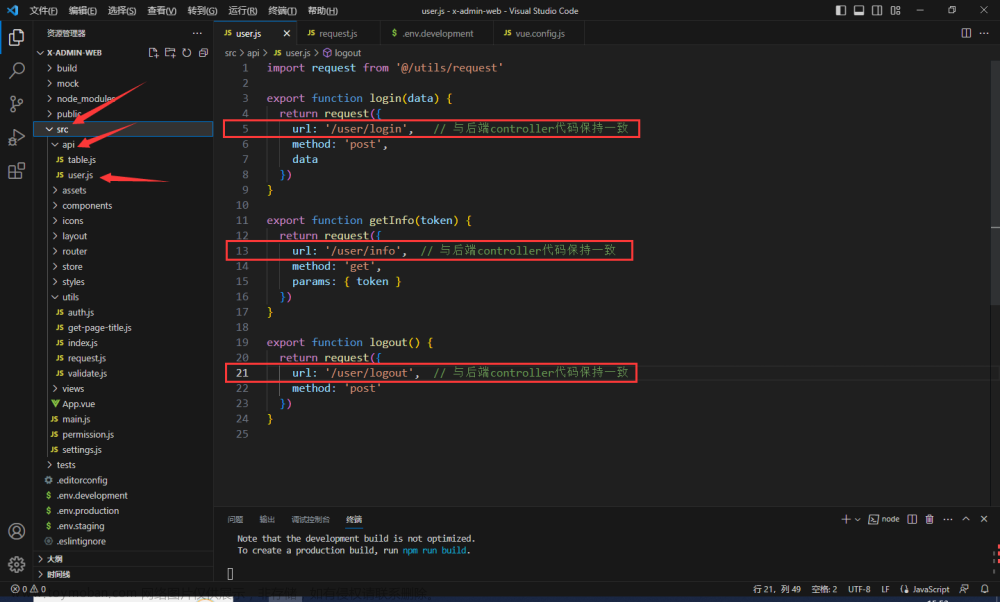
项目框架
后端: springboot 项目
前端: vue 项目
后端配置
pom 文件添加依赖
<!-- websocket -->
<dependency>
    <groupId>org.springframework.boot</groupId>
    <artifactId>spring-boot-starter-websocket</artifactId>
</dependency>
websocket 实现类
- ServerEndpoint 注解:定义 websocket 连接名,调用此接口时,开启 websocket 连接,即调用 onOpen 方法
- onOpen:开启连接
- onClose:关闭连接
- onMessage:接收对方发送的消息
- sendMessage:向所有连接此后台的另一端发送消息,即向前端发送消息
@Component
@ServerEndpoint("/external/websocket")
@Slf4j
@EqualsAndHashCode
public class WebSocket {

    private Session session;

    private static CopyOnWriteArraySet<WebSocket> webSocketSet=new CopyOnWriteArraySet<>();

    @OnOpen
    public void onOpen(Session session){
        this.session=session;
        webSocketSet.add(this);
        log.info("【websocket消息】 有新的连接,总数:{}",webSocketSet.size());
    }

    @OnClose
    public void onClose(){
        webSocketSet.remove(this);
        log.info("【websocket消息】 连接断开,总数:{}",webSocketSet.size());
    }

    @OnMessage
    public void onMessage(String message){
        log.info("【websocket消息】 收到客户端发来的消息:{}",message);
    }

    public void sendMessage(String message){
        for(WebSocket webSocket:webSocketSet){
            log.info("【websocket消息】 广播消息,message={}",message);
            try {
                webSocket.session.getBasicRemote().sendText(message);

            }catch (Exception e){
                log.error("【websocket消息】异常:{}", e);
                throw ErrorExceptionEnum.UNKNOWN.getValue();
            }
        }
    }
}
测试 websocket 连接
postman 创建 WebSocket Request
连接接口在 @ServerEndpoint 配置
后台打印:成功连接
2022-11-09 15:33:56.162 INFO [TID: N/A] c.n.j.controller.external.WebSocket: 【websocket消息】 有新的连接,总数:1
postman 发送消息 test
后台打印:收到消息
2022-11-09 15:45:14.202 INFO [TID: N/A] c.n.j.controller.external.WebSocket: 【websocket消息】 收到客户端发来的消息:test
后台打印:断开连接
2022-11-09 15:33:53.464 INFO [TID: N/A] c.n.j.controller.external.WebSocket: 【websocket消息】 连接断开,总数:0
前端配置
前端 配置 websocket 连接,修改 App.vue 文件
- 在 created 生命周期建立 websocket 连接
- 根据 env 配置不同环境的域名
<template>
  <div id="app">
    <router-view />
  </div>
</template>

<script>
export default {
  name: "App",
  watch: {
    "$store.getters.name": {
      deep: true,
      immediate: true,
      handler: function (val, oldVal) {
        if (val != "" && oldVal != "" && val != oldVal) {
          location.reload();
        }
      },
    },
  },
  data() {
    return {
      path: "",
      socket: "",
    };
  },
  mounted() {
    window.onbeforeunload = (e) => {
      if (
        location.pathname != "/401" &&
        location.pathname != "/404" &&
        location.pathname != "/app" &&
        location.pathname != "/"
      ) {
        sessionStorage.setItem("refresh", location.pathname);
      }
    };
  },
  created() {
    this.init();
  },
  methods: {
    init() {
      if (typeof WebSocket === "undefined") {
        alert("您的浏览器不支持webSocket,将体验不到系统部分功能!");
      } else {
        // 实例化socket
        this.socket = new WebSocket(
          `${
            process.env.VUE_APP_WebSocket
          }external/websocket`
          //   `ws://192.168.122.70:8888/external/webSocket`
        );
        // 监听socket连接
        this.socket.onopen = this.open;
        // 监听socket错误信息
        this.socket.onerror = this.error;
        // 监听socket消息
        this.socket.onmessage = this.getMessage;
      }
    },
    open() {
      console.log("socket连接成功");
    },
    error() {
      console.log("连接错误");
    },
    getMessage(msg) {
      console.log("接收消息 :>> ", msg.data);
      if (msg.data == this.$store.getters.pernr) {
        this.$store.dispatch("user/logout");
        // 登出系统

        location.replace(
          (localStorage.getItem("uat_login_url")
            ? localStorage.getItem("uat_login_url")
            : process.env.VUE_APP_LOGIN_URL) + "logout?type=passive"
        );
      }
    },
    send() {
      this.socket.send(params);
    },
    close() {
      console.log("socket已经关闭");
    },
  },
  destroyed() {
    // 销毁监听
    this.socket.onclose = this.close;
  },
};
</script>
环境变量配置,.env.dev 文件文章来源:https://www.toymoban.com/news/detail-406715.html
# webscoket 链接地址
VUE_APP_WebSocket = ws://dev.api.com/
此时,websocket 通道已连接,前端收到 websocket 后执行登出操作即可文章来源地址https://www.toymoban.com/news/detail-406715.html
到了这里,关于前后端 websocket 通信的文章就介绍完了。如果您还想了解更多内容,请在右上角搜索TOY模板网以前的文章或继续浏览下面的相关文章,希望大家以后多多支持TOY模板网!


