1、下载配置perl和OpenSSL和VS (仅前端使用https的话跳过第一步)
Download & Install Perl - ActiveState1.1perl 下载地址:Download & Install Perl - ActiveState


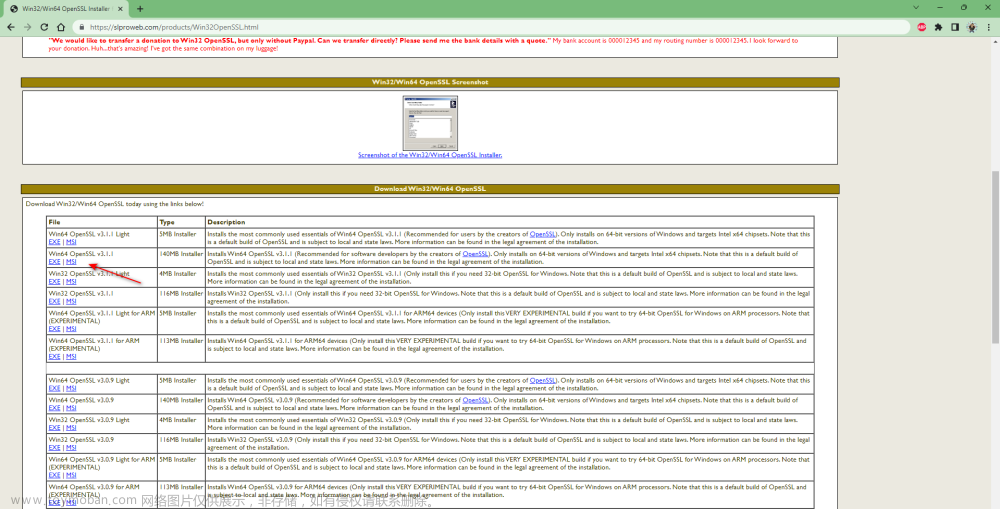
1.2 下载OpenSSL下载地址: /source/index.html
1.3 下载VS 下载地址:Visual Studio 2017 15.9 Release Notes | Microsoft Learn
vs的组件(我下载了很多,具体也不知道哪些是必要的)

1.4使用vs命令框

1.5 进入解压后的openssl执行
perl Configure debug-VC-WIN32 --prefix=E:\OpenSSL

1.6 执行nmake

如果提示nmake没找到的话是上面vs的组件安少了
1.7 执行nmake test
我这边执行了很多次都卡住了,没执行完
然后我就结束了任务 后执行下面1.8(没有出现什么大问题)
1.8执行nmake install
1.9生成如下文件
2、下载mkcert
2.1下载地址: https://github.com/FiloSottile/mkcert/releases/latest

2.2 把下载的文件名改为mkcert.exe (我看网上很多都改成这个 然后就直接mkcert install 搞到一头雾水)
2.3执行mkcert install
2.4执行mkcert localhost 127.0.0.1 注:这里后面可以加更多的如本机ip地址
2.5 把2.4生成的文件 不带key的复制多一份改为crt后缀,然后点击运行就可以了
2.6配置nginx
server {
        listen 443 ssl;
        server_name  localhost;
		index index.html index.htm index.php default.html default.htm default.php;
		root html;
        #其他都可以直接复制 下面两行需要填写位置信息   可以是相对conf的相对位置信息,也可以是绝对位置信息
        ssl_certificate      C:\Users\mzl\AppData\Local\mkcert/localhost+5.pem;
        ssl_certificate_key  C:\Users\mzl\AppData\Local\mkcert/localhost+5-key.pem;

        ssl_session_cache    shared:SSL:1m;
        ssl_session_timeout  5m;

        ssl_ciphers  HIGH:!aNULL:!MD5;
        ssl_prefer_server_ciphers  on;

        location / {
            root   html;
            index  index.html index.htm;
        }
    }
2.7 重启nginx 执行taskkill /IM nginx.exe -f 再点击nginx.exe程序运行 有问题的需要看logs报错
2.8应该成功了

3、配置到springboot后端也接受https
需要第一步下载的openssl
点击openssl生成文件的bin 运行openssl.exe
执行
pkcs12 -export -out D:\xxx.pfx -in D:\xxx.pem -inkey D:\xxx.key再使用cmd执行命令 即可生成jks文件
keytool -importkeystore -srckeystore D:\xxx.pfx -destkeystore D:\xxx.jks -srcstoretype PKCS12 -deststoretype JKS把生成的文件放到springboot项目的resource目录下
在application.yml中加入
server:
    ssl:
        enabled: true
        key-store: classpath:xxx.jks
        key-store-password: xxx     //密码
        key-store-type: JKS
配置同时可使用http与https
yml加入配置
#http端口号
http:
  port: 8089
在Application启动项加入下面代码
// 获取配置端口
@Value("${http.port}")
    private Integer httpPort;

@Bean
    public ServletWebServerFactory servletContainer() {
        TomcatServletWebServerFactory tomcat = new TomcatServletWebServerFactory();
        // 添加http
        tomcat.addAdditionalTomcatConnectors(createStandardConnector());
        return tomcat;
    }

/**
     * 配置http
     *
     * @return connector
     */
    private Connector createStandardConnector() {
        Connector connector = new Connector("org.apache.coyote.http11.Http11NioProtocol");
        connector.setPort(httpPort);
        return connector;
    }
参考:
1、VS2017下编译openssl-1.1.1d.tar.zip_好好生活,不做好人的博客-CSDN博客
2、本地 https 环境解决方案 - Yumine - 博客园文章来源:https://www.toymoban.com/news/detail-407209.html
3、在Spring Boot项目中使用https(jks)_探索未知的自己的博客-CSDN博客_https jks文章来源地址https://www.toymoban.com/news/detail-407209.html
到了这里,关于本地https配置的文章就介绍完了。如果您还想了解更多内容,请在右上角搜索TOY模板网以前的文章或继续浏览下面的相关文章,希望大家以后多多支持TOY模板网!


