前言
本人菜狗一枚,第一次写文章,python懂的也不多,肯定有很多表述存在问题,如有错误请大佬们不吝赐教。
整个open3d的gui我是照着源码里的示例和官方文档摸出来的,因为确实很少有关于这个的教程,官方也没给。所以我顺便整理分享一下。
Open3D官网
官方文档
open3d版本:0.14.1
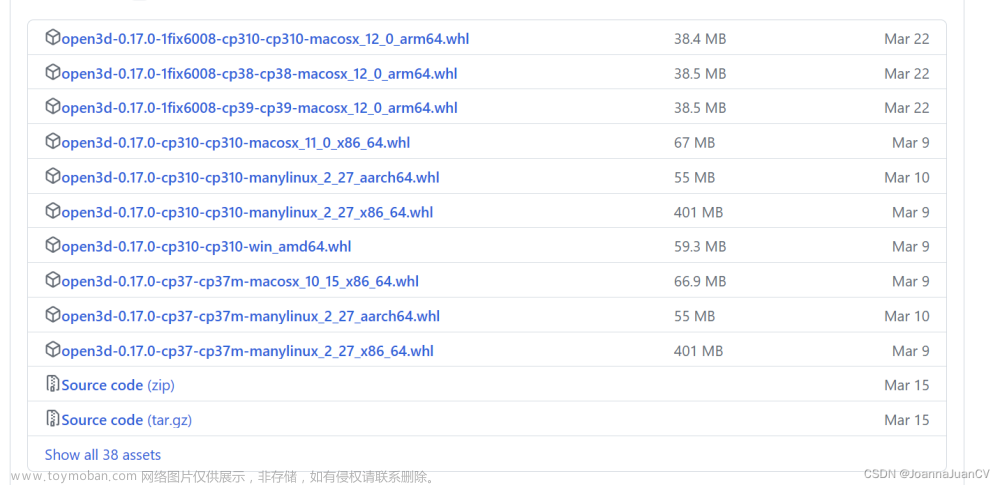
Open3D安装:
闲话少说,直接开整。
Pip
pip install open3d
Conda
conda install -c open3d-admin -c conda-forge open3d
第一个Open3D窗口
Open3d提供了很多种可视化方案,同时也提供了一个open3d.visualization.gui模块和open3d.visualization.rendering模块用来快速构建小应用。
1. 导入相应模块
import open3d as o3d
import open3d.visualization.gui as gui
import open3d.visualization.rendering as rendering
-
o3d提供所有的Open3d模块,包括常用的模型加载(o3d.io),几何和数据结构(o3d.geometry)等。 -
gui提供了应用的全局实例(gui.Application.instance),和全部可用的控件。 -
rendering提供了场景模型渲染的相关部分。
2. 初始化应用实例并创建窗口
我们定义一个应用类,用来创建界面,界面布局和相应事件等设置都应该在__init__中完成。
class App:
    def __init__(self):
        # 初始化实例
       	gui.Application.instance.initialize()

        # 创建主窗口
        self.window = gui.Application.instance.create_window('My First Window', 800, 600)

        # 创建显示场景
        self.scene = gui.SceneWidget()
        self.scene.scene = rendering.Open3DScene(self.window.renderer)

        # 将场景添加到窗口中
        self.window.add_child(self.scene)

        # 创建一个球
        sphere = o3d.geometry.TriangleMesh.create_sphere()
        sphere.paint_uniform_color([0.0, 1.0, 1.0])
        sphere.compute_vertex_normals()
        material = rendering.MaterialRecord()
        material.shader = 'defaultLit'

        # 将球加入场景中渲染
        self.scene.scene.add_geometry("Sphere", sphere, material)

        # 设置相机属性
        bounds = sphere.get_axis_aligned_bounding_box()
        self.scene.setup_camera(60, bounds, bounds.get_center())

    def run(self):
        gui.Application.instance.run()

if __name__ == "__main__":
    app = App()
    app.run()
2.1 初始化
当我们想要使用gui模块创建一个应用程序时,在使用任何控件之前,必须先初始化全局应用单例gui.Application.instance
gui.Application.instance.initialize()
初始化有两种方式,其中的一种必须首先被调用。
- initialize(self: gui.Application) -> None
- 使用默认的资源初始化。
- initialize(self: gui.Application, arg0: str) -> None
- arg0是资源文件路径(resources),用该资源初始化。
2.2 创建窗口
当应用初始化后,我们就可以通过全局应用单例创建窗口了,我们将窗口命名为”My First Window“。
self.window = gui.Application.instance.create_window('My First Window', 800, 600)
该函数原型是:
create_window(self: open3d.cpu.pybind.visualization.gui.Application, title: str = ‘’, width: int = - 1, height: int = - 1, x: int = - 1, y: int = - 1, flags: int = 0) → open3d::visualization::gui::PyWindow
- title是应用窗口名称,即左上角的title。
- width和height是窗口大小。
- x, y和flag是可选的。(我也不晓得是啥)
该函数返回一个应用窗口。
2.3 添加场景
有了窗口之后,我们可以向窗口里添加一个组件gui.SceneWidget,这个控件是用来展示3D模型的场景。
 self.scene = gui.SceneWidget()
 self.scene.scene = rendering.Open3DScene(self.window.renderer)
gui.SceneWidget()返回一个空的组件,所以我们必须为组件添加一个渲染器。这个渲染器可以直接用主窗口的渲染器(即self.window.renderer)来初始化。
之后,我们将创建的控件作为主窗口的子控件添加到应用中。通过调用窗口的add_child()完成。
self.window.add_child(self.scene)
2.4 添加模型
在之前的步骤中,我们创建了一个空的场景,我们可以向场景中添加不同的模型进行渲染。每个模型都有一个对应的材质(Material),用来决定模型的颜色、纹理、着色模型、光照等。
这里我们创建一个在圆心在原点(0,0,0)的球和对应材质。
material.shader= 'defaultLit'表示使用默认的光照模型进行着色。由于光照模型需要法向量信息,所以我们需要计算球顶点的法向量。
sphere = o3d.geometry.TriangleMesh.create_sphere()
sphere.paint_uniform_color([0.0, 1.0, 1.0])
sphere.compute_vertex_normals()
material = rendering.Material()
material.shader = 'defaultLit'
准备好模型就可以将其添加到场景中了。
self.scene.scene.add_geometry("Sphere", sphere, material)
- 第一个参数是模型的名字,之后可以用这个唯一的名字操作相应的模型(如隐藏该模型)。
- 第二个参数是模型,类型是
o3d.geometry.Geometry3D或o3d.geometry.Geometry, - 第三个参数是模型材质。
2.5 相机属性
场景中有了模型,我们需要设置相机来观察模型。
bounds = sphere.get_axis_aligned_bounding_box()
self.scene.setup_camera(60, bounds, bounds.get_center())
设置场景的相机通过setup_camera()实现,其原型之一如下:
setup_camera(field_of_view, model_bounds, center_of_rotation)
- 第一个参数决定视野范围FOV;
- 第二个参数是模型的包围盒,可以通过
get_axis_aligned_bounding_box来获得;- 第三个参数是摄像机的旋转中心;
2.6 循环事件
此时我们已经创建好了窗口,添加了模型,要让应用开始运行,只需要让全局单例跑起来。
gui.Application.instance.run()
这样应用就会一直运行直到关闭,而不会闪一下就结束。
3.运行结果
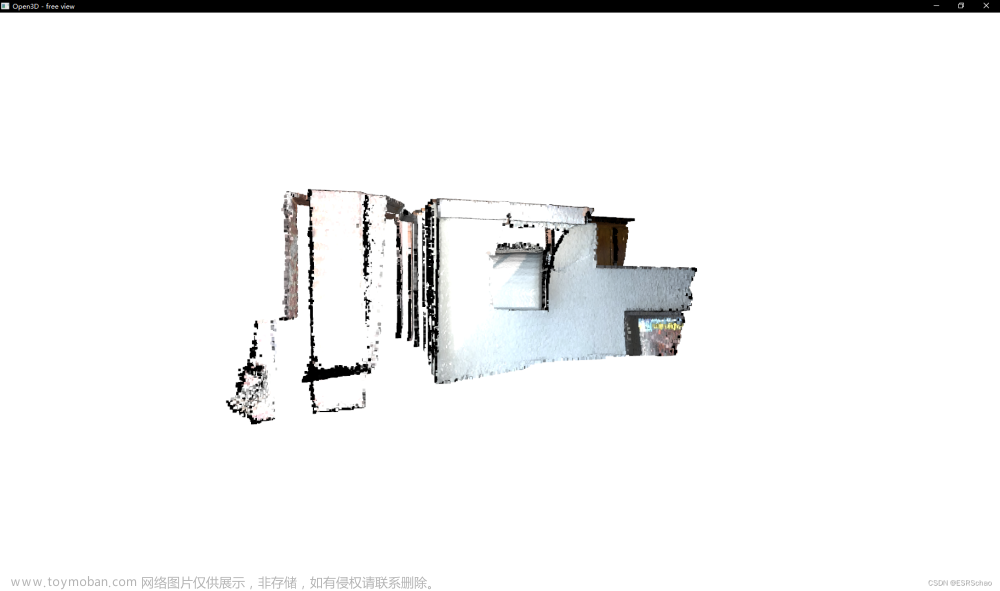
运行这个程序,你将会得到一个可以旋转的青色球。文章来源:https://www.toymoban.com/news/detail-411964.html
 文章来源地址https://www.toymoban.com/news/detail-411964.html
到了这里,关于Open3D-GUI系列教程(一)创建一个Open3D应用窗口的文章就介绍完了。如果您还想了解更多内容,请在右上角搜索TOY模板网以前的文章或继续浏览下面的相关文章,希望大家以后多多支持TOY模板网!

