前言
为实现目标嵌入式平台能够正常运行Qt程序,则需要在目标平台上部署QT运行环境。
准备
- Ubuntu系统,本文使用的是20.04版本
- arm平台通用交叉编译工具链
- QT源码
一、下载arm平台交叉编译工具链
1.下载工具链
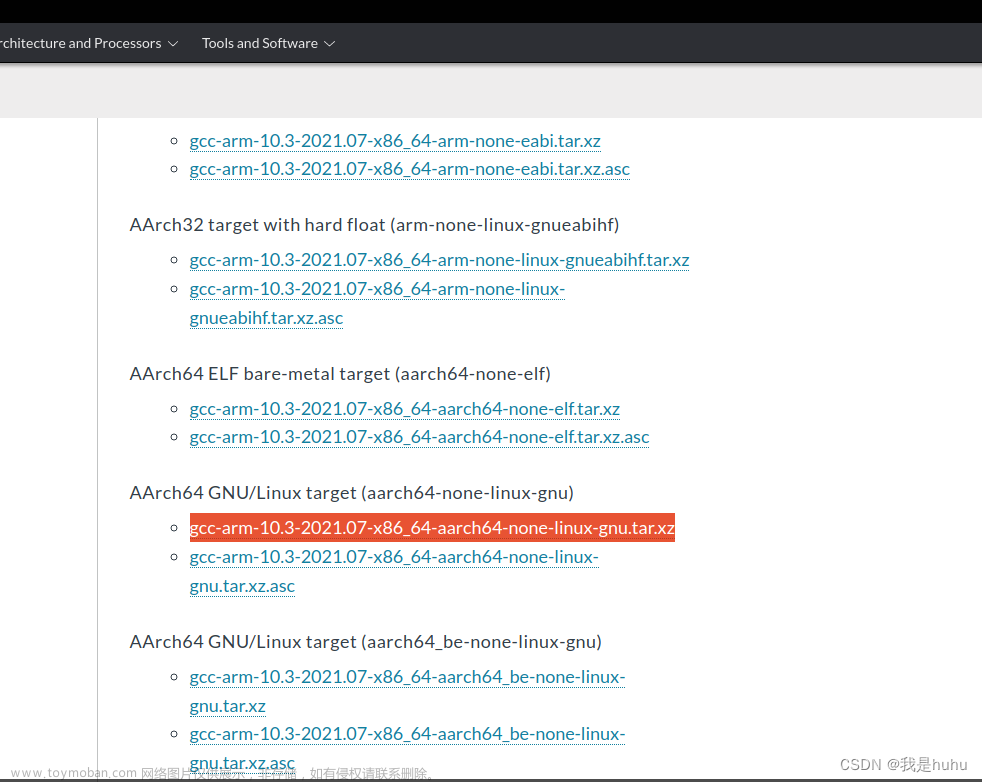
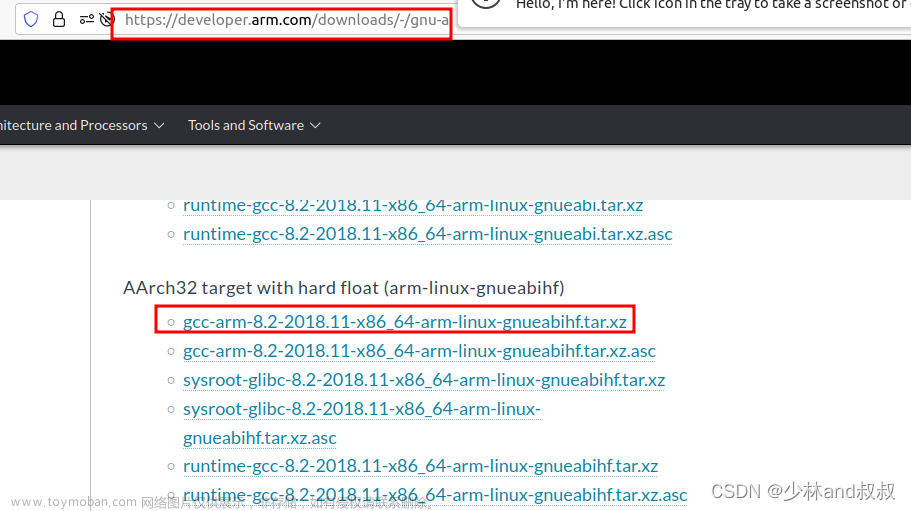
点击链接https://releases.linaro.org/components/toolchain/binaries/latest-7/arm-linux-gnueabi/,选择下图中标识的文件进行下载。
2.解压到交叉编译平台(Ubuntu)
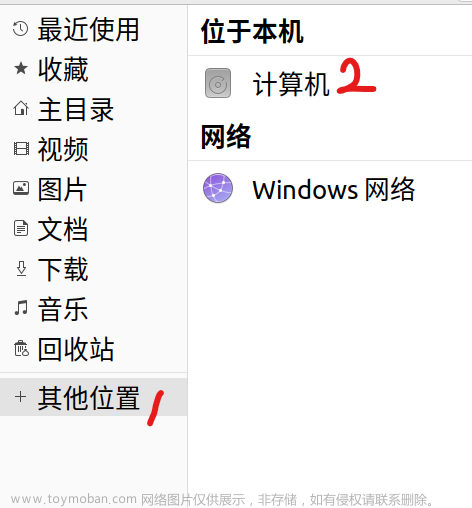
通过共享文件夹或者FileZila将该压缩文件传输到Ubuntu,并解压。
3.配置环境变量
(1)编辑.bashrc文件
sudo vi ~/.bashrc
(2)添加路径
export PATH=/home/anmo/QtPorting/gcc-linaro-4.9.4-2017.01-x86_64_arm-linux-gnueabihf/bin:$PATH
二、下载QT源码(版本与交叉编译工具链版本保持一致)
点击链接https://download.qt.io/archive/qt/5.12/5.12.9/single/,跳转到QT官网下载中心进行下载,本文以5.12.9版本的QT源码为例(如需要其他版本,点击”Parent Directory“返回上级目录自行选择)。
点击下载图中红色框框标识的压缩文件(注意可能由于平台差异,zip类型不适用于Ubuntu系统,所以请勿下载zip类型)。下载完毕之后可通过共享文件夹,或者FileZila将压缩包传输到Ubuntu。
三、下载并编译tslib库
该库为ArmQt的屏幕触摸库
1. 获取 tslib
获取tslib 的源码, git 地址为 https://github.com/kergoth/tslib 。 tslib 源码已经放到开发板光
盘中 路径为: 开发板光盘 A 基础资料 1 、例程源码 7 、第三方库源码 tslib 1.21.tar.bz2 。将压缩包发送到 Ubuntu 中并解压至Ubuntu 虚拟机目录下,将其解压。
2. 编译 tslib
编译 tslib生成Makefile ,还需要安装以下软件 。
sudo apt get update
sudo apt get install autoconf automake libtool
执行autogen.sh 生成 Makefile ,以编译源码。
3. 生成 Makefile
执行下面的指令,指令会检查编译器等是否会工作。 ,如下图。
./configure --host= arm-linux-gnueabihf ac_cv_func_malloc_0_nonnull=yes --cache-file=arm -linux.cache -prefix=/home/用户名/tslib-master/arm-tslib
ps:指定tslib编译输出路径-prefix=/home/用户名/tslib-master/arm-tslib
四、配置QT源码编译工具链与编译QT源码
1. 修改qmak.conf
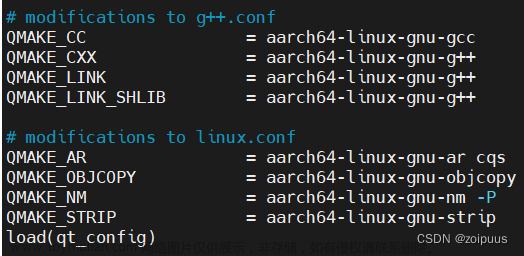
在Ubuntu解压之后,进入qtbase/mkspecd/linux-arm-gnueabi-g++路径,并编辑qmake.conf
更改编译工具链名称
2.生成qmake编译文件
(1)在qt源码主目录下,新建配置脚本autoconfigure.sh,添加如下内容。
./configure -prefix /home/用户名/qt-everywhere-src-5.12.9/arm-qt \
-opensource \
-confirm-license \
-release \
-strip \
-shared \
-xplatform linux-arm-gnueabi-g++ \
-optimized-qmake \
-c++std c++11 \
--rpath=no \
-pch \
-skip qt3d \
-skip qtactiveqt \
-skip qtandroidextras \
-skip qtcanvas3d \
-skip qtconnectivity \
-skip qtdatavis3d \
-skip qtdoc \
-skip qtgamepad \
-skip qtlocation \
-skip qtmacextras \
-skip qtnetworkauth \
-skip qtpurchasing \
-skip qtremoteobjects \
-skip qtscript \
-skip qtscxml \
-skip qtsensors \
-skip qtspeech \
-skip qtsvg \
-skip qttools \
-skip qttranslations \
-skip qtwayland \
-skip qtwebengine \
-skip qtwebview \
-skip qtwinextras \
-skip qtx11extras \
-skip qtxmlpatterns \
-make libs \
-make examples \
-nomake tools -nomake tests \
-gui \
-widgets \
-dbus-runtime \
--glib=no \
--iconv=no \
--pcre=qt \
--zlib=qt \
-no-openssl \
--freetype=qt \
--harfbuzz=qt \
-no-opengl \
-linuxfb \
--xcb=no \
-tslib \
--libpng=qt \
--libjpeg=qt \
--sqlite=qt \
-plugin-sql-sqlite \
-I/home/用户名/tslib-1.21/arm-tslib/include \
-L/home/用户名/tslib-1.21/arm-tslib/lib \
-recheck-all
(2)添加权限
sudo chmod 755 ./autoconfigure.sh
(3)执行./a等待创建qmake
(4)输入o,表示开源版本
(5)输入y,接受许可
(6)配置完成 文章来源:https://www.toymoban.com/news/detail-414712.html
五、编译QT源码
(1)执行make -j 12,进行编译
注意请关闭当前终端窗口,重新打开一个终端窗口,为了避免在当前使用了sudo或者root用户,而在编译时出现权限访问的问题,导致编译错误
(2)最后执行make install,会在qt源码主目录下生成编译后的文件夹,该文件夹名称为autoconfigure.sh指定的文件夹名称一致。文章来源地址https://www.toymoban.com/news/detail-414712.html
到了这里,关于【一、搭建通用Arm平台的QT交叉编译环境】的文章就介绍完了。如果您还想了解更多内容,请在右上角搜索TOY模板网以前的文章或继续浏览下面的相关文章,希望大家以后多多支持TOY模板网!


