Segment Anything
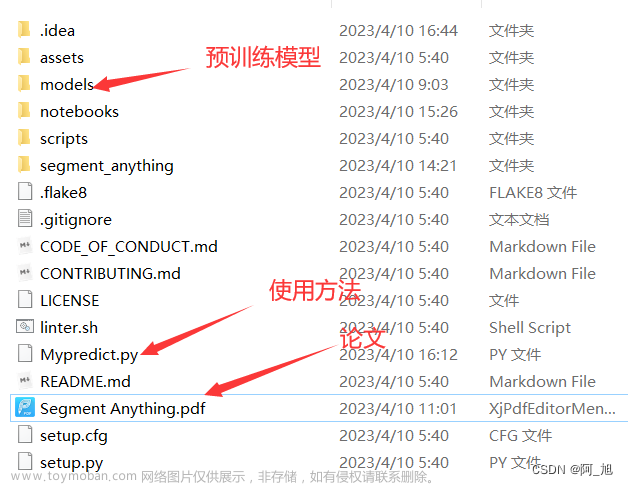
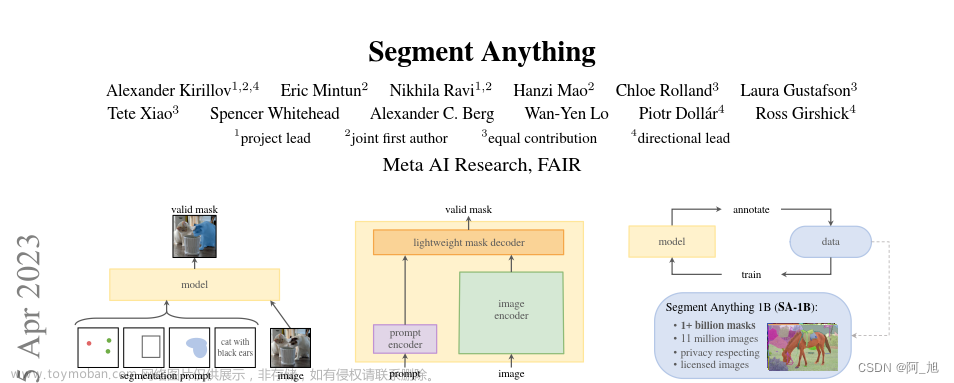
1. 论文
论文链接:https://arxiv.org/pdf/2304.02643.pdf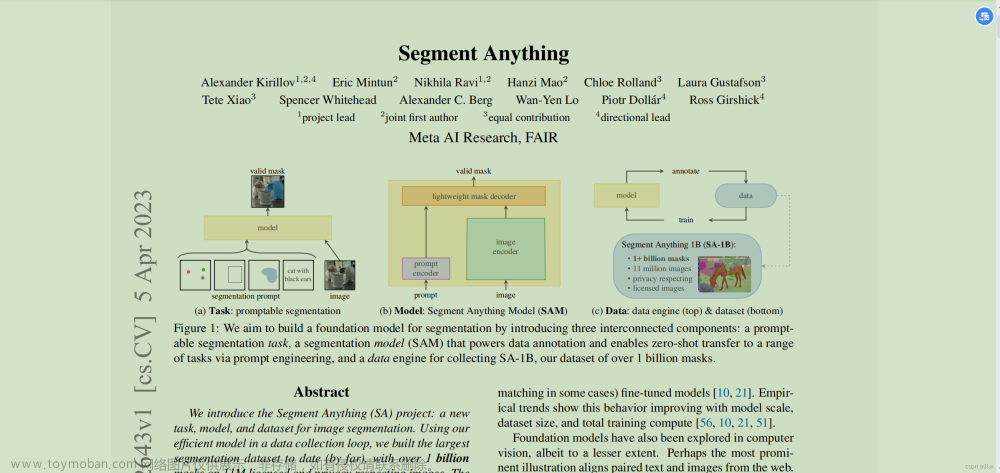
论文解读后续更新……
2. 官方文档
官方文档:https://ai.facebook.com/blog/segment-anything-foundation-model-image-segmentation/
项目地址:https://github.com/facebookresearch/segment-anything
3. 测试网站
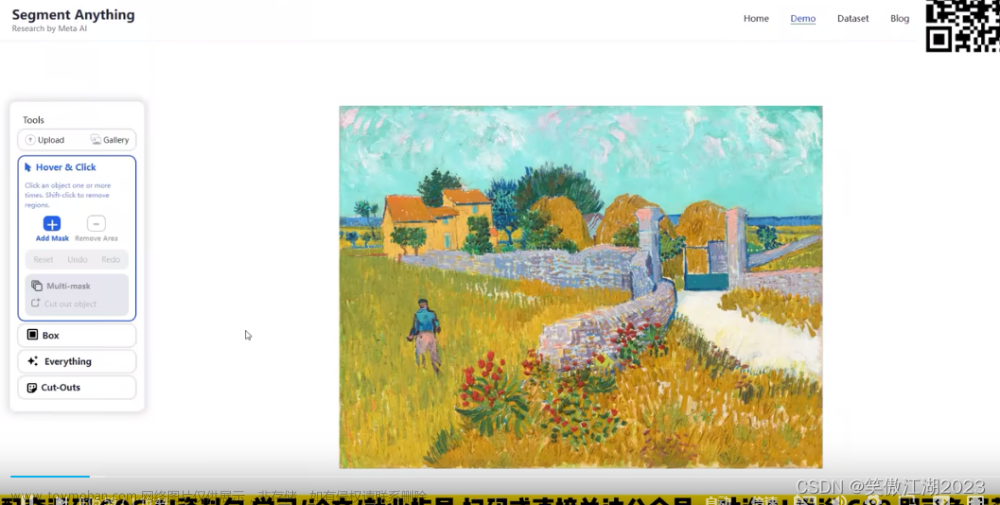
demo地址:https://segment-anything.com/demo
我自己上传了一张图片,结果还是挺好的(我上传的图片比较简单)。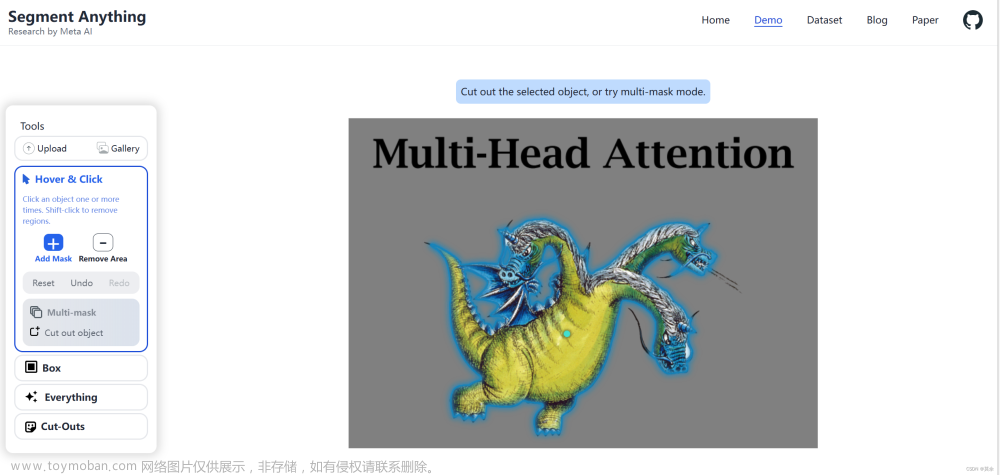

4. 本地测试
4.1 下载预训练权重
https://github.com/facebookresearch/segment-anything#model-checkpoints
4.2 新建get_masks.py
新建get_masks.py内容如下:
from segment_anything import build_sam, SamPredictor
import numpy as np
import cv2
image = cv2.imread('/home/scholar/ldw/segment-anything/images/01.jpg')
image = cv2.cvtColor(image, cv2.COLOR_BGR2RGB)
predictor = SamPredictor(build_sam(checkpoint="/data_1/ldw_checkpoints/segment-anything/sam_vit_l_0b3195.pth"))
predictor.set_image(image)
input_point = np.array([[500, 375]])
input_label = np.array([1])

masks, _, _ = predictor.predict(    point_coords=input_point,
    point_labels=input_label,
    multimask_output=True,)
print('Done')
由于自己的3090显存有限,无法使用build_sam_vit_hpth,所以选用了build_sam_vit_l.pth
修改segment_anything/build_sam.py文章来源:https://www.toymoban.com/news/detail-416802.html
build_sam = build_sam_vit_l
sam_model_registry = {
    "default": build_sam_vit_l,
    "vit_h": build_sam,
    "vit_l": build_sam_vit_l,
    "vit_b": build_sam_vit_b,
}
4.4 测试
# origin
python scripts/amg.py --checkpoint <path/to/sam/checkpoint> --input <image_or_folder> --output <output_directory>

# mine
python scripts/amg.py --checkpoint '/data_1/ldw_checkpoints/segment-anything/sam_vit_l_0b3195.pth' --input '/home/scholar/ldw/segment-anything/images/01.jpg' --output 'output'

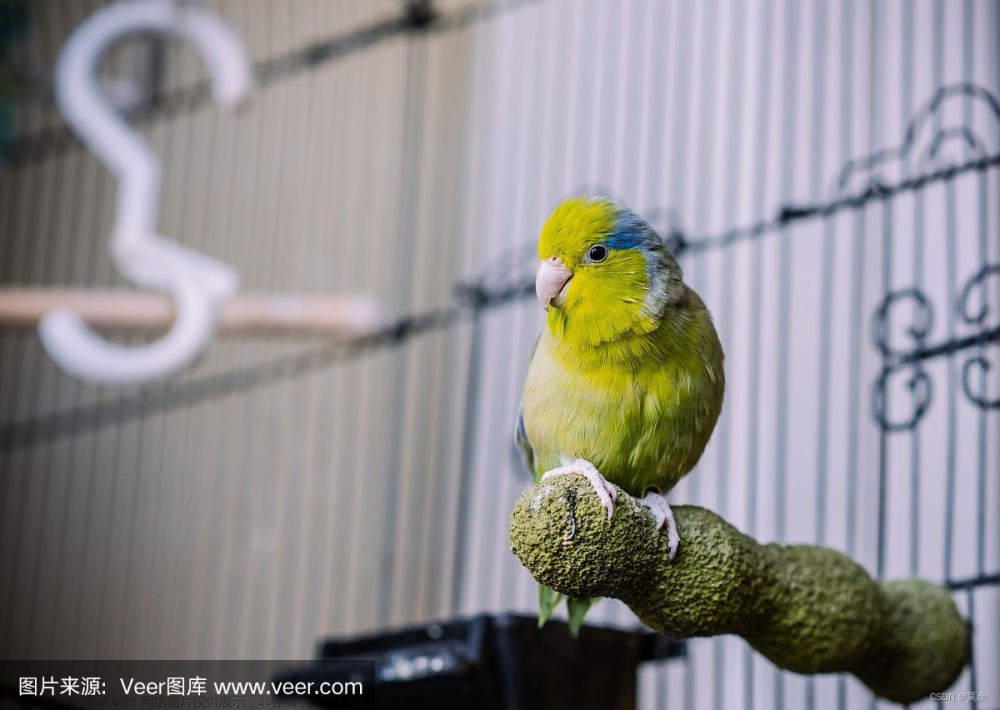 文章来源地址https://www.toymoban.com/news/detail-416802.html
到了这里,关于【Segment Anything】CV的大模型Segment Anything也来了,强人工智能的时代究竟还有多远?的文章就介绍完了。如果您还想了解更多内容,请在右上角搜索TOY模板网以前的文章或继续浏览下面的相关文章,希望大家以后多多支持TOY模板网!


