1、搭建测试网站
编译LAMP网站部署:LAMP
web1配置:
yum方式搭建网站
初始化
cd /etc/yum.repos.d/
yum install -y wget
wget http://mirrors.aliyun.com/repo/Centos-7.repo
wget http://mirrors.aliyun.com/repo/epel-7.repo
mv CentOS-Base.repo CentOS-Base.repo.bak
yum clean all
yum makecache
systemctl stop firewalld
systemctl disable firewalld
sed -i 's/SELINUX=enforcing$/SELINUX=disabled/g' /etc/selinux/config
setenforce 0

yum方式搭建PHP网站用于压测
yum -y install httpd php php-mysqlnd php-gd
vi /var/www/html/index.php
<?php
phpinfo();
?>

修改系统文件配置
vi /etc/security/limits.conf   最底部添加
#修改文件打开限制
*                soft    core            unlimited
*                hard    core            unlimited
*                soft    nproc           1000000
*                hard    nproc           1000000
*                soft    nofile          1000000
*                hard    nofile          1000000
*                soft    memlock         32000
*                hard    memlock         32000
*                soft    msgqueue        8192000
*                hard    msgqueue        8192000

重启设备,让系统配置生效
ulimit -n    查看limit配置是否生效

systemctl start httpd
systemctl enable httpd
查看web1的硬件配置
#查看CPU个数
cat /proc/cpuinfo |grep "physical id"|sort|uniq|wc -l
#查看CPU总线程数
cat /proc/cpuinfo |grep "processor"|sort|uniq|wc -l
#查看内存
free -h
#查看硬盘
lsblk |egrep "^sd[a-z]"

web2跟上面一样搭建网站,做系统配置
查看web2的硬件配置
#查看CPU个数
cat /proc/cpuinfo |grep "physical id"|sort|uniq|wc -l
#查看CPU总线程数
cat /proc/cpuinfo |grep "processor"|sort|uniq|wc -l
#查看内存
free -h
#查看硬盘
lsblk |egrep "^sd[a-z]"

2、Apache自带工具ab
ab是Apache自带的压力测试工具。它可以对apache服务器进行网站访问压力测试,生成详细的网站测试信息,从而帮助开发者优化网站。
在压测设备上测试web1
yum install -y httpd-tools
ab -c 100 -n 2000 -k http://192.168.116.133/index.php

-c  指定并发数
-n  指定总共请求数
-k  以持久性连接测试

Server Software:        Apache/2.4.6       #httpd的版本
Server Hostname:        192.168.116.133    #主机IP
Server Port:            80                 #主机端口

Document Path:          /index.php         #网页文件名字
Document Length:        61877 bytes        #网页文件大小

Concurrency Level:      100                #并发量
Time taken for tests:   2.566 seconds      #测试总共时间
Complete requests:      2000               #请求总数量
Failed requests:        203                #失败的请求数
   (Connect: 0, Receive: 0, Length: 203, Exceptions: 0)
Write errors:           0                  #写入错误
Keep-Alive requests:    0                  #保持请求连接数
Total transferred:      124119771 bytes   #全部请求大小
HTML transferred:       123753771 bytes    #HTML请求大小

#主要看这几个数值
Requests per second:    779.47 [#/sec] (mean)  #每秒处理请求个数
Time per request:       128.293 [ms] (mean)    #每秒请求时间
#并发平均请求时间
Time per request:       1.283 [ms] (mean, across all concurrent requests)
#传输速率
Transfer rate:          47239.93 [Kbytes/sec] received

#连接时间
Connection Times (ms)
             最小值    平均值    中位数    最大值
              min  mean[+/-sd] median   max
#连接时间
Connect:        0    1   1.5      0       9
#数据处理时间
Processing:     6  124  22.5    124     625
#等待时间
Waiting:        2  123  19.5    123     187
#全部时间
Total:         15  125  21.7    125     626

Percentage of the requests served within a certain time (ms)
  50%    125
  66%    127
  75%    128
  80%    128
  90%    135
  95%    159
  98%    183
  99%    187
 100%    626 (longest request)
在压测设备上测试web2
yum install -y httpd-tools

ab -c 100 -n 2000 -k http://192.168.116.134/index.php

Server Software:        Apache/2.4.6
Server Hostname:        192.168.116.134
Server Port:            80

Document Path:          /index.php
Document Length:        61877 bytes

Concurrency Level:      100
Time taken for tests:   0.898 seconds
Complete requests:      2000
Failed requests:        198
   (Connect: 0, Receive: 0, Length: 198, Exceptions: 0)
Write errors:           0
Keep-Alive requests:    0
Total transferred:      124119797 bytes
HTML transferred:       123753797 bytes
Requests per second:    2227.90 [#/sec] (mean)
Time per request:       44.885 [ms] (mean)
Time per request:       0.449 [ms] (mean, across all concurrent requests)
Transfer rate:          135022.76 [Kbytes/sec] received

Connection Times (ms)
              min  mean[+/-sd] median   max
Connect:        0    2   1.6      1       8
Processing:     8   42   5.3     42      56
Waiting:        3   40   5.3     40      53
Total:         16   44   4.6     43      58

Percentage of the requests served within a certain time (ms)
  50%     43
  66%     45
  75%     46
  80%     47
  90%     49
  95%     50
  98%     53
  99%     54
 100%     58 (longest request)
web1的主要数值
这个数值一般为0是最好的
Failed requests:        203                #失败的请求数
   (Connect: 0, Receive: 0, Length: 203, Exceptions: 0)

性能差的设备每秒处理请求较低
Requests per second:    779.47 [#/sec] (mean)  #每秒处理请求个数

性能差的设备时间延迟都较高
Time per request:       128.293 [ms] (mean)    #每秒请求时间
#并发平均请求时间
Time per request:       1.283 [ms] (mean, across all concurrent requests)

性能差的设备传输速率较低
#传输速率
Transfer rate:          47239.93 [Kbytes/sec] received
web2的主要数值
这个数值一般为0是最好的
Failed requests:        198
   (Connect: 0, Receive: 0, Length: 198, Exceptions: 0)

性能好的设备每秒处理请求较高
Requests per second:    2227.90 [#/sec] (mean)

性能好的设备时间延迟都较低
Time per request:       44.885 [ms] (mean)
Time per request:       0.449 [ms] (mean, across all concurrent requests)

性能好的设备传输速率较高
Transfer rate:          135022.76 [Kbytes/sec] received
3、webbench
webbench:Webbench是一个在linux下使用的非常简单的网站压测工具。它使用fork()模拟多个客户端同时访问我们设定的URL,测试网站在压力下工作的性能,最多可以模拟3万个并发连接去测试网站的负载能力。
GitHub代码:webbench源码
webbench官网:webbench
在压测设备编译安装webbench
yum install -y gcc ctags
wget http://home.tiscali.cz/~cz210552/distfiles/webbench-1.5.tar.gz
tar xf webbench-1.5.tar.gz
mkdir -m 644 -p /usr/local/webbench/man/man1  创建安装目录
cd webbench-1.5
make     开始编译
#出现下面这个警告忽略即可
cc -Wall -ggdb -W -O   -c -o webbench.o webbench.c
webbench.c: 在函数‘alarm_handler’中:
webbench.c:77:31: 警告:未使用的参数‘signal’ [-Wunused-parameter]
 static void alarm_handler(int signal)
                               ^
cc -Wall -ggdb -W -O  -o webbench webbench.o
ctags *.c

make install PREFIX=/usr/local/webbench
cp webbench /usr/bin/

命令行选项:
短参	长参数	作用
-f	--force	    不需要等待服务器响应
-r	--reload	发送重新加载请求
-t	--time	    运行多长时间,单位:秒"
-p	--proxy server:port	使用代理服务器来发送请求
-c	--clients	创建多少个客户端,默认1个"
-9	--http09	使用 HTTP/0.9
-1	--http10	使用 HTTP/1.0 协议
-2	--http11	使用 HTTP/1.1 协议
--get	        使用 GET请求方法
--head	        使用 HEAD请求方法
--options	    使用 OPTIONS请求方法
--trace	         使用 TRACE请求方法
-?/-h	--help	打印帮助信息
-V	--version	显示版本号
测试2个网站的性能
测试web1
webbench -c 1000 -t 10 http://192.168.116.133/index.php

可以看到当并发为1000时,每分钟响应请求数38040个,每秒钟传输数据量38634276字节
Speed=38040 pages/min, 38634276 bytes/sec.

总共请求数量为6340个
Requests: 6340 susceed, 0 failed.

测试web2,可以看到几个数值都比web1好很多
webbench -c 1000 -t 10 http://192.168.116.134/index.php

可以看到当并发为1000时,每分钟响应请求数84474个,每秒钟传输数据量85981248字节
Speed=84474 pages/min, 85981248 bytes/sec.

总共请求数量为14079个
Requests: 14079 susceed, 0 failed.
4、Windows下安装Apache-Jmeter
Apache JMeter 可用于测试静态和动态资源、Web 动态应用程序的性能。
它可用于模拟服务器、服务器组、网络或对象上的重负载,以测试其强度或分析不同负载类型下的整体性能。
jmeter需要java环境,所以需要安装java
下载java:Windows-java8,然后直接打开安装
全部选择默认和下一步即可


右键此电脑点击属性
选择高级系统设置
选择环境变量
选择新建系统变量
输入java的安装目录,设置为变量
变量名:JAVA_HOME
变量值:C:\Program Files\Java\jdk1.8.0_181

然后再新建classpath变量
classpath
.;%JAVA_HOME%\lib;%JAVA_HOME%\lib\tools.jar

最后在系统变量找到Path,点击编辑,修改Path变量
新建多一个java路径
在Path添加
%JAVA_HOME%\bin
%JAVA_HOME%\jre\bin


最后重启下系统,让变量生效。
重启后打开CMD,查看能否识别到java

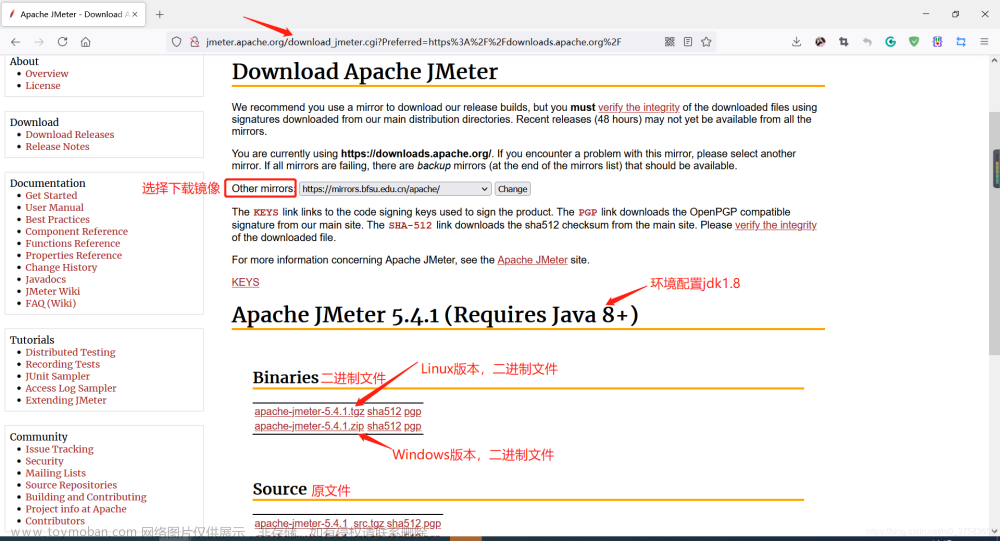
安装Jmeter
下载软件包:jmeter-5.2.1
将安装包解压后放在C盘
新建系统变量
创建jmeter的路径变量
JMETER_HOME
C:\apache-jmeter-5.2.1

修改classpath变量值
改为下面这样
.;%JAVA_HOME%\lib;%JAVA_HOME%\lib\tools.jar;%JMETER_HOME%\lib\ext\ApacheJMeter_core.jar;%JMETER_HOME%\lib\jorphan.jar

双击脚本运行jmeter
C:\apache-jmeter-5.2.1\bin\jmeter.bat文章来源:https://www.toymoban.com/news/detail-417118.html
更改为中文
测试web1
在TestPlan右键选择添加线程组
设置线程数(相当于请求数),Ramp-Up(总共请求时间),不用保存,直接下一步
然后右键web1线程组
输入网址信息
再次右键web1线程组,添加汇总报告
点击运行
提示是否保存这次操作计划,直接选择no即可
稍等一下,就可以看到web1网站测试结果
可以看到异常为16.76%,吞吐量为220.6/sec
一般情况下,异常值越小越好,吞吐量越大越好,可以看到web1的性能比web2差
按照上面操作添加web2进行测试,查看结果
可以看到异常为19.84%,吞吐量为389.9/sec
一般情况下,异常值越小越好,吞吐量越大越好,可以看到web2的性能比web1好 文章来源地址https://www.toymoban.com/news/detail-417118.html
到了这里,关于网站压测工具Apache-ab,webbench,Apache-Jemeter的文章就介绍完了。如果您还想了解更多内容,请在右上角搜索TOY模板网以前的文章或继续浏览下面的相关文章,希望大家以后多多支持TOY模板网!


