如题所示,我们如果个人使用免费社区版的IDEA,它缺失了很多功能,使用起来没有专业版那么强大,比如无法直接创建springbootinit项目,spring配置yml文件没有提示。但是可以通过安装一些插件,比如spring boot helper 、spring boot assistant插件来分别解决这两个问题。
下面是安装了spring boot assistant插件的idea。

插件的特点说明里面,第一条就提到了yml配置文件的自动提示,下面看一下动态效果截图:  ==========================
IDEA中,我们经常会用到注释,当一个类,一个接口的注释,可能会长这样:

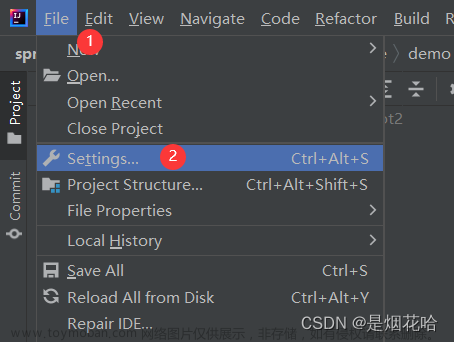
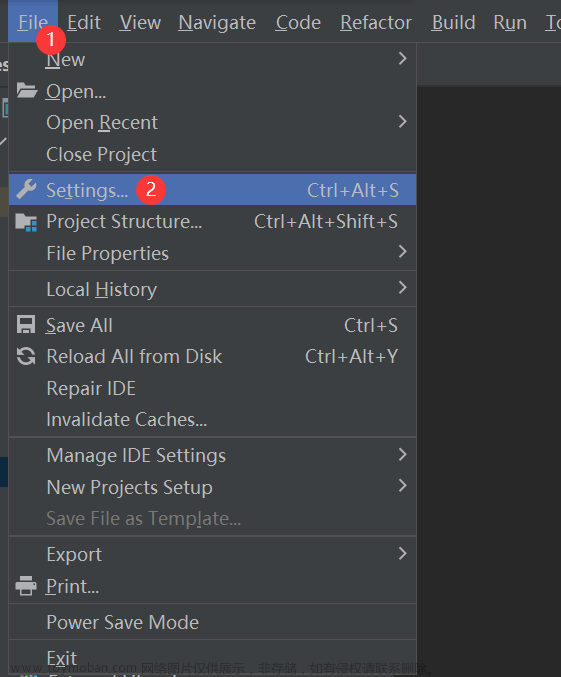
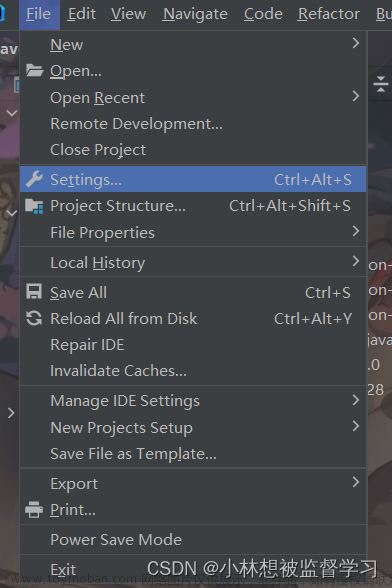
这个注释,如果手动去写,其实也很简单,但是开发中每一个文件都这么来手动填写,有点麻烦,可以将这个注释做成一个模板,在File->Settings->Editor-> File And Code Templates :
我们先切换到Includes标签,设置类注释信息:

再切换到Files标签,设置整个类Class的模板, 这里我们把版权信息加入到最顶部,然后空一行。

设置成功之后,新建类效果动态截屏:

这个类的注释,最后需要我们手动修改的地方就是描述信息这里,根据每个类功能书写。
我们在定义模板的时候,有些变量定义,在面板中都有:
${PACKAGE_NAME} Name of the package in which a new class is created
${NAME} Name of the new class specified by you in the Create New Class dialog
${USER} System login name of the current user
${DATE} Current system date
${TIME} Current system time
${YEAR} Current year
${MONTH} Current month
${MONTH_NAME_SHORT} First 3 letters of the current month name (Jan, Feb, and so on)
${MONTH_NAME_FULL} Full name of the current month (January, February, and so on)
${DAY} Current day of the month
${HOUR} Current hour
${MINUTE} Current minute
${PROJECT_NAME} Name of the current project
====================
idea几个快捷键:
ctrl+alt+b 跳转到接口实现文章来源:https://www.toymoban.com/news/detail-417380.html
ctrl+alt+v 自动生成变量文章来源地址https://www.toymoban.com/news/detail-417380.html
到了这里,关于社区版Intellij IDEA安装Spring Boot Assistant插件解决yml无提示问题的文章就介绍完了。如果您还想了解更多内容,请在右上角搜索TOY模板网以前的文章或继续浏览下面的相关文章,希望大家以后多多支持TOY模板网!


