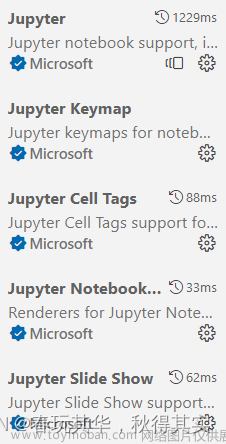
背景:在使用jupyter进行tensorflow学习的过程中,遇到import tensorflow就出现内核似乎挂掉的提示,查阅与实践了好几种解决方法依然没能解决,最终结合anaconda官网的操作以及其他文章的部分步骤,成功在jupyter中引入tensorflow而内核不崩溃。
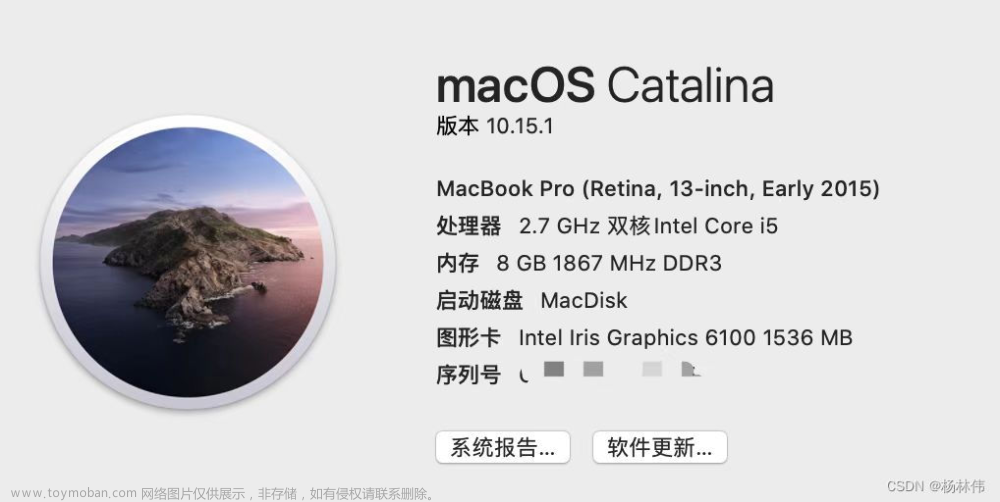
我的设备:Macbook air M1; macOS 12.3
考虑到大家遇到这个问题,通常是已经安装好anaconda与jupyter了。因此直接讲我的操作
方法:
一.打开终端,重新创建一个tensorflow环境:
conda create -n tf tensorflow
conda activate tf
二.由于新创建的虚拟环境没有jupyter,需要重新安装。
这里有两种方法:
1.使用pip安装
pip install jupyter notebook2.直接使用anaconda安装,home-notebook-install:

注意:上方的环境是否是你想要安装jupyter的环境。
3.进入juyter,输入代码测试:
import tensorflow as tf
import os
os.environ["CUDA_VISIBLE_DEVICES"]="0"
tf.compat.v1.disable_eager_execution()
hello=tf.constant('Hello,TensorFlow')
config=tf.compat.v1.ConfigProto()
config.gpu_options.per_process_gpu_memory_fraction = 0.9
sess=tf.compat.v1.Session(config=config)
print(sess.run(hello))
输出为:
b'Hello,TensorFlow'表明tensorflow运行成功。
如果没有运行成功,打开终端,执行以下的命令:
1. conda activate tf          ##替换成自己的虚拟环境名

2. conda install ipykernel    ##安装ipykernel

3. sudo python -m ipykernel install --name tf  ##在ipykernel中安装当前环境

4. conda deactivate

执行完毕命令后,进入jupyter:Kernel-change kernel -tf (你自己创建的名称)
 文章来源:https://www.toymoban.com/news/detail-419455.html
坦白说这个方法只是解决了我的问题,我无法保证移植到你那里也能解决。但记录下来希望能够给大家一些微小的帮助(或许)。文章来源地址https://www.toymoban.com/news/detail-419455.html
到了这里,关于MAC M1:解决在jupyter中引入tensorflow内核似乎挂掉的问题的文章就介绍完了。如果您还想了解更多内容,请在右上角搜索TOY模板网以前的文章或继续浏览下面的相关文章,希望大家以后多多支持TOY模板网!


