前言
- Swagger 是一套
RESTful API文档生成工具,可以方便地生成 API 文档并提供 API 调试页面。 - 而 Spring Boot 是一款非常优秀的 Java Web 开发框架,它可以非常方便地构建 Web 应用程序。
- 在本文中,我们将介绍如何使用
Swagger 以及如何在 Spring Boot 中整合 Swagger。
一、添加 Swagger 依赖
首先,在 pom.xml 文件中添加 Swagger 的依赖:
<!-- swagger2 -->
<dependency>
    <groupId>io.springfox</groupId>
    <artifactId>springfox-swagger2</artifactId>
    <version>2.9.2</version>
</dependency>

<!-- swagger-ui -->
<dependency>
    <groupId>io.springfox</groupId>
    <artifactId>springfox-swagger-ui</artifactId>
    <version>2.9.2</version>
</dependency>
二、创建接口类
在 Spring Boot 项目中创建一个 Controller,并在该 Controller 中添加一个简单的接口。
例如,我们创建一个名为 HelloController 的 Controller 类,并添加一个 /hello 接口,返回一个字符串 “hello world”。
@RestController
public class HelloController {

    @GetMapping("/hello")
    public String hello() {
        return "hello world";
    }
}
三、添加 Swagger 配置类
接下来,我们需要创建一个 Swagger 配置类,用于配置 Swagger 文档的生成方式。在项目中创建一个名为 SwaggerConfig 的类,添加如下代码:
@Configuration
@EnableSwagger2
public class SwaggerConfig {

    @Bean
    public Docket createRestApi() {
        return new Docket(DocumentationType.SWAGGER_2)
                .apiInfo(apiInfo())
                .select()
                .apis(RequestHandlerSelectors.basePackage("com.example.demo.controller"))
                .paths(PathSelectors.any())
                .build();
    }

    private ApiInfo apiInfo() {
        return new ApiInfoBuilder()
                .title("Spring Boot 中使用 Swagger2 构建 RESTful APIs")
                .description("更多 Spring Boot 相关文章请关注:https://www.example.com/")
                .termsOfServiceUrl("https://www.example.com/")
                .contact(new Contact("binjie09", "", "binjie09@example.com"))
                .version("1.0")
                .build();
    }
}
其中,createRestApi() 方法用于创建一个 Docket 对象,该对象包含了 Swagger 文档的生成方式设置。在上述代码中,我们设置了文档的基本信息,以及包扫描路径等。
四、访问 Swagger 页面
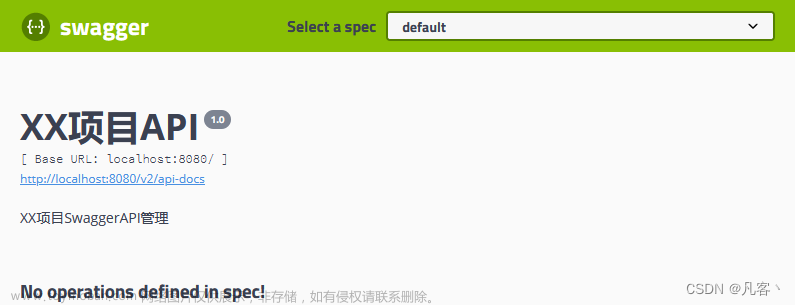
最后,启动 Spring Boot 应用程序,访问 http://localhost:8080/swagger-ui.html 即可看到 Swagger 文档页面。
在页面左侧,我们可以看到程序中创建的 API 接口,点击接口后可以看到该接口的详细信息。
在 Swagger 页面上,我们还可以进行接口测试和调试。在 /hello 接口上,点击 “Try it out” 按钮,填写请求参数后点击 “Execute” 按钮,即可发送请求并获取响应。
通过整合 Swagger,我们可以在 Spring Boot 应用程序中快速生成 RESTful API 文档,并且直接在页面上进行调试和测试,非常方便。
五、整合一个更友好的UI接口文档 Knife4j
Knife4j 是一款基于 Swagger 的 API 文档生成工具,它提供了非常友好的 UI 界面,可以方便地生成和浏览 API 文档。
在本文中,我们将介绍如何在 Spring Boot 中整合 Knife4j。
1、添加 Knife4j 依赖
首先,在 pom.xml 文件中添加 Knife4j 的依赖:
<!-- knife4j -->
<dependency>
    <groupId>com.github.xiaoymin</groupId>
    <artifactId>knife4j-openapi2-spring-boot-starter</artifactId>
    <version>4.1.0</version>
</dependency>
2、添加 Knife4j 配置类
接下来,我们需要创建一个 Knife4j 配置类,用于配置 Knife4j 文档的生成方式。在项目中创建一个名为 Knife4jConfig 的类,添加如下代码:
@Configuration
@EnableKnife4j
public class Knife4jConfig {

    @Bean
    public Docket docket() {
        return new Docket(DocumentationType.SWAGGER_2)
                .apiInfo(apiInfo())
                .select()
                .apis(RequestHandlerSelectors.basePackage("com.example.demo.controller"))
                .paths(PathSelectors.any())
                .build();
    }

    private ApiInfo apiInfo() {
        return new ApiInfoBuilder()
                .title("Spring Boot 中使用 Knife4j 构建 RESTful APIs")
                .description("更多 Spring Boot 相关文章请关注:https://www.example.com/")
                .termsOfServiceUrl("https://www.example.com/")
                .contact(new Contact("binjie09", "", "binjie09@example.com"))
                .version("1.0")
                .build();
    }
}
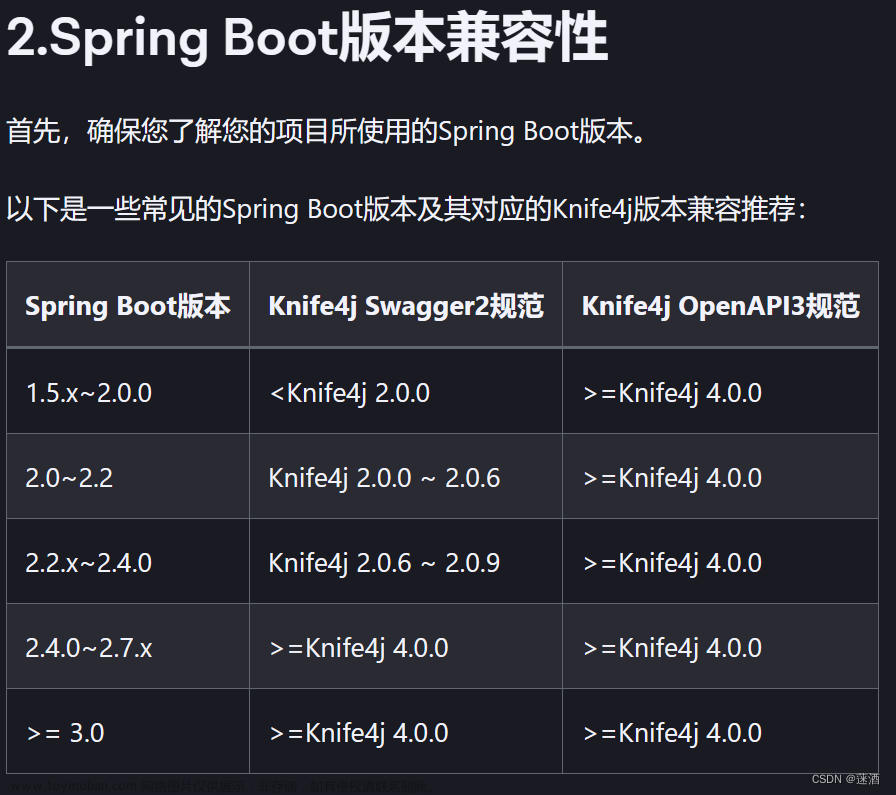
在上述代码中,我们使用了 @EnableKnife4j 注解开启了 Knife4j 的自动配置。在 docket() 方法中,我们设置了文档的基本信息、包扫描路径等。需要注意的是,在 Knife4j 中,我们需要使用 Swagger 2.x 版本的 API。
3、访问 Knife4j 页面

最后,启动 Spring Boot 应用程序,访问 http://localhost:8080/doc.html 即可看到 Knife4j 文档页面。与 Swagger 相比,Knife4j 提供了更加友好的 UI 界面,并且可以直接在页面上进行接口测试和调试,非常方便。文章来源:https://www.toymoban.com/news/detail-420860.html
总结
通过整合 Knife4j,我们可以在 Spring Boot 应用程序中快速生成 RESTful API 文档,并且直接在页面上进行调试和测试,提高了开发效率。文章来源地址https://www.toymoban.com/news/detail-420860.html
到了这里,关于【Spring Boot】SpringBoot 优雅整合Swagger Api 自动生成文档的文章就介绍完了。如果您还想了解更多内容,请在右上角搜索TOY模板网以前的文章或继续浏览下面的相关文章,希望大家以后多多支持TOY模板网!


