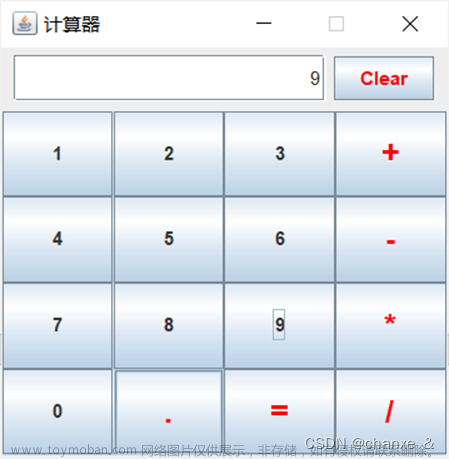
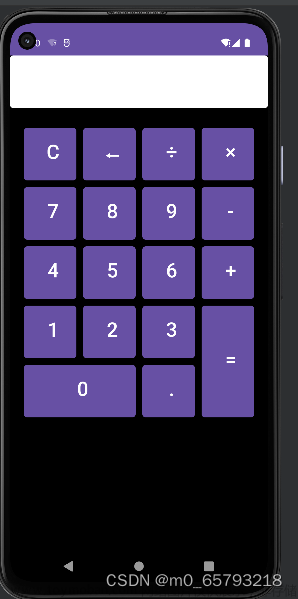
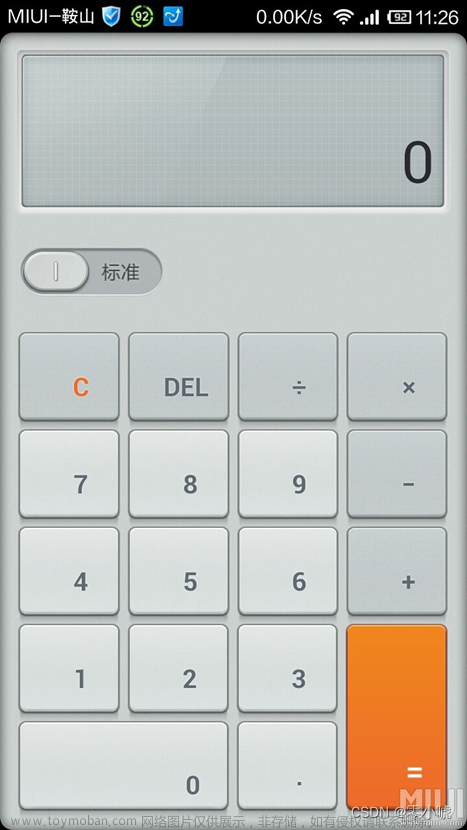
实现效果


一、xml布局文件
这里采用线性布局,关于计算器的布局,可以查看之前的文章。
<?xml version="1.0" encoding="utf-8"?>
<LinearLayout xmlns:android="http://schemas.android.com/apk/res/android"
    android:orientation="vertical" android:layout_width="match_parent"
    android:layout_height="match_parent">

    <TextView
        android:id="@+id/textResult"
        android:layout_width="match_parent"
        android:layout_height="wrap_content"
        android:textSize="30sp"
        android:gravity="right"
        android:text="" />

    <LinearLayout
        android:layout_width="match_parent"
        android:layout_height="wrap_content"
        android:orientation="horizontal">

        <Button
            android:id="@+id/btnCLs"
            android:layout_width="0dp"
            android:layout_height="wrap_content"
            android:layout_weight="2"
            android:text="C"/>
        <Button
            android:id="@+id/btnDel"
            android:layout_width="0dp"
            android:layout_height="wrap_content"
            android:layout_weight="2"
            android:text="Del"/>


    </LinearLayout>

    <LinearLayout
        android:layout_width="match_parent"
        android:layout_height="wrap_content"
        android:orientation="horizontal">

        <Button
            android:id="@+id/btnOne"
            android:layout_width="0dp"
            android:layout_height="wrap_content"
            android:layout_weight="1"
            android:text="1"/>
        <Button
            android:id="@+id/btnTwo"
            android:layout_width="0dp"
            android:layout_height="wrap_content"
            android:layout_weight="1"
            android:text="2"/>
        <Button
            android:id="@+id/btnThree"
            android:layout_width="0dp"
            android:layout_height="wrap_content"
            android:layout_weight="1"
            android:text="3"/>
        <Button
            android:id="@+id/btnAdd"
            android:layout_width="0dp"
            android:layout_height="wrap_content"
            android:layout_weight="1"
            android:text="+"/>

    </LinearLayout>

    <LinearLayout
        android:layout_width="match_parent"
        android:layout_height="wrap_content"
        android:orientation="horizontal">

        <Button
            android:id="@+id/btnFour"
            android:layout_width="0dp"
            android:layout_height="wrap_content"
            android:layout_weight="1"
            android:text="4"/>
        <Button
            android:id="@+id/btnFive"
            android:layout_width="0dp"
            android:layout_height="wrap_content"
            android:layout_weight="1"
            android:text="5"/>
        <Button
            android:id="@+id/btnSix"
            android:layout_width="0dp"
            android:layout_height="wrap_content"
            android:layout_weight="1"
            android:text="6"/>
        <Button
            android:id="@+id/btnReduce"
            android:layout_width="0dp"
            android:layout_height="wrap_content"
            android:layout_weight="1"
            android:text="-"/>

    </LinearLayout>

    <LinearLayout
        android:layout_width="match_parent"
        android:layout_height="wrap_content"
        android:orientation="horizontal">

        <Button
            android:id="@+id/btnSeven"
            android:layout_width="0dp"
            android:layout_height="wrap_content"
            android:layout_weight="1"
            android:text="7"/>
        <Button
            android:id="@+id/btnEight"
            android:layout_width="0dp"
            android:layout_height="wrap_content"
            android:layout_weight="1"
            android:text="8"/>
        <Button
            android:id="@+id/btnNine"
            android:layout_width="0dp"
            android:layout_height="wrap_content"
            android:layout_weight="1"
            android:text="9"/>
        <Button
            android:id="@+id/btnMul"
            android:layout_width="0dp"
            android:layout_height="wrap_content"
            android:layout_weight="1"
            android:text="*"/>

    </LinearLayout>

    <LinearLayout
        android:layout_width="match_parent"
        android:layout_height="wrap_content"
        android:orientation="horizontal">

        <Button
            android:id="@+id/btnZero"
            android:layout_width="0dp"
            android:layout_height="wrap_content"
            android:layout_weight="1"
            android:text="0"/>
        <Button
            android:id="@+id/btnPoint"
            android:layout_width="0dp"
            android:layout_height="wrap_content"
            android:layout_weight="1"
            android:text="."/>
        <Button
            android:id="@+id/btnEquals"
            android:layout_width="0dp"
            android:layout_height="wrap_content"
            android:layout_weight="1"
            android:text="="/>
        <Button
            android:id="@+id/btnChu"
            android:layout_width="0dp"
            android:layout_height="wrap_content"
            android:layout_weight="1"
            android:text="÷"/>

    </LinearLayout>
</LinearLayout>
二、MainActivity.java文件
1.创建每个按钮的对象
2.实例化每个按钮 通过每个按钮的id进行实例化创建
3.设置每个按钮的点击事件即监听按钮
switch通过id判断被点击的按钮属于哪个控件。如果是数字或小数点,setText(str + ((Button) view).getText())。
如果是加减乘除,setText(str + " " + ((Button) view).getText() + " ")。这里的空格是很巧妙的,对下面运算结果中提取两个数字大有帮助。
如果是清空按钮,setText("")。
如果是删了后面一位数字,setText(str.substring(0,str.length()-1))。调用substring(beginIndex,endIndex)函数。substring函数是用来截取一个字段的一部分。
如果是等于按钮,调用getresult()方法。
4.创建运算结果的方法getresult()。
首先将其中的两个数字和运算符分割出来,调用substring(0,exp.indexOf(" "))函数。indexOf函数用于返回[目标字符串]在[源字符串]中的位置。
接着判断两个数都有,还是第一个数/第二个数为空,分情况写代码。
5.MainActivity.java代码如下:文章来源:https://www.toymoban.com/news/detail-424044.html
import android.support.v7.app.AppCompatActivity;
import android.os.Bundle;
import android.view.View;
import android.widget.Button;
import android.widget.TextView;

public class MainActivity extends AppCompatActivity implements View.OnClickListener{//实现鼠标点击的事件的监听接口

    //创建每个按钮的对象
    //数字按钮
    Button btnOne,btnTwo,btnThree,btnFour,btnFive,btnSix,btnSeven,btnEight,btnNine,btnZero;
    //加减乘除
    Button btnChu,btnAdd,btnReduce,btnMul;
    //其他按钮
    Button btnCLs,btnDel,btnEquals,btnPoint;
    //文本框
    TextView textResult;

    @Override
    protected void onCreate(Bundle savedInstanceState) {
        super.onCreate(savedInstanceState);
        setContentView(R.layout.activity_main);//设置采用哪一个布局文件

        //实例化每个按钮 通过每个按钮的id进行实例化创建
        btnOne = (Button) findViewById(R.id.btnOne);
        btnTwo = (Button) findViewById(R.id.btnTwo);
        btnThree = (Button) findViewById(R.id.btnThree);
        btnFour = (Button) findViewById(R.id.btnFour);
        btnFive = (Button) findViewById(R.id.btnFive);
        btnSix = (Button) findViewById(R.id.btnSix);
        btnSeven = (Button) findViewById(R.id.btnSeven);
        btnEight = (Button) findViewById(R.id.btnEight);
        btnNine = (Button) findViewById(R.id.btnNine);
        btnZero = (Button) findViewById(R.id.btnZero);

        btnChu = (Button) findViewById(R.id.btnChu);
        btnAdd = (Button) findViewById(R.id.btnAdd);
        btnReduce = (Button) findViewById(R.id.btnReduce);
        btnMul = (Button) findViewById(R.id.btnMul);

        btnCLs = (Button) findViewById(R.id.btnCLs);
        btnDel = (Button) findViewById(R.id.btnDel);
        btnEquals = (Button) findViewById(R.id.btnEquals);
        btnPoint = (Button) findViewById(R.id.btnPoint);

        textResult = (TextView)findViewById(R.id.textResult);

        //设置每个按钮的点击事件即监听按钮
        btnOne.setOnClickListener(this);
        btnTwo.setOnClickListener(this);
        btnThree.setOnClickListener(this);
        btnFour.setOnClickListener(this);
        btnFive.setOnClickListener(this);
        btnSix.setOnClickListener(this);
        btnSeven.setOnClickListener(this);
        btnEight.setOnClickListener(this);
        btnNine.setOnClickListener(this);
        btnZero.setOnClickListener(this);

        btnChu.setOnClickListener(this);
        btnAdd.setOnClickListener(this);
        btnReduce.setOnClickListener(this);
        btnMul.setOnClickListener(this);

        btnCLs.setOnClickListener(this);
        btnDel.setOnClickListener(this);
        btnEquals.setOnClickListener(this);
        btnPoint.setOnClickListener(this);
    }

    @Override
    public void onClick(View view) {

        String str = textResult.getText().toString(); //获取当前textview文本

        switch (view.getId()) {
            case R.id.btnOne:
            case R.id.btnTwo:
            case R.id.btnThree:
            case R.id.btnFour:
            case R.id.btnFive:
            case R.id.btnSix:
            case R.id.btnSeven:
            case R.id.btnEight:
            case R.id.btnNine:
            case R.id.btnZero:
            case R.id.btnPoint:
                textResult.setText(str + ((Button) view).getText());
                break;

            case R.id.btnChu:
            case R.id.btnAdd:
            case R.id.btnReduce:
            case R.id.btnMul:
                textResult.setText(str + " " + ((Button) view).getText() + " ");
                break;

            case R.id.btnCLs:
                textResult.setText("");
                break;

            case R.id.btnDel:
                if(str != null && !str.equals("")){
                    textResult.setText(str.substring(0,str.length()-1));   // substring(beginIndex, endIndex)  [beginIndex, endIndex)
                }                                                          //  str="123456"   str.substring(0,3) ="123";         "1237 + 10"
                break;

            case R.id.btnEquals:
                getresult();
        }
    }

    private void getresult() {
        String exp = textResult.getText().toString(); //从textview获取整个文本
        if(exp == null || exp.equals("")){
            return;
        }
        if(!exp.contains(" ")){
            return;
        }

        //将其中的两个数字和运算符分割出来
        float result = 0;                                                   // exp ="123 + 5"
        String num1 = exp.substring(0,exp.indexOf(" "));                      // num1 ="123"
        String ex = exp.substring(exp.indexOf(" ") + 1,exp.indexOf(" ") + 2); // ex="+"
        String num2 = exp.substring(exp.indexOf(" ") + 3);                    // num2="5"

        //如果两个数字都不为空则判断运算符进行运算
        if(!num1.equals("") && !num2.equals("")) {
            float d1 = Float.parseFloat(num1);
            float d2 = Float.parseFloat(num2);

            if (ex.equals("+")) {
                result = d1 + d2;
            } else if (ex.equals("-")) {
                result = d1 - d2;
            } else if (ex.equals("*")) {
                result = d1 * d2;
            } else if (ex.equals("÷")) {
                if (d2 == 0) {
                    result = 0;
                } else {
                    result = d1 / d2;
                }
            }
            textResult.setText(result + "");
        }else if(!num1.equals("") && num2.equals("")){
            textResult.setText(exp.substring(0,exp.indexOf(" ")));   //textResult.setText(exp);
        }else if(num1.equals("") && !num2.equals("")){
            float d3 = Float.parseFloat(num2);
            if(ex.equals("+")){
                result = 0 + d3;
            }else if(ex.equals("-")){
                result = 0 - d3;
            }else if(ex.equals("*")){
                result = 0 * d3;
            }else if(ex.equals("÷")){
                result = 0;
            }
            textResult.setText(result + "");
        }else{
            textResult.setText("");
        }
    }
}
四、总结
总体来说很不错,也实现了清除后面一个数的功能,但还未能实现负数的运算 。文章来源地址https://www.toymoban.com/news/detail-424044.html
到了这里,关于Android——在线计算器完整代码的文章就介绍完了。如果您还想了解更多内容,请在右上角搜索TOY模板网以前的文章或继续浏览下面的相关文章,希望大家以后多多支持TOY模板网!


