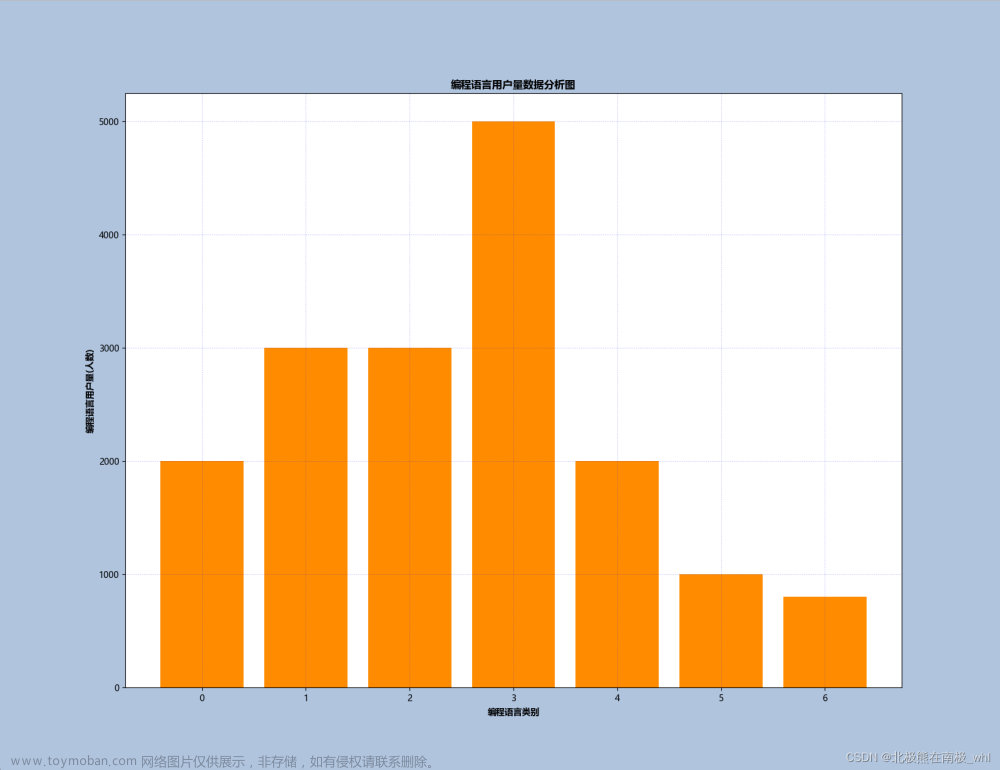
Matplotlib易于使用,是Python中了不起的可视化库。它建立在NumPy数组的基础上,旨在与更广泛的SciPy堆栈一起工作,并由几个图组成:线图、条形图、散点图、直方图等。
快速入门
import matplotlib.pyplot as plt

# initializing the data
x = [10, 20, 30, 40]
y = [20, 30, 40, 50]

# plotting the data
plt.plot(x, y)

# Adding the title
plt.title("Simple Plot")

# Adding the labels
plt.ylabel("y-axis")
plt.xlabel("x-axis")
plt.show()

在上面的例子中,X和Y的元素提供了X轴和Y轴的坐标,并根据这些坐标绘制了一条直线。
Pyplot
Pyplot是一个Matplotlib模块,它提供了一个类似MATLAB的接口。Pyplot提供了与图形交互的函数,即创建图形,用标签装饰绘图,并在图形中创建绘图区。
语法:
matplotlib.pyplot.plot(*args, scalex=True, scaley=True, data=None, **kwargs)
import matplotlib.pyplot as plt
plt.plot([1, 2, 3, 4], [1, 4, 9, 16])
plt.axis([0, 6, 0, 20])
plt.show()

Matplotlib负责创建内置的默认值,如图(Figure)和轴(Axes)。
-
Figure
这个类是所有绘图的顶层容器,意味着它是整个窗口或页面,所有东西都在上面绘制。图形对象可以被认为是类似盒子的容器,可以容纳一个或多个轴。 -
Axes
该类是创建子图的最基本和最灵活的组件。你可能会把轴混淆为轴的复数,但它是一个单独的情节或图形。给定的图可以包含许多轴,但给定的轴只能在一个图中出现。
Figure类
图类是包含一个或多个轴的顶层容器。它是整体的窗口或页面,所有的东西都在上面绘制。
语法:
class matplotlib.figure.Figure(figsize=None, dpi=None, facecolor=None, edgecolor=None, lineewidth=0.0, frameon=None, subplotpars=None, tight_layout=None, constrained_layout=None)
例1:
import matplotlib.pyplot as plt
from matplotlib.figure import Figure

# Creating a new figure with width = 5 inches
# and height = 4 inches
fig = plt.figure(figsize =(5, 4))

# 坐标默认左下角是0,0,[left, bottom, width, height]
# 1表示画布的宽度或高度,会自动折叠空白部分。
# Creating first axes for the figure
ax1 = fig.add_axes([0, 0, 1, 1])

# Creating second axes for the figure
ax2 = fig.add_axes([1, 0, 0.5, 0.5])

# Adding the data to be plotted
ax1.plot([2, 3, 4, 5, 5, 6, 6],
         [5, 7, 1, 3, 4, 6 ,8])
ax2.plot([1, 2, 3, 4, 5],
         [2, 3, 4, 5, 6])

plt.show()

- 例2 多plot
import matplotlib.pyplot as plt
from matplotlib.figure import Figure

# Creating a new figure with width = 5 inches
# and height = 4 inches
fig = plt.figure(figsize =(5, 4))

# Creating first axes for the figure
ax1 = fig.add_axes([1, 1, 1, 1])

# Creating second axes for the figure
ax2 = fig.add_axes([1, 0.5, 0.5, 0.5])

# Adding the data to be plotted
ax1.plot([2, 3, 4, 5, 5, 6, 6],
         [5, 7, 1, 3, 4, 6 ,8])
ax2.plot([1, 2, 3, 4, 5],
         [2, 3, 4, 5, 6])

plt.show()

参考资料
- 本文涉及的python测试开发库 谢谢点赞! https://github.com/china-testing/python_cn_resouce
- python精品书籍下载 https://github.com/china-testing/python_cn_resouce/blob/main/python_good_books.md
- https://www.geeksforgeeks.org/matplotlib-tutorial/
- https://github.com/rougier/matplotlib-tutorial
Axes 类
轴类是创建子图的最基本和最灵活的单元。给定的图可以包含许多轴,但给定的轴只能出现在一个图中。axes()函数创建轴对象。让我们看看下面的例子。
语法:
matplotlib.pyplot.axis(*args, emit=True, **kwargs)
例1:
import matplotlib.pyplot as plt
from matplotlib.figure import Figure
# Creating the axes object with argument as
# [left, bottom, width, height]
ax = plt.axes([1, 1, 1, 1])
输出:

例2:
import matplotlib.pyplot as plt
from matplotlib.figure import Figure
fig = plt.figure(figsize = (5, 4))

# Adding the axes to the figure
ax = fig.add_axes([1, 1, 1, 1])

# plotting 1st dataset to the figure
ax1 = ax.plot([1, 2, 3, 4], [1, 2, 3, 4])

# plotting 2nd dataset to the figure
ax2 = ax.plot([1, 2, 3, 4], [2, 3, 4, 5])
plt.show()
输出:

- 三维图
Matplotlib在推出时,考虑到的只是二维绘图。但是在1.0版本发布的时候,三维工具是在二维的基础上开发的,因此,我们今天有一个三维数据的实现。
例子:文章来源地址https://www.toymoban.com/news/detail-426703.html
import matplotlib.pyplot as plt
# Creating the figure object
fig = plt.figure()

# keeping the projection = 3d
# creates the 3d plot
ax = plt.axes(projection = '3d')

上面的代码让我们在Matplotlib中创建了一个三维图。我们可以创建不同类型的3D图,如散点图、等高线图、曲面图等。让我们来创建一个简单的三维线图。
例子:
import matplotlib.pyplot as plt
x = [1, 2, 3, 4, 5]
y = [1, 4, 9, 16, 25]
z = [1, 8, 27, 64, 125]
# Creating the figure object
fig = plt.figure()
# keeping the projection = 3d
# creates the 3d plot
ax = plt.axes(projection = '3d')
ax.plot3D(z, y, x)
输出:

处理图片
使用图像工作
matplotlib库中的图像模块是用来在Python中处理图像的。图像模块还包括两个有用的方法,即用于读取图像的imread和用于显示图像的imshow。文章来源:https://www.toymoban.com/news/detail-426703.html
例子:
# importing required libraries
import matplotlib.pyplot as plt
import matplotlib.image as img
# reading the image
testImage = img.imread('test.png')
# displaying the image
plt.imshow(testImage)
到了这里,关于python数据可视化神库:Matplotlib快速入门的文章就介绍完了。如果您还想了解更多内容,请在右上角搜索TOY模板网以前的文章或继续浏览下面的相关文章,希望大家以后多多支持TOY模板网!


