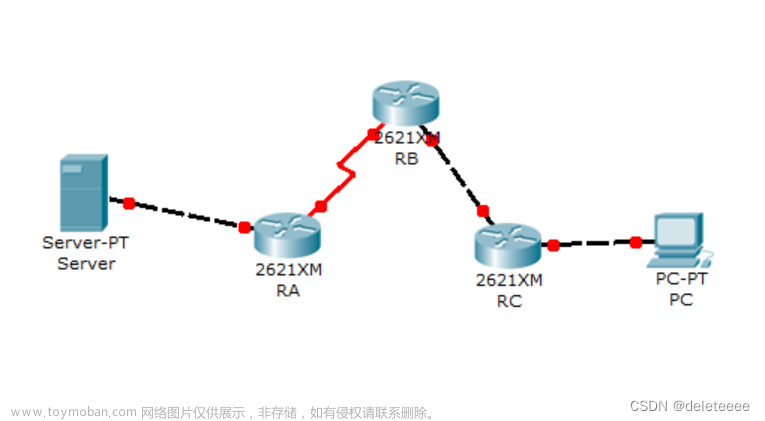
大家都知道,从一个房间走到另一个房间,必然要经过一扇门。同样,从一个网络向另一个网络发送信息,也必须经过一道“关口”,这道关口就是网关。
许多有关TCP/IP的文献曾经把网络层使用的路由器称为网关,在今天很多局域网采用都是路由来接入网络,因此通常指的网关就是路由器的IP!
我们打开路由器的CLL来对路由器的接口进行ip配置
在全局配置模式进入到路由器接口
Router(config)#interface 接口 n/n(in 接口 n/n)
在接口模式下添加该接口的ip
Router(config-if)#ip address ip地址 子网掩码(ip add ip地址 子网掩码)
打开路由器接口开关
Router(config-if)#no shutdown(no sh)
Router(config-if)#
%LINK-5-CHANGED: Interface 接口0/0, changed state to up
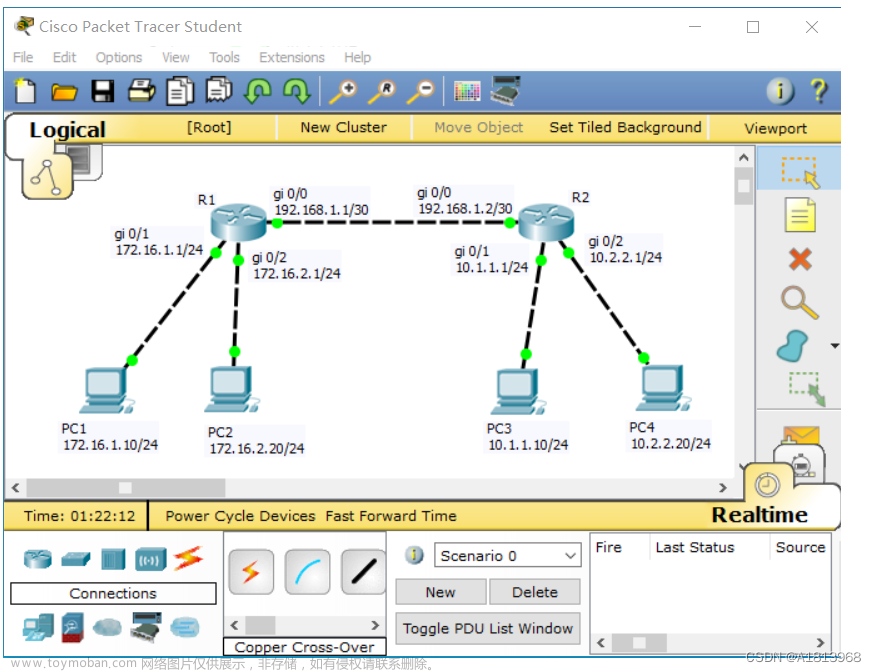
现在我们完成路由器1的两个接口的ip设置,实现PC0与PC1的通信。

对PC1进行配置IP为192.168.58.2,网关为192.168.58.1,子网掩码为255.255.255.0。

对PC0进行配置IP为192.168.59.2,网关为192.168.59.1,子网掩码为255.255.255.0。

现在对路由器1的Fa0/0和Fa0/1的IP进行配置
进入到全局配置模式
Router>enable
Router#configure terminal
Router(config)#
进入Fa0/0端口进行IP配置。
Router(config)#interface fastEthernet 0/0
Router(config-if)#ip address 192.168.59.1 255.255.255.0
Router(config-if)#no shutdown
Router(config-if)#
%LINK-5-CHANGED: Interface FastEthernet0/0, changed state to up
%LINEPROTO-5-UPDOWN: Line protocol on Interface FastEthernet0/0, changed state to up
进入到Fa0/1端口进行IP配置。
Router(config-if)#interface fastEthernet 0/1
Router(config-if)#ip address 192.168.58.1 255.255.255.0
Router(config-if)#no shutdown
Router(config-if)#
%LINK-5-CHANGED: Interface FastEthernet0/1, changed state to up
%LINEPROTO-5-UPDOWN: Line protocol on Interface FastEthernet0/1, changed state to up
我们发现所有接口已经变为绿色,说明理论上已经完成了物理通路。

我们打开PC1的命令行界面对PC0进行ping。

得到回应证明配置正确,实现了PC0到PC1的通信。 文章来源:https://www.toymoban.com/news/detail-428744.html
本文章为自己学习总结,仅供学习参考,如有错误请指出,会进行改正!!!文章来源地址https://www.toymoban.com/news/detail-428744.html
到了这里,关于Cisco Packet Tracer路由器ip简单配置(网关)的文章就介绍完了。如果您还想了解更多内容,请在右上角搜索TOY模板网以前的文章或继续浏览下面的相关文章,希望大家以后多多支持TOY模板网!


