环境
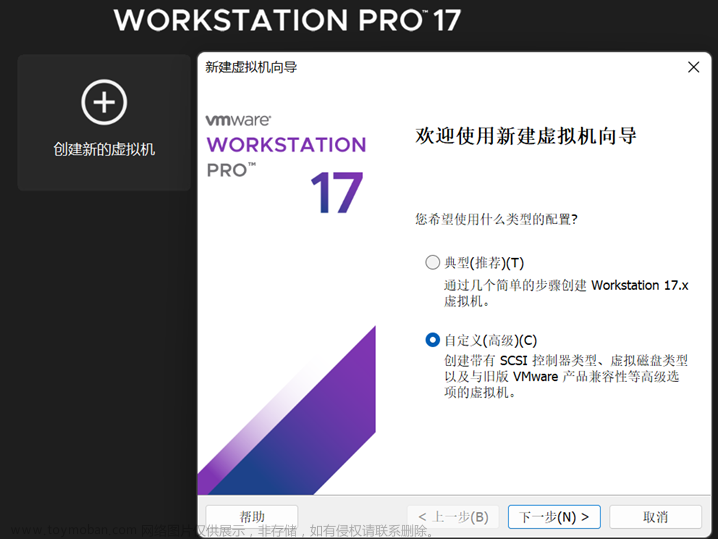
Windows10 + vmware17 + ubuntu22
ubuntu环境设置
装完ubuntu系统后拖拽复制文件进去验证vmtools功能情况,如果vmtools异常很麻烦,试了n多方法,最后还是重新安装系统+vmtools解决, 装系统注意个性化选择,防止后面再改
右键displagy设置分辨率,语言等
配置后,中文显示
开始编译
切换到root用户,方便不用每次sudo
sudo su
源切换
如果觉得卡的时候可以更新源,也可不切换
Ubuntu 22.04:jammy
Ubuntu 20.04:focal
apt-get源切换
依赖安装
sudo apt-get install -y libx11-dev:i386 libreadline6-dev:i386 libgl1-mesa-dev g++-multilib
sudo apt-get install -y git flex bison gperf build-essential libncurses5-dev:i386
sudo apt-get install -y tofrodos libxml2-utils xsltproc zlib1g-dev:i386
sudo apt-get install -y dpkg-dev libsdl1.2-dev libesd0-dev
sudo apt-get install -y gnupg flex bison gperf build-essential
sudo apt-get install -y zip curl zlib1g-dev gcc-multilib g++-multilib
sudo apt-get install -y libc6-dev-i386
sudo apt-get install -y lib32ncurses5-dev x11proto-core-dev libx11-dev
sudo apt-get install -y libgl1-mesa-dev libxml2-utils xsltproc unzip m4
sudo apt-get install -y lib32z-dev ccache
sudo apt-get install -y python2-minimal
7zip 根据需要选择
如果windows下解压下载的安卓系统文件符号链接会失效,导致编译命令失效,我不是通过repo下载的,所以。。。
sudo apt install -y p7zip-full
解压到ubuntu系统
7z x android-10.0.0_r41.7z.001 -o/home/ubuntu/Desktop/android -y -bsp2
repo 方式参考
编译
编译命令比较简单,主要是处理编译期间出现的异常
source build/envsetup.sh
//选择平台编译选项
lunch
// 如遇到编译失败。下面命令可再次运行
make -j8

编译类型分为user、userdebug、eng
user:用来正式发布到市场的版本,权限受限,如没有root权限、不能dedug、adb默认处于停用状态。
userdebug:在user版本的基础上开放了root权限和debug权限,adb默认处于启用状态,一般用于调试真机。
eng:开发工程师的版本,拥有最大的权限(root等),具有额外调试工具的开发配置,一般用于模拟器。
lunch参考
注意 lunch 根据自己需要选择选项,后续要启动模拟器,电脑为x86架构,选择 aosp_x86-eng
n时间后,ok
验证
前后耗费一天多时间,终于搞定,再次make的话花的时间较少了
make 后才能能用,单独运行提示命令找不到滴
emulator

问题记录
/mnt/hgfs权限问题/重启失效/找不到
参考
权限
//先取消挂载,再设置权限
sudo umount /mnt/hgfs
sudo vmhgfs-fuse .host:/ /mnt/hgfs -o allow_other`
共享文件重启失效
方式1 虚拟机设置中共享文件夹设置中禁用,再启用。
方式2 启动终端执行vmhgfs-fuse .host:/ /mnt/hgfs -o allow_other
方式3 开机启动
sudo gedit /etc/rc.local
复制以下内容到rc.local
#!/bin/sh
vmhgfs-fuse .host:/ /mnt/hgfs -o allow_other
exit
添加权限,开启rc服务
rc.local 服务启动
快捷方式创建
给共享文件创建桌面快捷方式
ln -s /mnt/hgfs ~/Desktop/hgfs
xdg-user-dirs-gtk-update无效/桌面中文路径改英文
这个主要是更改中文系统后,终端路径也改为中文了,不太方便,终端路径还是英文好
echo en_US > ~/.config/user-dirs.locale
echo en_US > ~/.config/user-dirs.locale
显执行上述命令之一,然后再执行 xdg-user-dirs-gtk-update 了
查看:gedit ~/.config/user-dirs.dirs
打开文件左上角
sudo apt install -y compizconfig-settings-manager
ccsm
7zip中软链接文件 在windows下会解压失效
在windows下解压软链接文件失效,而ubuntu下正常
下载下来的安卓源码压缩包不要在windows下解压,编译不正常,就有部分软链接文件的原因
常用加解压命令
7z a out.7z  test
7z x out.7z -ooutput_folder -y
编译错误
go配置问题
FAILED: ninja: 'build/blueprint/pathtools/glob_test.go', needed by 'out/soong/.bootstrap/blueprint-pathtools/test/test.go', missing and no known rule to make it
grep -rn glob_test.go
"pathtools/fs_test.go " ,“glob_test.go”,“pathtools/glob_test.go”,
build/blueprint/Blueprints注释掉上面三个go文件配置
so未找到
apt-get install -y libncurses5

// 或者试试这个
# 安装 lib32ncurses5-dev
apt-get -y install aptitude
aptitude install lib32ncurses5-dev
prebuilts/clang/host/linux-x86/clang-3289846/bin/clang.real: error
while loading shared libraries: libncurses.so.5: cannot open shared
object file: No such file or directory
api 文档更新
make api-stubs-docs-update-current-api
you have tried to change the API from what has been previously approved.

To make these errors go away, you have two choices:
   1. You can add '@hide' javadoc comments to the methods, etc. listed in the
      errors above.

   2. You can update current.txt by executing the following command:
         make api-stubs-docs-update-current-api

      To submit the revised current.txt to the main Android repository,
      you will need approval.
******************************
python版本管理
AOSP 12以上,python3,软链接即可
sudo ln -s /usr/bin/python3 /usr/bin/python
AOSP 12以下python2
sudo update-alternatives --install /usr/bin/python python /usr/bin/python2.7 2
update-alternatives后面按顺序共5个参数,其中:
第一个参数–install表示向update-alternatives注册服务名。
第二个参数/usr/bin/python是注册的最终地址,以后管理就是管理这个软链
第三个参数python为服务名
第四个参数为被管理命令的绝对路径
第五个参数为优先级,数字越大优先级越高
配置完毕后,可以使用python --version查看当前python版本
切换版本文章来源:https://www.toymoban.com/news/detail-431044.html
update-alternatives --config python
参考
手把手一步步实现 Ubuntu20.04编译Android10系统源码
下载AOSP源码编译、调试、刷机文章来源地址https://www.toymoban.com/news/detail-431044.html
到了这里,关于windows编译安卓源码记录的文章就介绍完了。如果您还想了解更多内容,请在右上角搜索TOY模板网以前的文章或继续浏览下面的相关文章,希望大家以后多多支持TOY模板网!


