1. 安装vue-i8n依赖
npm i vue-i18n
2. 创建语言包文件
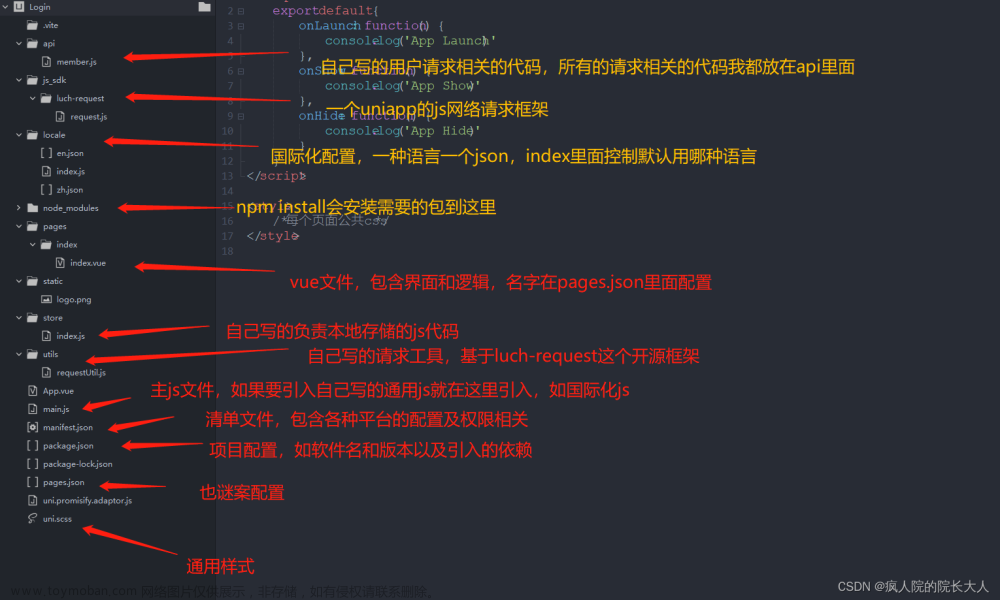
在src目录下创建一个lang文件夹,同时创建zh.js(中文),en.js(英文),ja.js(日文),fr.js(法文)四个语言包js文件,并创建一个index.js文件,用来整合语言包
对于一个项目来说,一个语言包需要包含所有页面以及组件;在语言包以页面为单位,创建一个对象;对公共的title或者按钮名称可以单独提取出来。此处只展示中文和英文文件,其它语言包同中英文文件格式。
zh.js
export default {
  ModelObj: {
    title: '模板列表',
    rAddBtn: '新增模板',
    searchSelect: {
      optionLabel1: '所有状态',
      optionLabel2: '启动',
      optionLabel3: '禁止'
    },
    filterInputplac: '请输入模板标题',
    searchBtn: '搜索',
    resetBtn: '重置',
    table: {
      colu1: '模板标题',
      colu2: '发布者',
      colu3: '创建时间',
      colu4: '状态',
      colu5: '操作',
      operationbtn1: '管理字段',
      operationbtn2: '修改',
      operationbtn3: '删除'
    }
  }
}
eh.js
export default {
  ModelObj: {
    title: 'Registration template list',
    rAddBtn: 'New registration template',
    searchSelect: {
      optionLabel1: 'All states',
      optionLabel2: 'start',
      optionLabel3: 'forbidden'
    },
    filterInputplac: 'Please enter the template title',
    searchBtn: 'search',
    resetBtn: 'reset',
    table: {
      colu1: 'Template title',
      colu2: 'publisher',
      colu3: 'Creation time',
      colu4: 'state',
      colu5: 'operation',
      operationbtn1: 'Management field',
      operationbtn2: 'modify',
      operationbtn3: 'delete'
    }
  }
}
基础的语言包创建完之后在index.js文件中对这些语言包进行整合。
Index.js
(1)引入自己新创建的语言包
(2)此处暂不说明国际化持久化以及element-ui组件国际化的兼容性
(3)创建一个messages对象,放入语言包
(需要注意,messages名称不可更改,更改后失效,原因未查明,可能与vue-i18n中的html格式化有关)
(4)创建一个vue-i18n实例,messages对象放入实例中;最后导出
import Vue from 'vue'
import VueI18n from 'vue-i18n'
// 从语言包文件中导入语言包对象
import zh from './zh'
import en from './en'
Vue.use(VueI18n)
const messages = {
  zh: {
    ...zh,
    ...zhLocale
  },
  en: {
    ...en,
    ...enLocale
  }
}
const i18n = new VueI18n({
  messages,
  locale: userstore.state.langs,
  fallbackLocale: 'zh', // 若某个语言环境变量,则使用fallbackLocale环境下对应的变量
  silentFallbackWarn: true, // 抑制警告
  globalInjection: true // 全局注入
})
export default i18n
3. main.js 引入
引入语言包后挂载到vue实例上
import i18n from './lang/index'
new Vue({
  el: '#app',
  router,
  i18n, // 挂载
  components: { App },
  template: '<App/>',
  store: userstore
})
4. 切换语言组件
为了方便使用,可以将切换语言的组件写成全局组件,进行全部页面的语言切换。
<template>
  <div class="switch-lang-wrap">
    <!--新增切换语言按钮-->
    <div class="change-lans">
      <el-radio-group v-model="radio" @change="changeLang">
        <el-radio :label="'zn'">中文</el-radio>
        <el-radio :label="'en'">英文</el-radio>
      </el-radio-group>
    </div>
  </div>
</template>

<script>
export default {
  name: 'switchLang',
  data () {
    return {
      radio: this.$store.state.langs
    }
  },
  methods: {
    changeLang (val) {
      this.$nextTick(() => {
        this.$store.commit('setLangInfo', val)
        localStorage.setItem('lang', val)
        this.$i18n.locale = val
      })
    }
  }
}
</script>

<style scoped>
  .change-lans {
    position: fixed;
    top: 60px;
    left: 50%;
    margin: auto;
    z-index: 1000;
  }
</style>
5. 模板渲染使用
国际化字段更换还可以表示复数,以及传递动态参数,具体用法参考官网:https://kazupon.github.io/vue-i18n/introduction.html
<p class="title">{{$t('ModelObj.title')}}</p>
6. 国际化语言切换持久化
对于目前定义的变量而言,页面刷新后就会回归到初始状态;若是需要保留持久化,则可存储到vuex。
changeLang (val) {
      this.$nextTick(() => {
        this.$store.commit('setLangInfo', val)
        localStorage.setItem('lang', val)
        this.$i18n.locale = val
      })
    }
7. element-ui组件国际化
对于vue项目来说,element组件使用较为普遍,其中涉及一些组件的语言切换,具体国际化方法可参考官网文档:https://element.eleme.cn/#/zh-CN/component/i18n
Element-ui组件国际化时需要注意,其版本与vue-i18n的版本兼容问题较多,针对vue2来说,vue-i18n版本需要较低一些;vue3中可自己去查看官网
此处element-ui国际化的用法以及创建的语言包融合如下:文章来源:https://www.toymoban.com/news/detail-432079.html
import Vue from 'vue'
import VueI18n from 'vue-i18n'
import userstore from '../vuex/userstore'
// 从语言包文件中导入语言包对象
import zh from './zh'
import en from './en'
// element-ui 组件国际化
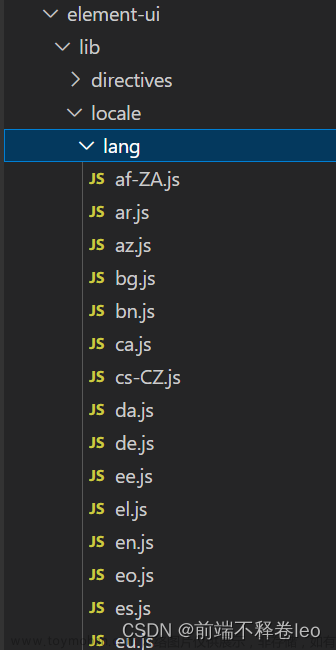
import ElementLocale from 'element-ui/lib/locale'
import enLocale from 'element-ui/lib/locale/lang/en'
import zhLocale from 'element-ui/lib/locale/lang/zh-CN'

ElementLocale.i18n((key, value) => i18n.t(key, value))
Vue.use(VueI18n)
const messages = {
  zh: {
    ...zh,
    ...zhLocale
  },
  en: {
    ...en,
    ...enLocale
  },
  ja: {
    ...ja,
    ...jaLocale
  },
  fr: {
    ...fr,
    ...frLocale
  }
}
const i18n = new VueI18n({
  messages,
  locale: userstore.state.langs,
  fallbackLocale: 'zh', // 若某个语言环境变量,则使用fallbackLocale环境下对应的变量
  silentFallbackWarn: true, // 抑制警告
  globalInjection: true // 全局注入
})
export default i18n
ps:菜鸟一枚,仅以此记录自己动手实施的过程,若有问题,还请指正文章来源地址https://www.toymoban.com/news/detail-432079.html
到了这里,关于vue2+element-ui 实现国际化的文章就介绍完了。如果您还想了解更多内容,请在右上角搜索TOY模板网以前的文章或继续浏览下面的相关文章,希望大家以后多多支持TOY模板网!


