项目背景
2023年4月19日,开源项目MiniGPT-4发布,该项目是由KAUST(沙特阿卜杜拉国王科技大学),是几位博士开发的。
项目地址:https://github.com/Vision-CAIR/MiniGPT-4
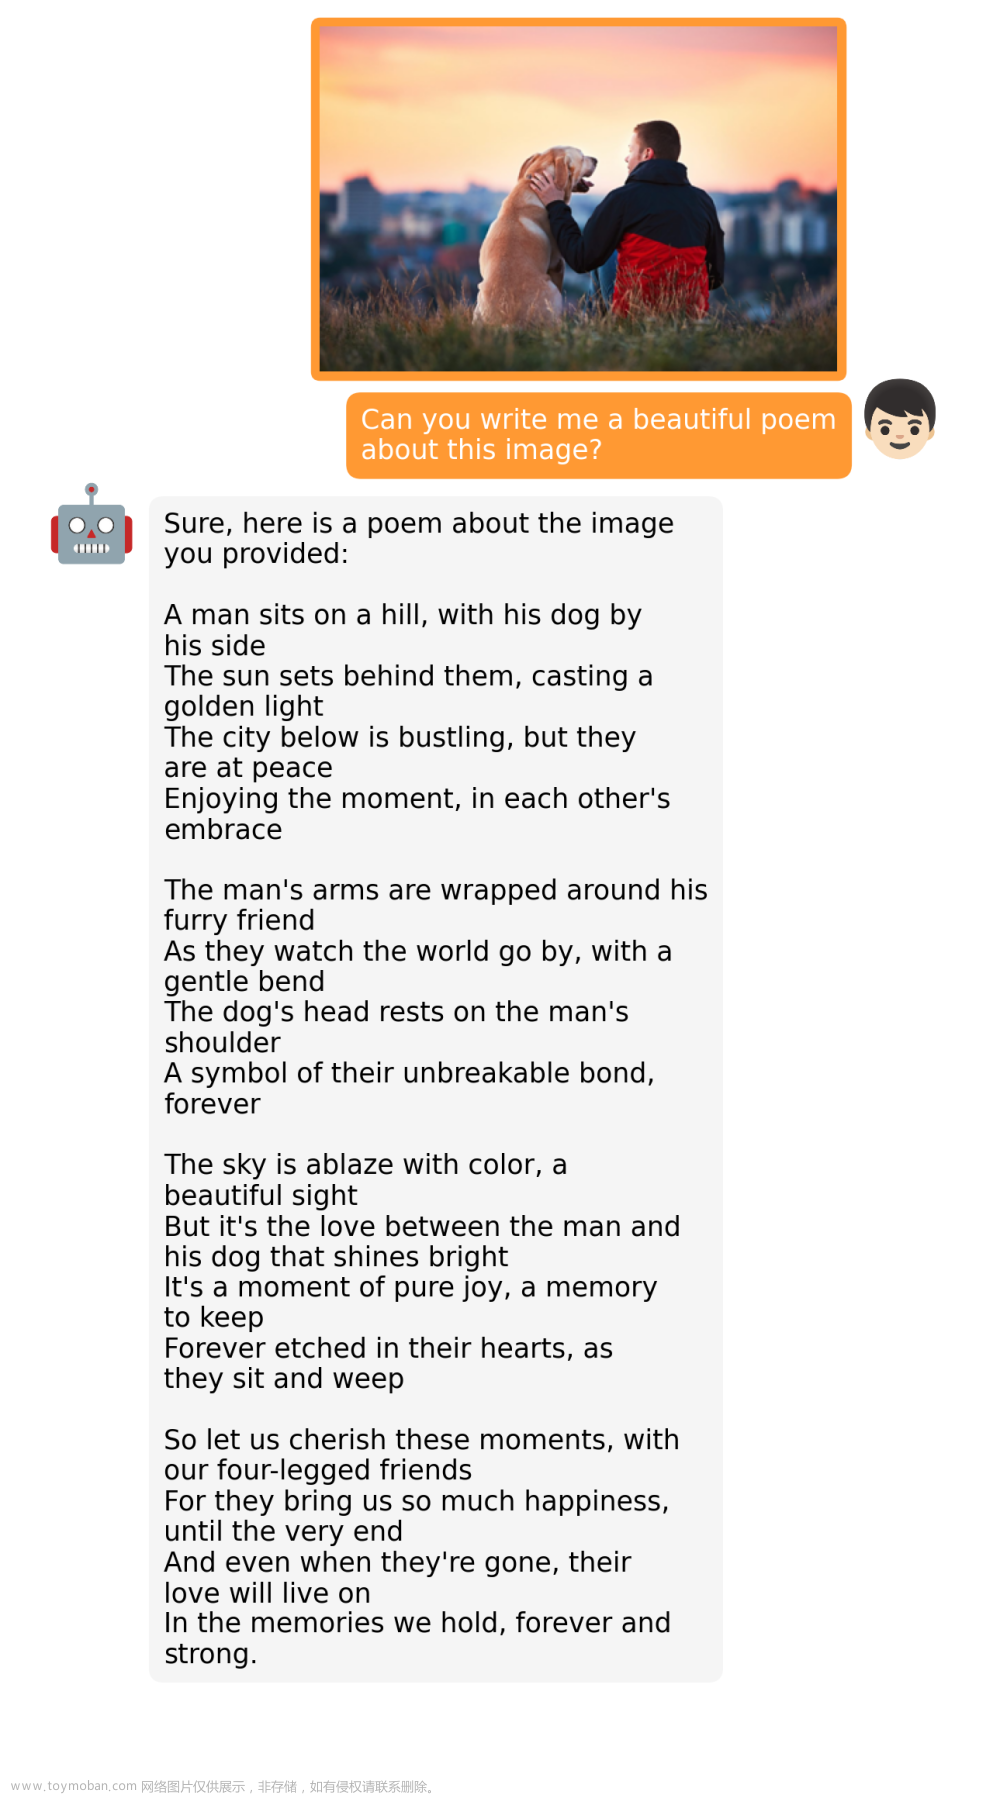
MiniGPT-4能提供类似 GPT-4 的图像理解与对话能力。
在线体验:https://minigpt-4.github.io/
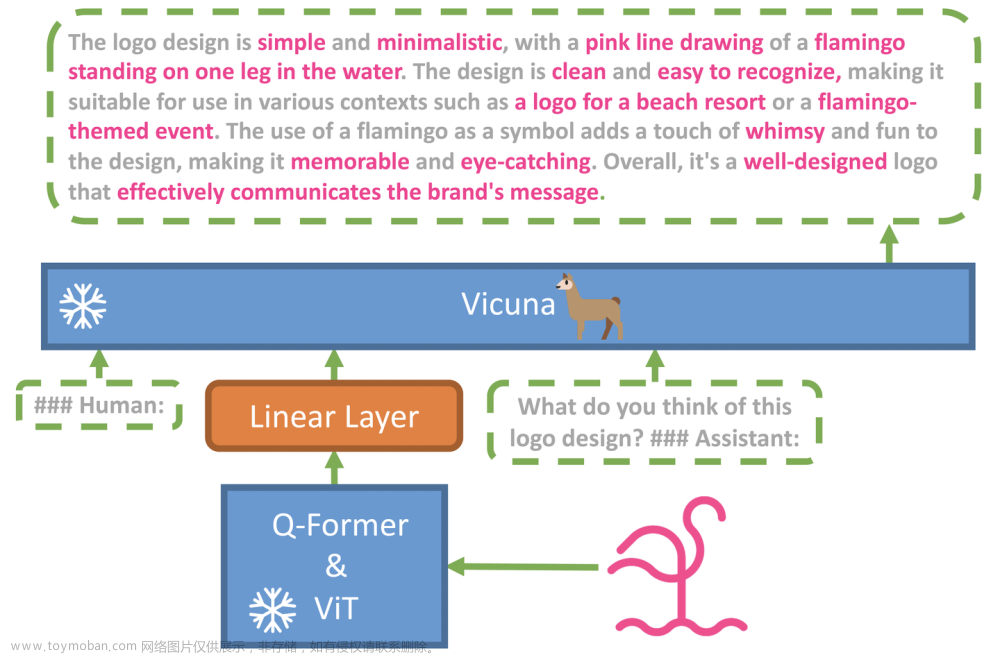
团队把图像编码器与开源语言模型Vicuna(小羊驼)整合起来,并且冻结了两者的大部分参数,只需要训练很少一部分。
部署过程
环境配置与文件准备
1、下载项目到本地,配置环境
git clone https://github.com/Vision-CAIR/MiniGPT-4.git
cd MiniGPT-4
conda env create -f environment.yml
conda activate minigpt4
2、准备pretrained Vicuna weights
这里我们使用 git 命令进行下载
- 先下载安装git-lfs(git-lfs支持下载大文件和二进制文件):安装参考https://www.cnblogs.com/allmignt/p/12353756.html
- 后用git命令下载权重文件,这里下载7b的权重。
# 先进入指定的路径下
cd /data/sim_chatgpt/MiniGPT-4
# 进行下载
git clone https://huggingface.co/lmsys/vicuna-7b-delta-v0
3、修改配置文件的模型路径
在 minigpt4/configs/models/minigpt4.yaml中,第16行修改刚刚下载权重的路径,我这里放到
/data/sim_chatgpt/MiniGPT-4/vicuna_weights/prerained_minigpt4_7b.pth
4、准备 pretrained MiniGPT-4 checkpoint
下载地址:https://drive.google.com/file/d/1RY9jV0dyqLX-o38LrumkKRh6Jtaop58R/view?usp=sharing
在 eval_configs/minigpt4_eval.yaml 文件中第11行修改刚刚下载权重的路径,我这里放到
/students/julyedu_522454/MiniGPT-4/pretrained/ckpt/
部署推理
我这里是单GPU,所以 --gpu-id设置为0
python demo.py --cfg-path eval_configs/minigpt4_eval.yaml --gpu-id 0
报错1
name ‘cuda_setup’ is not defined
解决方法
pip install -U bitsandbytes
参考:https://github.com/Vision-CAIR/MiniGPT-4/issues/117
报错2

Could not create share link. Please check your internet connection or our status page: https://status.gradio.app
解决方法(未解决,参考:https://github.com/Vision-CAIR/MiniGPT-4/issues/99)
尝试:
修改最后一行代码,把服务器IP加进去就好 ,如下:demo.launch(server_name=“xx.xxx.xxx.xxx”, share=True, enable_queue=True)
未解决,待更…文章来源:https://www.toymoban.com/news/detail-433784.html
pip install gradio==3.13.0
测试gradio是否可用:文章来源地址https://www.toymoban.com/news/detail-433784.html
import gradio as gr
def greet(name):
    return "Hello " + name + "!"
demo = gr.Interface(fn=greet, inputs="text", outputs="text")
demo.launch(share=True)
到了这里,关于MiniGPT-4部署过程的文章就介绍完了。如果您还想了解更多内容,请在右上角搜索TOY模板网以前的文章或继续浏览下面的相关文章,希望大家以后多多支持TOY模板网!


