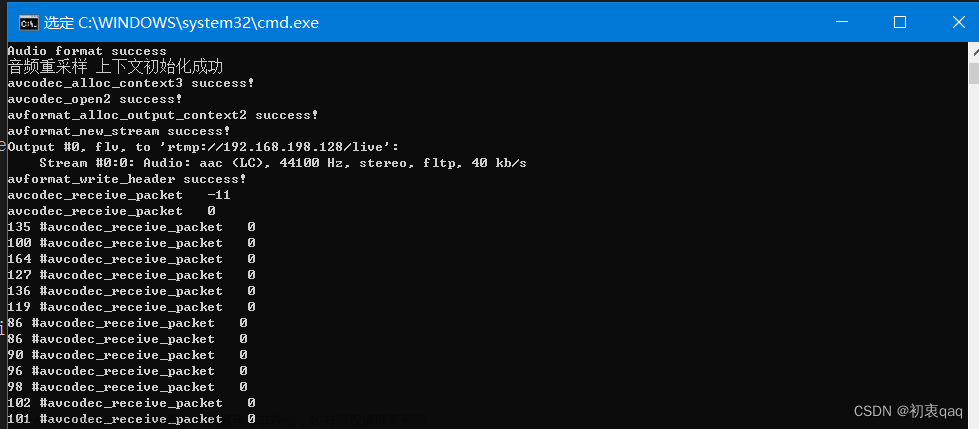
今天把读取本地摄像头将视频流推流到nginx服务器的直播代码学习完了,这里对代码的流程做一下记录,以便以后进行复习。
这边用到了opencv和ffmpeg的开源库(PS:在前面有进行分享),配置环境在之前也有进行分享。
第一步:先用到了opencv的VideoCapture类的open函数打开摄像头,这边的参数可以自己设置,我这边是打开本地的摄像头,所以参数为0。
第二步:初始化格式转化转换上下文,由于从opencv的函数读取出来的图片格式是rgb格式的,后面需要进行编码成h264格式的视频,h264格式的视频需要的是yuv格式的图片格式进行编码,这里初始化使用的函数是sws_getCachedContext()函数。
第三步:配置输出格式的数据结构,即配置yuv图片格式的数据结构,主要包括,宽、高、显示时间等配置项,具体的配置在后面的代码会进行分享。
第四步:初始化编码上下文,主要分为4个小步骤
1.找到编码器,主要利用avcodec_find_encoder()函数。
2.创建编码器的上下文avcodec_alloc_context3()函数。
3.配置编码器的参数,在代码中分享。这边有个坑,由于需要进行配置时间基数time_base,原来我是直接读取摄像头获取到的帧率,后面发现本地获取到的帧率会是0,所以会一直出现没有设置time_base的错误,后面我就改成直接设置成25帧(因为一般视频播放认为不卡顿的帧率为25帧)。
4.打开编码器上下文,利用avcodec_open2()函数。
第五步:封装器和视频流的配置,主要分为3步
1.创建输出封装上下文,主要利用avformat_alloc_output_context2()函数。
2.添加视频流,avformat_new_stream()函数
3.从编码器复制参数,avcodec_parameters_from_context()函数。
第六步:打开rtmp的网络输出io,主要分为2步
1.打开网络输出io,avio_open()函数
2.写入封装头,avformat_write_header()函数
进行初始化配置完后就可以开始进行直播推流了,接下会进入一个死循环,一直进行读取摄像头的视频帧。
在死循环中的步骤如下:
1.开始先利用opencv的grab()函数读取视频帧并进行解码,然后利用retrieve()获取到该rgb帧。
2.接着需要对获取的rgb帧进行转换成yuv帧,利用sws_scale()函数,由于opencv获取到的
图像的存储方式是类似于bgrbgrbgr形式的,即只有一个维度,所以定义的指针数组只需要使用下标为0的数组进行存储即可。
3.转化成yuv格式的视频帧数据后,就可以开始进行编码了,利用avcodec_send_frame()函数进行编码,然后再利用avcodec_receive_packet()函数获取到编码后的数据,这边需要对编码的pts进行配置,不然会出现错误,我这边是定义一个变量,从0开始计数,每解码完一帧后就进行++,增加计数。
4.获取到h264帧数据后就可以开始进行推流了。主要利用av_interleaved_write_frame()函数进行推流,这边要注意需要配置推流的pts和dts的时间基数(time_base),不然在后续同步的时候会出现错误,主要利用av_rescale_q()函数。
大致流程就是这样,接下来分享一下源代码。
#include <opencv2/highgui.hpp>
#include <iostream>
extern "C"
{
#include <libswscale/swscale.h>
#include <libavcodec/avcodec.h>
#include <libavformat/avformat.h>
}
using namespace std;
using namespace cv;
#pragma comment(lib,"opencv_world320.lib")
#pragma comment(lib,"swscale.lib")
#pragma comment(lib,"avcodec.lib")
#pragma comment(lib,"avutil.lib")
#pragma comment(lib,"avformat.lib")
int main(int argc,char *argv[])
{
	//nginx-rtmp 直播服务器rtmp推流URL
	char *outUrl = "rtmp://192.168.198.128/live";
	//注册所有的编解码器
	avcodec_register_all();
	//注册所有的封装器
	av_register_all();
	//注册所有的网络协议
	avformat_network_init();
	VideoCapture cam;
	Mat frame;
	AVFrame *yuv = NULL;
	namedWindow("video");
	//像素格式转换上下文
	SwsContext *vsc = NULL;
	//编码器上下文
	AVCodecContext *vc = NULL;
	//rtmp flv 封装器
	AVFormatContext *ic = NULL;
	try
	{
		//使用opencv打开本地相机
		cam.open(0);
		///1.打开摄像头
		if (!cam.isOpened())
		{
			throw exception("cam open failed!");
		}
		cout << "cam open success" << endl;
		int inWidth = cam.get(CAP_PROP_FRAME_WIDTH);
		int inHeight = cam.get(CAP_PROP_FRAME_HEIGHT);
		int fps = cam.get(CAP_PROP_FPS);
		cout << "fps=" << fps << endl;
		///2.初始化格式转换上下文
		vsc = sws_getCachedContext(vsc,
			//源宽、高、像素格式
			inWidth,inHeight, AV_PIX_FMT_BGR24,
			//目标宽、高、像素格式
			inWidth, inHeight,AV_PIX_FMT_YUV420P,
			SWS_BICUBIC,  //尺寸变化使用的算法
			0,0,0
			);

		if (!vsc)
		{
			throw exception("sws_getCachedContext failed!");
		}
		///3.输出的数据结构
		yuv = av_frame_alloc();
		yuv->format = AV_PIX_FMT_YUV420P;
		yuv->width = inWidth;
		yuv->height = inHeight;
		yuv->pts = 0;
		//分配yuv空间
		int ret = av_frame_get_buffer(yuv,32);
		if (ret != 0)
		{
			char buf[1024] = { 0 };
			av_strerror(ret, buf, sizeof(buf) - 1);
			throw exception(buf);
		}

		///4.初始化编码上下文
		//a 找到编码器
		AVCodec *codec = avcodec_find_encoder(AV_CODEC_ID_H264);
		if (!codec)
		{
			throw exception("Can't find h264 encoder!");
		}
		//b 创建编码器上下文
		vc = avcodec_alloc_context3(codec);
		if (!vc)
		{
			throw exception("avcodec_alloc_context3 failed!");
		}
		//c 配置编码器参数
		vc->flags |= AV_CODEC_FLAG_GLOBAL_HEADER; //全局参数
		vc->codec_id = codec->id;
		vc->thread_count = 8;

		vc->bit_rate = 50 * 1024 * 8; //压缩后每秒视频的bit位大小  200kB
		vc->width = inWidth;
		vc->height = inHeight;
		vc->time_base = {1,25};
		vc->framerate = {25,1};

		//画面组的大小,多少帧一个关键帧
		vc->gop_size = 50;
		//设置不需要b帧
		vc->max_b_frames = 0;
		//设置像素格式
		vc->pix_fmt = AV_PIX_FMT_YUV420P;
		//d 打开编码器上下文
		ret = avcodec_open2(vc, 0, 0);
		if (ret != 0)
		{
			char buf[1024] = { 0 };
			av_strerror(ret, buf, sizeof(buf) - 1);
			throw exception(buf);
		}
		cout << "avcodec_open2 success!" << endl;


		///5 封装器和视频流配置
		//a.创建输出封装器上下文
		ret = avformat_alloc_output_context2(&ic,0,"flv",outUrl);
		if (ret != 0)
		{
			char buf[1024] = { 0 };
			av_strerror(ret, buf, sizeof(buf) - 1);
			throw exception(buf);
		}
		//b.添加视频流
		AVStream *vs = avformat_new_stream(ic, NULL);
		if (!vs)
		{
			throw exception("avformat_new_stream failed!");
		}
		vs->codecpar->codec_tag = 0;
		//从编码器复制参数
		avcodec_parameters_from_context(vs->codecpar,vc);
		av_dump_format(ic,0,outUrl,1);

		///打开rtmp的网络输出io
		ret = avio_open(&ic->pb,outUrl,AVIO_FLAG_WRITE);
		if (ret != 0)
		{
			char buf[1024] = { 0 };
			av_strerror(ret, buf, sizeof(buf) - 1);
			throw exception(buf);
		}
		//写入封装头
		ret = avformat_write_header(ic, NULL);
		if (ret != 0)
		{
			char buf[1024] = { 0 };
			av_strerror(ret, buf, sizeof(buf) - 1);
			throw exception(buf);
		}


		AVPacket pack;
		memset(&pack, 0, sizeof(pack));
		int vpts = 0;
		//读取帧
		for (;;)
		{
			///只做解码,读取视频帧,解码视频帧
			if (!cam.grab())
			{
				continue;
			}
			///yuv转化为rgb
			if (!cam.retrieve(frame))
			{
				continue;
			}
			imshow("video", frame);
			waitKey(1);

			///rgb to yuv
			//3.初始化输入的数据结构
			uint8_t *indata[AV_NUM_DATA_POINTERS] = {0};
			//indata[0] bgrbgrbgr
			//plane  indata[0] bbbbb indata[1]ggggg indata[2] rrrrr
			indata[0] = frame.data;
			int insize[AV_NUM_DATA_POINTERS] = { 0 };
			//一行(宽)数据的字节数
			insize[0] = frame.cols * frame.elemSize();
			int h = sws_scale(vsc,indata,insize,0,frame.rows,//源数据
				yuv->data,yuv->linesize);
			if (h <= 0)
			{
				continue;
			}
			//cout << h <<"" <<flush;
			///h264编码
			yuv->pts = vpts;
			vpts++;
			ret = avcodec_send_frame(vc,yuv);
			if (ret != 0)
			{
				continue;
			}

			ret = avcodec_receive_packet(vc,&pack);
			if (ret != 0||pack.size>0)
			{
				cout << "*" << pack.size << flush;
			}
			else
			{
				continue;
			}
			//推流
			pack.pts = av_rescale_q(pack.pts, vc->time_base, vs->time_base);
			pack.dts = av_rescale_q(pack.dts, vc->time_base, vs->time_base);
			ret = av_interleaved_write_frame(ic,&pack);
			if (ret == 0)
			{
				cout << "#" << flush;
			}
		}
	}
	catch (exception &ex)
	{
		if (cam.isOpened())
			cam.release();
		if (vsc)
		{
			sws_freeContext(vsc);
			vsc = NULL;
		}
		if (vc)
		{
			avio_closep(&ic->pb);
			avcodec_free_context(&vc);
		}
		cerr << ex.what() << endl;
	}
	getchar();
	return 0;
}
然后可以在bin文件夹下创建一个批处理文件,利用ffplay进行拉流播放视频。
批处理文件的内容如下:

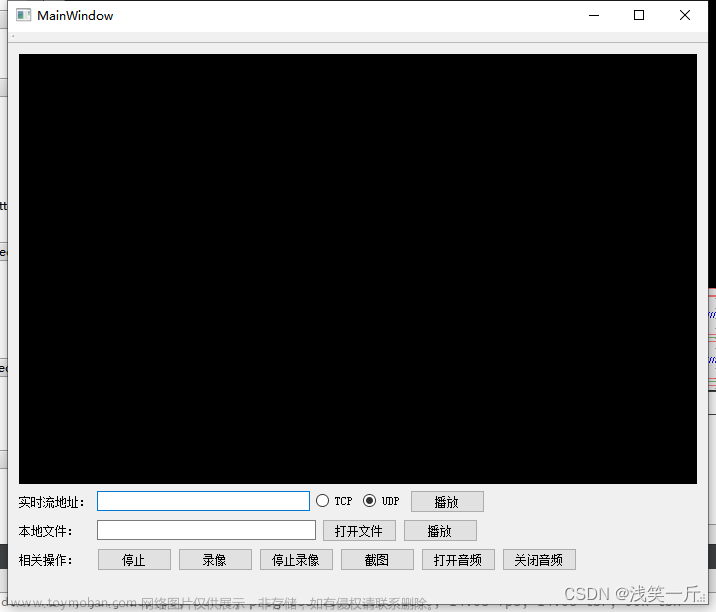
最后是运行的效果图。
 文章来源:https://www.toymoban.com/news/detail-434648.html
文章来源地址https://www.toymoban.com/news/detail-434648.html
到了这里,关于音视频开发系列(7):完成本地摄像头直播推流的文章就介绍完了。如果您还想了解更多内容,请在右上角搜索TOY模板网以前的文章或继续浏览下面的相关文章,希望大家以后多多支持TOY模板网!


