自己开发app之心知天气APP程序代码粘贴即可用。完整代码附最后。
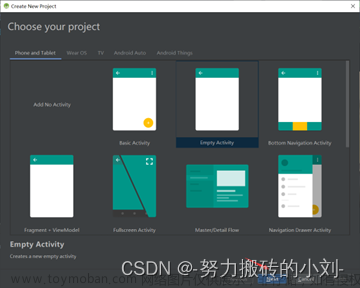
一、环境配置和素材准备
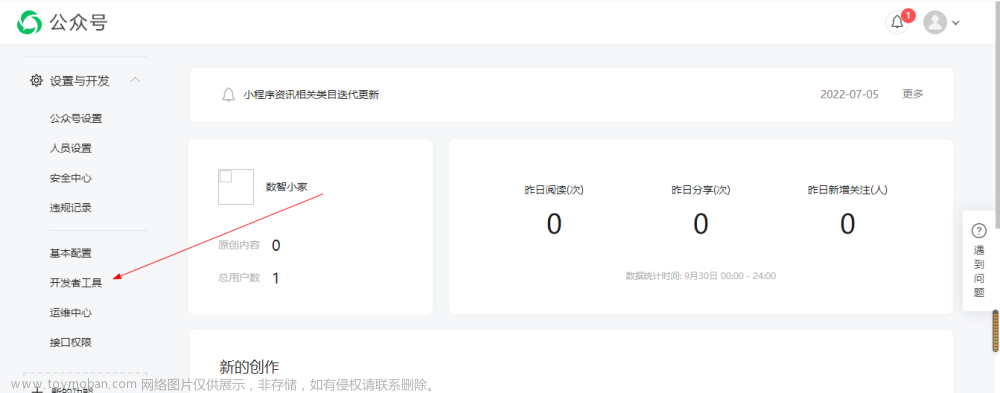
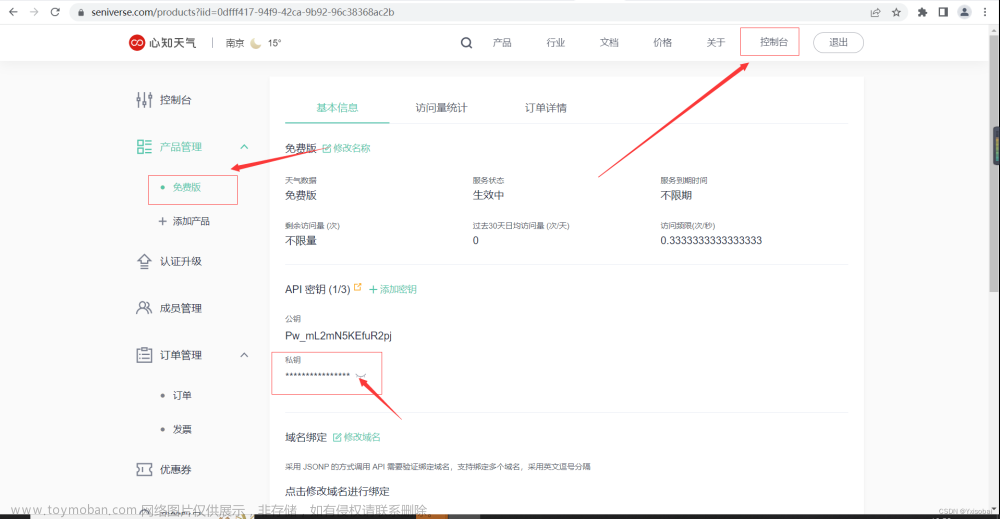
第一步:去知心天气注册开发者账号查看自己的token。注册好登录进去--控制台---免费版--秘钥。这里的秘钥就是自己的token。(有兴趣的可以看开发文档,这里就不多介绍了)
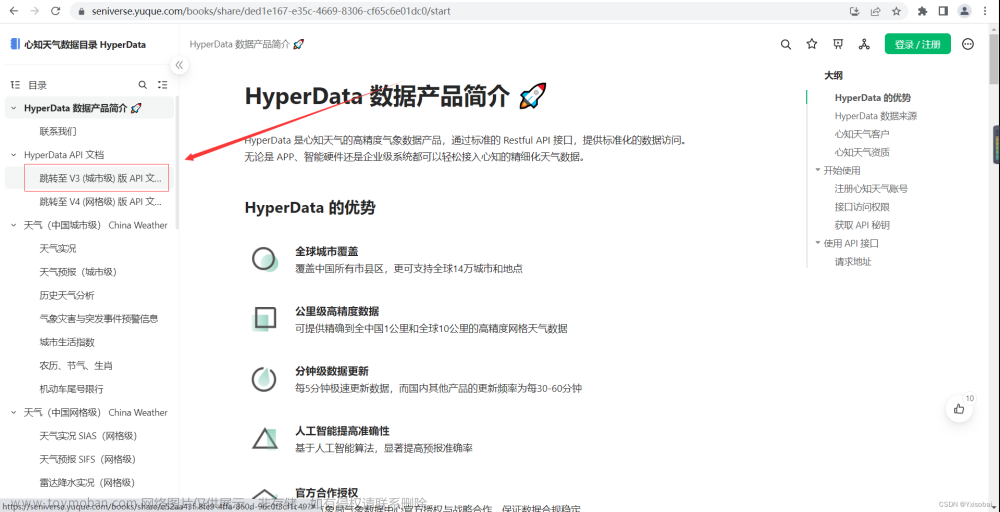
第二步,下载素材包。点击文档-跳转至v3文档--开始使用--天气现象代码说明。点击超链接下载img素材包。
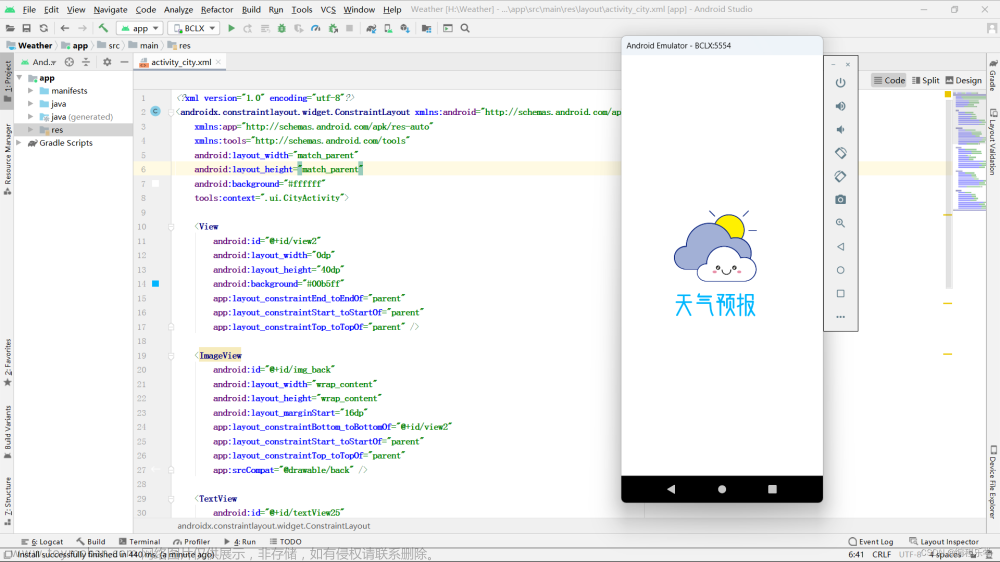
下载好的素材包需要更改一下名称,如果直接导入安卓项目里会报错。名称以字母开头如1.jpg就改成a1.jpg。改完名称后,全选复制到安卓项目里的。右击drawable,选择粘贴。如图所示:

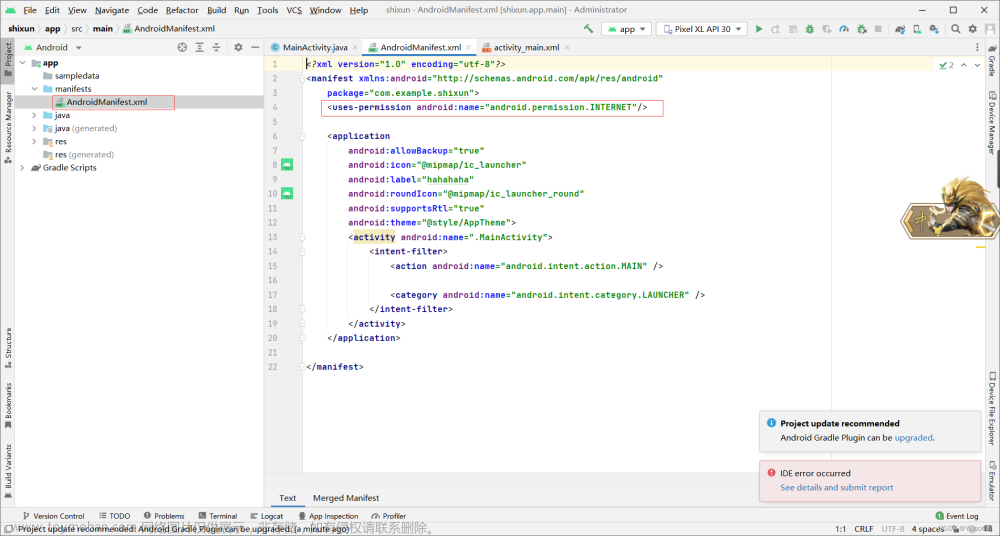
给Android虚拟机申请网络权限如图所示:
网路权限:<uses-permission android:name="android.permission.INTERNET"/>
 添加第三方依赖okhttp:
implementation 'com.squareup.okhttp3:okhttp:3.4.1'

二、代码讲解
接下来就是上代码了(只讲关键代码,其余不懂的可以私信问我也可以百度):
  private int[] image={R.drawable.a0,R.drawable.a1,R.drawable.a2,R.drawable.a3,R.drawable.a4,R.drawable.a5,R.drawable.a6,R.drawable.a7,R.drawable.a8,R.drawable.a9,R.drawable.a10,R.drawable.a11,R.drawable.a12,R.drawable.a13,R.drawable.a14,R.drawable.a15,R.drawable.a16,R.drawable.a17,R.drawable.a18,R.drawable.a19,R.drawable.a20,
         R.drawable.a21,R.drawable.a22,R.drawable.a23,R.drawable.a24,R.drawable.a25,R.drawable.a26,R.drawable.a27,R.drawable.a28,R.drawable.a29,R.drawable.a30,R.drawable.a31,R.drawable.a32,
            R.drawable.a33, R.drawable.a34, R.drawable.a35, R.drawable.a36, R.drawable.a37, R.drawable.a38, R.drawable.a99};
将刚刚导入的img文件做成int[]数组,这样做的好处是便于访问img资源,将天气图标显示到activity上,当然也有其他办法可以百度。
封装请求函数以及JSON解析:
根据文档得知请求的URL是: "https://api.seniverse.com/v3/weather/now.json?key=(这里是你的token)"+所查询要的地区+"&language=zh-Hans&unit=c"请求方法是get。因为考虑到网络原因,避免系统因为网络延迟卡死,故在这里开了一个线程。
new Thread(new Runnable() {
            @Override
            public void run() {
                OkHttpClient okHttpClient = new OkHttpClient();
                Request request = new Request.Builder().url(
                        "https://api.seniverse.com/v3/weather/now.json?key=SVfFen6tRMSdvu0D4&location="+
                                ed1.getText().toString()+"&language=zh-Hans&unit=c"
                ).build();
解析JSON:
 Response response = okHttpClient.newCall(request).execute();
                    String responsestr = response.body().string();
                    JSONObject object = new JSONObject(responsestr);
                    JSONArray resultsarry = object.getJSONArray("results");
                    JSONObject now = resultsarry.getJSONObject(0).getJSONObject("now");
                    JSONObject location =resultsarry.getJSONObject(0).getJSONObject("location");
                    weatherText = now.getString("text");
                    weatherCode = now.getString("code");
                    weatherTemperature = now.getString("temperature");
                    diqu=location.getString("name");
开线程以及消息处理:
因为Android在线程里不能更新ui界面,否则会闪退。需要更新ui就用到了安卓的消息处理机制,通过handleMessage来更新ul界面。通过bundle将解析的数据传送给myhandle,实现UI更新。文章来源:https://www.toymoban.com/news/detail-436146.html
Bundle bundle = new Bundle();
bundle.putString("text", weatherText);
bundle.putString("code", weatherCode);
bundle.putString("temperature", weatherTemperature);
bundle.putString("loc",diqu);
Message msg = Message.obtain();
msg.what = 1;
msg.obj = bundle;
myHandler.sendMessage(msg);
MyHandler myHandler = new MyHandler(){
@Override
public void handleMessage(@NonNull Message msg) {
super.handleMessage(msg);
if(msg.what==1){
Bundle bundle =(Bundle)msg.obj;
tv2.setText(bundle.getString("text"));
tv3.setText(bundle.getString("temperature")+"℃");
tv1.setText("当前地区:"+bundle.getString("loc"));
iv1.setImageResource(image[Integer.valueOf(bundle.getString("code")).
intValue()]);
}
}
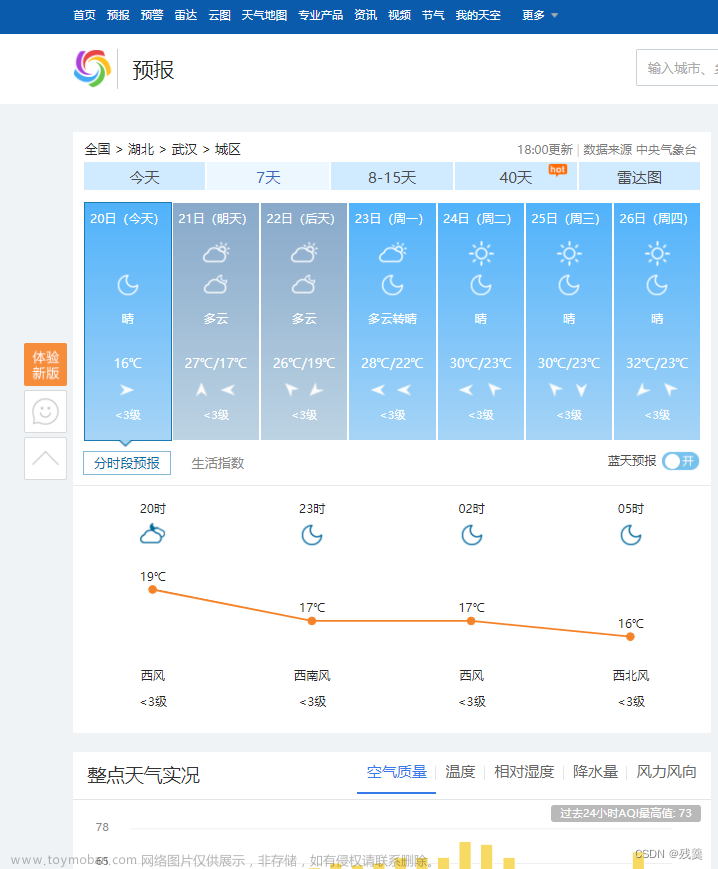
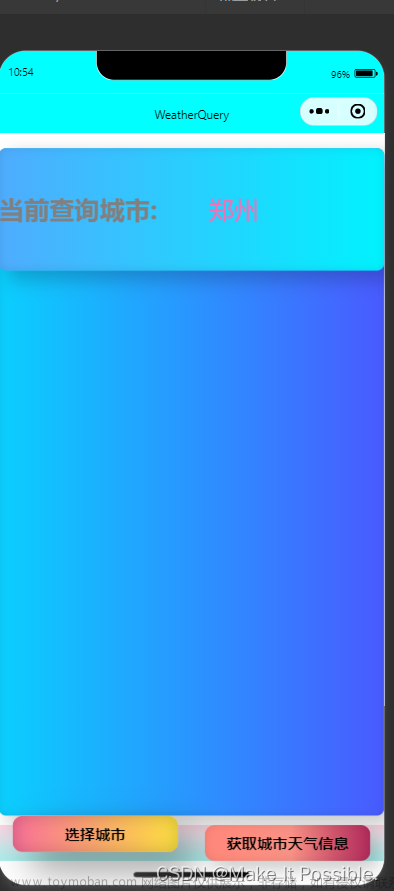
};最终效果:
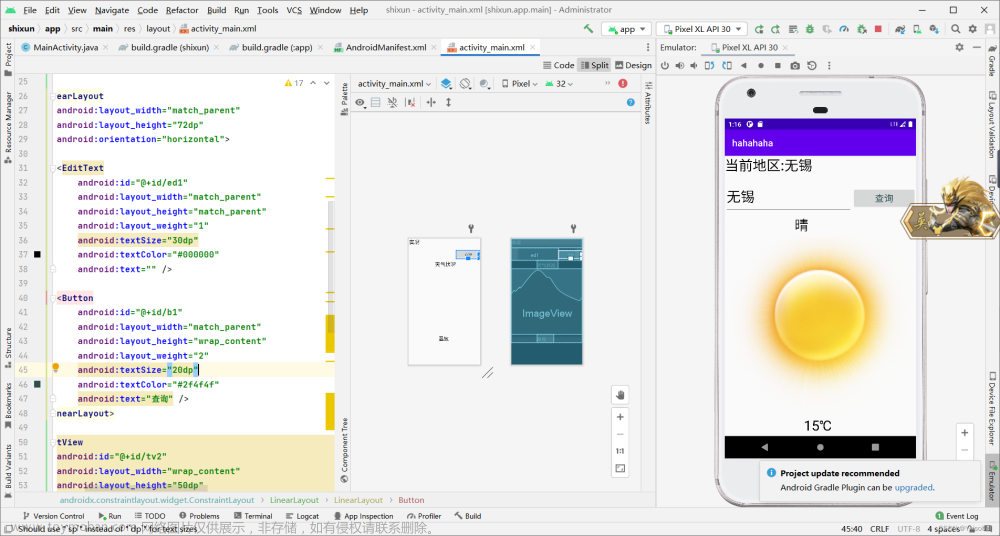 文章来源地址https://www.toymoban.com/news/detail-436146.html
三、完整代码
mainactivity代码:
package com.example.shixun;
import androidx.annotation.NonNull;
import androidx.appcompat.app.AppCompatActivity;
import android.os.Bundle;
import android.os.Handler;
import android.os.Message;
import android.util.Log;
import android.view.View;
import android.widget.Button;
import android.widget.EditText;
import android.widget.ImageView;
import android.widget.TextView;
import android.widget.Toast;
import org.json.JSONArray;
import org.json.JSONException;
import org.json.JSONObject;
import java.io.IOException;
import java.util.HashMap;
import java.util.Map;
import okhttp3.MediaType;
import okhttp3.OkHttpClient;
import okhttp3.Request;
import okhttp3.RequestBody;
import okhttp3.Response;
import okio.BufferedSink;
import static android.widget.Toast.LENGTH_LONG;
public class MainActivity extends AppCompatActivity {
    private TextView tv1,tv2,tv3;
    private Button b1;
    private ImageView iv1;
    private EditText ed1;
    private  String weatherText,weatherCode,weatherTemperature,diqu;
    private int[] image={R.drawable.a0,R.drawable.a1,R.drawable.a2,R.drawable.a3,R.drawable.a4,R.drawable.a5,R.drawable.a6,R.drawable.a7,R.drawable.a8,R.drawable.a9,R.drawable.a10,R.drawable.a11,R.drawable.a12,R.drawable.a13,R.drawable.a14,R.drawable.a15,R.drawable.a16,R.drawable.a17,R.drawable.a18,R.drawable.a19,R.drawable.a20,
            R.drawable.a21,R.drawable.a22,R.drawable.a23,R.drawable.a24,R.drawable.a25,R.drawable.a26,R.drawable.a27,R.drawable.a28,R.drawable.a29,R.drawable.a30,R.drawable.a31,R.drawable.a32,
            R.drawable.a33, R.drawable.a34, R.drawable.a35, R.drawable.a36, R.drawable.a37, R.drawable.a38, R.drawable.a99};
    public  class MyHandler extends Handler{
        public MyHandler(){
        }
    }
    MyHandler myHandler = new  MyHandler(){
        @Override
        public void handleMessage(@NonNull Message msg) {
            super.handleMessage(msg);
            if(msg.what==1){
                Bundle bundle =(Bundle)msg.obj;
                tv2.setText(bundle.getString("text"));
                tv3.setText(bundle.getString("temperature")+"℃");
                tv1.setText("当前地区:"+bundle.getString("loc"));
                iv1.setImageResource(image[Integer.valueOf(bundle.getString("code")).
                            intValue()]);
            }
        }
    };
    @Override
    protected void onCreate(Bundle savedInstanceState) {
        super.onCreate(savedInstanceState);
        setContentView(R.layout.activity_main);
        tv1=(TextView)this.findViewById(R.id.tv1);
        tv2=(TextView)this.findViewById(R.id.tv2);
        tv3=(TextView)this.findViewById(R.id.tv3);
        b1=(Button) this.findViewById(R.id.b1);
        iv1= (ImageView) this.findViewById(R.id.iv1);
 ed1=(EditText) this.findViewById(R.id.ed1);
ed1.setText("无锡");
       // sendHttpRequest();
b1.setOnClickListener(new View.OnClickListener() {
    @Override
    public void onClick(View v) {
        sendHttpRequest();
        Toast.makeText(MainActivity.this,"11",Toast.LENGTH_LONG).show();
    }
});
    }
    public void sendHttpRequest() {
        new Thread(new Runnable() {
            @Override
            public void run() {
                OkHttpClient okHttpClient = new OkHttpClient();
                Request request = new Request.Builder().url(
                        "https://api.seniverse.com/v3/weather/now.json?key=SVfFen6tRMSdvu0D4&location="+
                                ed1.getText().toString()+"&language=zh-Hans&unit=c"
                ).build();
                try {
                    Response response = okHttpClient.newCall(request).execute();                    String responsestr = response.body().string();
                    JSONObject object = new JSONObject(responsestr);
                    JSONArray resultsarry = object.getJSONArray("results");
                    Log.d("JYPC", resultsarry+"sac");
                    JSONObject now = resultsarry.getJSONObject(0).getJSONObject("now");
                    JSONObject location =resultsarry.getJSONObject(0).getJSONObject("location");
                    weatherText = now.getString("text");
                    weatherCode = now.getString("code");
                    weatherTemperature = now.getString("temperature");
                    diqu=location.getString("name");
                    Bundle bundle = new Bundle();
                    bundle.putString("text", weatherText);
                    bundle.putString("code", weatherCode);
                    bundle.putString("temperature", weatherTemperature);
                    bundle.putString("loc",diqu);
                    Log.d("JYPC", diqu+"sac");
                    Message msg = Message.obtain();
                    msg.what = 1;
                    msg.obj = bundle;
                    myHandler.sendMessage(msg);
                } catch (IOException | JSONException e) {
                    e.printStackTrace();
                }
            }

        }).start();
    }

}
xml代码:
<?xml version="1.0" encoding="utf-8"?>
<androidx.constraintlayout.widget.ConstraintLayout xmlns:android="http://schemas.android.com/apk/res/android"
    xmlns:app="http://schemas.android.com/apk/res-auto"
    xmlns:tools="http://schemas.android.com/tools"
    android:layout_width="match_parent"
    android:layout_height="wrap_content"
    tools:context=".MainActivity">

    <LinearLayout
        android:layout_width="match_parent"
        android:layout_height="match_parent"
        android:orientation="vertical"
        app:layout_constraintBottom_toBottomOf="parent"
        tools:layout_editor_absoluteX="6dp"
        tools:ignore="MissingConstraints">

        <TextView
            android:id="@+id/tv1"
            android:layout_width="match_parent"
            android:textSize="30dp"
            android:textColor="#000000"
            android:layout_height="52dp"
            android:layout_gravity="center_vertical"
            android:text="实况" />

        <LinearLayout
            android:layout_width="match_parent"
            android:layout_height="72dp"
            android:orientation="horizontal">

            <EditText
                android:id="@+id/ed1"
                android:layout_width="match_parent"
                android:layout_height="match_parent"
                android:layout_weight="1"
                android:textSize="30dp"
                android:textColor="#000000"
                android:text="" />

            <Button
                android:id="@+id/b1"
                android:layout_width="match_parent"
                android:layout_height="wrap_content"
                android:layout_weight="2"
                android:textSize="20dp"
                android:textColor="#2f4f4f"
                android:text="查询" />
        </LinearLayout>

        <TextView
            android:id="@+id/tv2"
            android:layout_width="wrap_content"
            android:layout_height="50dp"
            android:layout_marginLeft="150dp"
            android:textSize="30dp"
            android:textColor="#000000"
            android:gravity="center"
            android:text="天气状况"></TextView>

        <ImageView
            android:id="@+id/iv1"
            android:layout_width="match_parent"
            android:layout_height="381dp">

        </ImageView>

        <TextView
            android:id="@+id/tv3"
            android:layout_width="100dp"
            android:layout_height="50dp"
            android:layout_marginLeft="150dp"
            android:textSize="30dp"
            android:textColor="#000000"
            android:gravity="center"
            android:text="温度"></TextView>


    </LinearLayout>


</androidx.constraintlayout.widget.ConstraintLayout>
到了这里,关于Android实现-心知天气API接口开发(天气预报app)的文章就介绍完了。如果您还想了解更多内容,请在右上角搜索TOY模板网以前的文章或继续浏览下面的相关文章,希望大家以后多多支持TOY模板网!