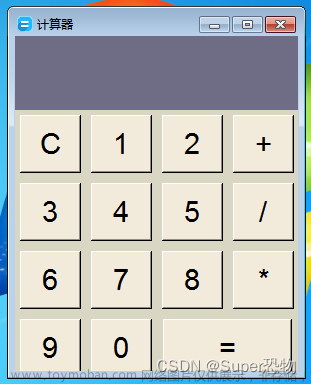
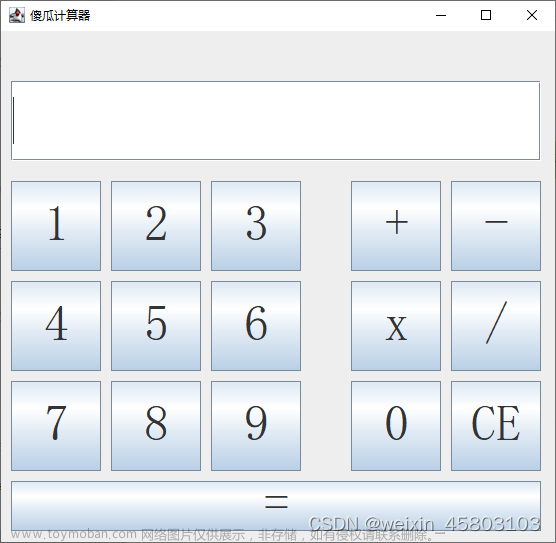
下图为简易、实用的计算器的效果图,今天展示用百行代码完成。

一、导入模块
import tkinter as tk
二、整体布局
win = tk.Tk() # 实例化一个窗体对象
win.title('简易计算器') # 窗口标题
win.geometry('295x280') # 窗口大小
win.attributes('-alpha', 0.9) # 透明度
win["background"] = '#ffffff' # 背景色
三、面板部分
1、 输入框
result_num = tk.StringVar()
result_num.set('')
tk.Label(win,textvariable=result_num,font=('宋体', 20),
height=2,width=20,justify=tk.LEFT,anchor=tk.SE
).grid(row=1, column=1, columnspan=4) # 网格布局
2、 第一行按钮C、%、/、X
# 按钮内容和样式
b_clear = tk.Button(win, text='C', width=5, font=('宋体', 16), relief=tk.FLAT, bg='#b1b2b2') # relief对齐样式:水平
b_per = tk.Button(win, text='%', width=5, font=('宋体', 16), relief=tk.FLAT, bg='#b1b2b2')
b_division = tk.Button(win, text='/', width=5, font=('宋体', 16), relief=tk.FLAT, bg='#b1b2b2')
b_multipli = tk.Button(win, text='X', width=5, font=('宋体', 16), relief=tk.FLAT, bg='#b1b2b2')
# 按钮布局
b_clear.grid(row=2, column=1, padx=4, pady=2)
b_per.grid(row=2, column=2, padx=4, pady=2)
b_division.grid(row=2, column=3, padx=4, pady=2)
b_multipli.grid(row=2, column=4, padx=4, pady=2)
3、 第二行按钮7、8、9、-
b_7 = tk.Button(win, text='7', width=5, font=('宋体', 16), relief=tk.FLAT, bg='#eacda1')
b_8 = tk.Button(win, text='8', width=5, font=('宋体', 16), relief=tk.FLAT, bg='#eacda1')
b_9 = tk.Button(win, text='9', width=5, font=('宋体', 16), relief=tk.FLAT, bg='#eacda1')
b_subtraction = tk.Button(win, text='—', width=5, font=('宋体', 16), relief=tk.FLAT, bg='#b1b2b2')
b_7.grid(row=3, column=1, padx=4, pady=2)
b_8.grid(row=3, column=2, padx=4, pady=2)
b_9.grid(row=3, column=3, padx=4, pady=2)
b_subtraction.grid(row=3, column=4, padx=4, pady=2)
4、 第三行按钮4、5、6、+
b_4 = tk.Button(win, text='4', width=5, font=('宋体', 16), relief=tk.FLAT, bg='#eacda1')
b_5 = tk.Button(win, text='5', width=5, font=('宋体', 16), relief=tk.FLAT, bg='#eacda1')
b_6 = tk.Button(win, text='6', width=5, font=('宋体', 16), relief=tk.FLAT, bg='#eacda1')
b_add = tk.Button(win, text='+', width=5, font=('宋体', 16), relief=tk.FLAT, bg='#b1b2b2')
b_4.grid(row=4, column=1, padx=4, pady=2)
b_5.grid(row=4, column=2, padx=4, pady=2)
b_6.grid(row=4, column=3, padx=4, pady=2)
b_add.grid(row=4, column=4, padx=4, pady=2)
5、 第四行按钮1、2、3、=
b_1 = tk.Button(win, text='1', width=5, font=('宋体', 16), relief=tk.FLAT, bg='#eacda1')
b_2 = tk.Button(win, text='2', width=5, font=('宋体', 16), relief=tk.FLAT, bg='#eacda1')
b_3 = tk.Button(win, text='3', width=5, font=('宋体', 16), relief=tk.FLAT, bg='#eacda1')
# 等号跨行显示,高度、行宽增加
b_equal = tk.Button(win, text='=', width=5, height=3, font=('宋体', 16), relief=tk.FLAT, bg='#b1b2b2')
b_1.grid(row=5, column=1, padx=4, pady=2)
b_2.grid(row=5, column=2, padx=4, pady=2)
b_3.grid(row=5, column=3, padx=4, pady=2)
b_equal.grid(row=5, column=4, padx=4, pady=2, rowspan=2)
6、 第五行按钮0、.
# 0跨列显示,宽度、列跨度增加
b_0 = tk.Button(win, text='0', width=12, font=('宋体', 16), relief=tk.FLAT, bg='#eacda1')
b_dot = tk.Button(win, text='.', width=5, font=('宋体', 16), relief=tk.FLAT, bg='#eacda1')
b_0.grid(row=6, column=1, padx=4, pady=2, columnspan=2)
b_dot.grid(row=6, column=3, padx=4, pady=2)
四、逻辑部分
1、 显示函数
def click_button(x):
# print('x:\t',x) # 检测显示效果
result_num.set(result_num.get()+x)
2、 运算函数
def operation():
opt_str = result_num.get()
result = eval(opt_str)
result_num.set(str(result))
3、 按键命令
b_1.config(command=lambda: click_button('1'))
b_2.config(command=lambda: click_button('2'))
b_3.config(command=lambda: click_button('3'))
b_4.config(command=lambda: click_button('4'))
b_5.config(command=lambda: click_button('5'))
b_6.config(command=lambda: click_button('6'))
b_7.config(command=lambda: click_button('7'))
b_8.config(command=lambda: click_button('8'))
b_9.config(command=lambda: click_button('9'))
b_0.config(command=lambda: click_button('0'))
b_add.config(command=lambda: click_button('+'))
b_subtraction.config(command=lambda: click_button('-'))
b_multipli.config(command=lambda: click_button('*'))
b_division.config(command=lambda: click_button('/'))
b_dot.config(command=lambda: click_button('.'))
b_clear.config(command=lambda: result_num.set(''))
b_per.config(command=lambda: click_button('/100'))
b_equal.config(command=operation)
五、 运行
win.mainloop()
六、效果演示
QQ录屏20230509105355文章来源:https://www.toymoban.com/news/detail-437264.html
哈哈,大功告成!效果杠杠的,我在里面添加了‘防伪标志’。文章来源地址https://www.toymoban.com/news/detail-437264.html
到了这里,关于举一反三学python(12)—制作简易计算器的文章就介绍完了。如果您还想了解更多内容,请在右上角搜索TOY模板网以前的文章或继续浏览下面的相关文章,希望大家以后多多支持TOY模板网!


