Cisco:RIP路由协议配置实验
目的:实现全网通
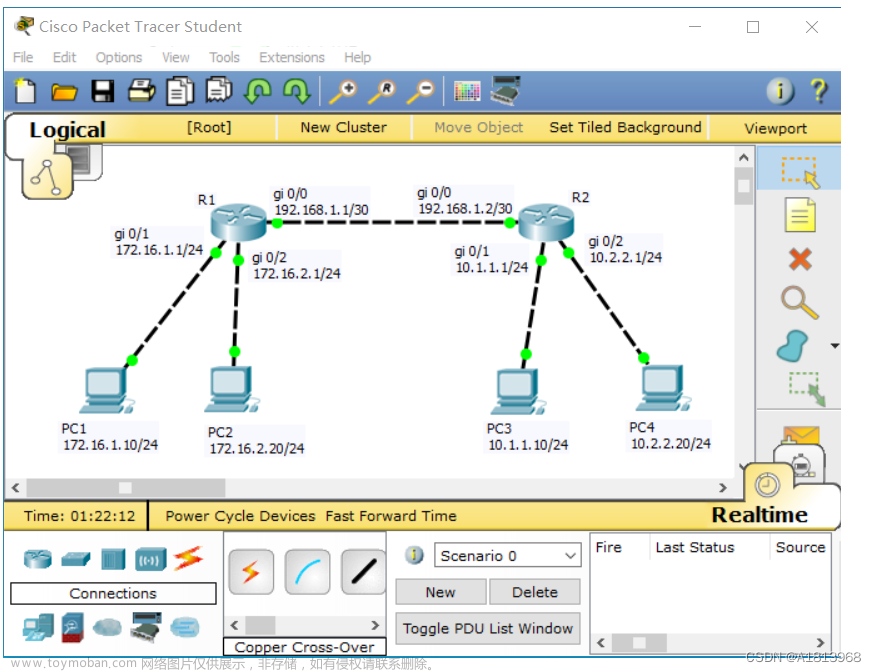
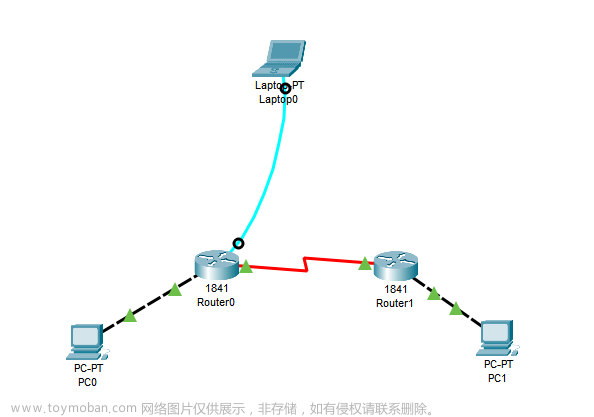
拓扑图

配置过程:配置每一台PC机的IP地址,配置路由器相应的接口配置好对应的IP地址,配置路由协议,使得每一台主机之间可以进行通信(ping通)
PC配置
PC0


相同的方式配置PC1,PC2,
(在cmd命令界面使用ipconfig /all进行IP地址配置查看)
R0路由配置
Router>enable
Router#configure terminal
Router(config)#interface g0/0/0  //进入接口
Router(config-if)#ip address 10.1.1.1 255.255.255.0  //配置IP地址
Router(config-if)#no shutdown
Router(config-if)#exit
Router(config)#interface g0/0/1
Router(config-if)#ip address 192.168.1.1 255.255.255.0
Router(config-if)#no shutdown
Router(config-if)#exit
Router(config)#route rip		//配置rip协议
Router(config-router)#version 2	//版本为2(所有的版本都为2才会互相连通)
Router(config-router)#network 10.1.1.0  //向外宣告有哪些主网络网段,此网段的所在接口将向外宣告RIP路由信息,并同时接收RIP更新信息
Router(config-router)#network 192.168.1.0
Router(config-router)#no auto-summary
Router(config-router)#end
Router#show running-config //查看接口配置信息
R1路由配置
R1的配置与R0的配置相差不多,注意IP地址的配置以及宣告的网段就行
Router>enable
Router#configure terminal
Router(config)#interface g0/0/0  //进入接口
Router(config-if)#ip address 10.1.2.1 255.255.255.0  //配置IP地址
Router(config-if)#no shutdown
Router(config-if)#exit
Router(config)#interface g0/0/1
Router(config-if)#ip address 192.168.1.2 255.255.255.0
Router(config-if)#no shutdown
Router(config-if)#exit
Router(config)#route rip		//配置rip协议
Router(config-router)#version 2	//版本为2(所有的版本都为2才会互相连通)
Router(config-router)#network 10.1.2.0  //向外宣告有哪些主网络网段,此网段的所在接口将向外宣告RIP路由信息,并同时接收RIP更新信息
Router(config-router)#network 192.168.1.0
Router(config-router)#no auto-summary
Router(config-router)#end
Router#show running-config //查看接口配置信息
R2路由配置
R2的配置与R0的配置相差不多,注意IP地址的配置以及宣告的网段就行
Router>enable
Router#configure terminal
Router(config)#interface g0/0/0  //进入接口
Router(config-if)#ip address 192.168.1.3 255.255.255.0  //配置IP地址
Router(config-if)#no shutdown
Router(config-if)#exit
Router(config)#interface g0/0/1
Router(config-if)#ip address 192.168.2.1 255.255.255.0
Router(config-if)#no shutdown
Router(config-if)#exit
Router(config)#route rip		//配置rip协议
Router(config-router)#version 2	//版本为2(所有的版本都为2才会互相连通)
Router(config-router)#network 192.168.2.0  //向外宣告有哪些主网络网段,此网段的所在接口将向外宣告RIP路由信息,并同时接收RIP更新信息
Router(config-router)#network 192.168.1.0
Router(config-router)#no auto-summary
Router(config-router)#end
Router#show running-config //查看接口配置信息
R3默认路由配置
默认路由的主要作用:当存在末梢网络时,默认路由会大大简化路由器的配置,减轻管理员的工作负担,提高网络性能。默认路由是一种特殊的静态路由,指的是当路由表中与包的目的地址之间没有匹配的表项时路由器能够做出的选择,如果没有默认路由器,那么目的地址在路由表中没有匹配表项的包将被丢弃。主机里的默认路由通常被称作默认网关。默认网关通常会是一个有过滤功能的设备,如防火墙和代理服务器。
Router>enable
Router#configure terminal
Router(config-if)#interface g0/0/0
Router(config-if)#ip address 172.16.0.1 255.255.0.0
Router(config-if)#no shutdown
Router(config-if)#exit
Router(config)#ip route 0.0.0.0 0.0.0.0 192.168.1.1 //配置默认路由
Router(config)#ip route 0.0.0.0 0.0.0.0 192.168.1.2
Router(config)#ip route 0.0.0.0 0.0.0.0 192.168.1.3
Router(config)#end
Router#show running-config //查看端口配置信息
测试一下连通性,这里我们用PC0来ping各个接口
1:PC0 ping 网关

2:PC0 ping 路由器0外接口g0/0/1


3:PC0 ping 路由器1接口外接口g0/0/1

4:PC0 ping PC1

5:PC0 ping PC2

总结
这里我们就已经实现了全网通,如果内容有所问题,请尽情的私信!下面是我们的文件链接。文章来源:https://www.toymoban.com/news/detail-439763.html
https://download.csdn.net/download/qq_45345433/85164649文章来源地址https://www.toymoban.com/news/detail-439763.html
到了这里,关于Cisco:RIP路由协议配置实验(静态,默认)的文章就介绍完了。如果您还想了解更多内容,请在右上角搜索TOY模板网以前的文章或继续浏览下面的相关文章,希望大家以后多多支持TOY模板网!

