背景:
本文的内容是针对单片机蓝牙模块(HC-42)开发的手机App。在这之前,我想先声明一点,手机与手机间的蓝牙连接方式”与“手机与HC间的蓝牙连接方式”是不一样的。原因就是手机搭配的是“经典蓝牙”模块,HC等蓝牙属于“低功耗蓝牙”模块。(二者的区别想了解的话建议你去看看其他朋友的文章),我在这里只想简单说一下这二者在功能代码实现上可以说是完全不一样的。这就解释了有一些朋友制作的软件明明可以与手机,平板等设备配对连接,却一直与HC蓝牙配对失败。
前言:
本文的内容只讲如何实现手机与HC蓝牙的配对,如果想了解一下手机与手机,手机与平板间的“经典蓝牙”通信方式,可以看我往期的博文,这篇博文讲的是如何制作一个基于蓝牙通信的聊天软件(类似于微信功能),也是一个挺有意思的项目(Android Studio制作蓝牙聊天通讯软件)
本文内容简介:
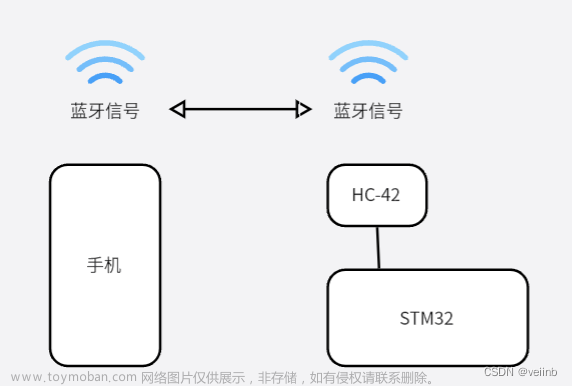
制作一个手机APP,无线连接HC蓝牙模块,将手机端数据发送给HC,从而控制STM32,文末会有资源分享。
简单通讯原理图:
如何制作这样一个App?
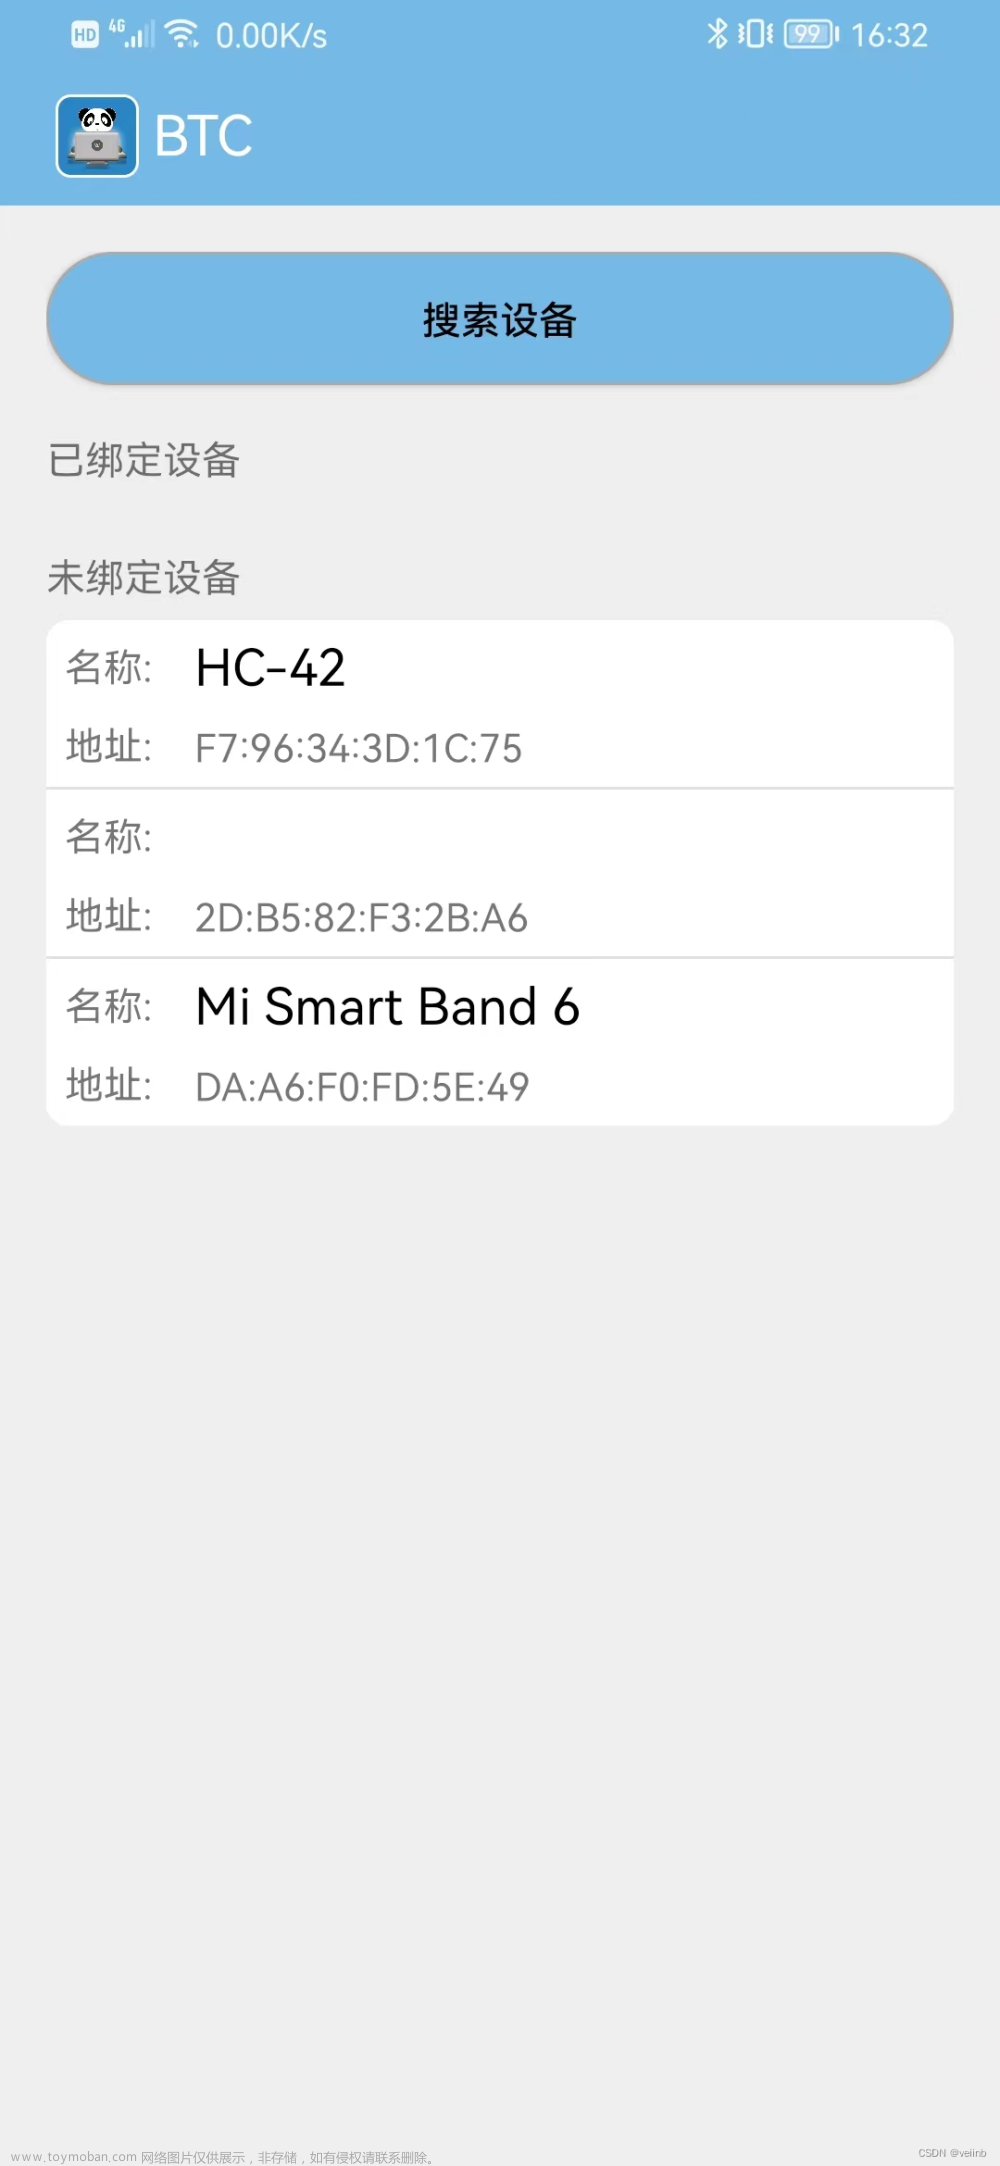
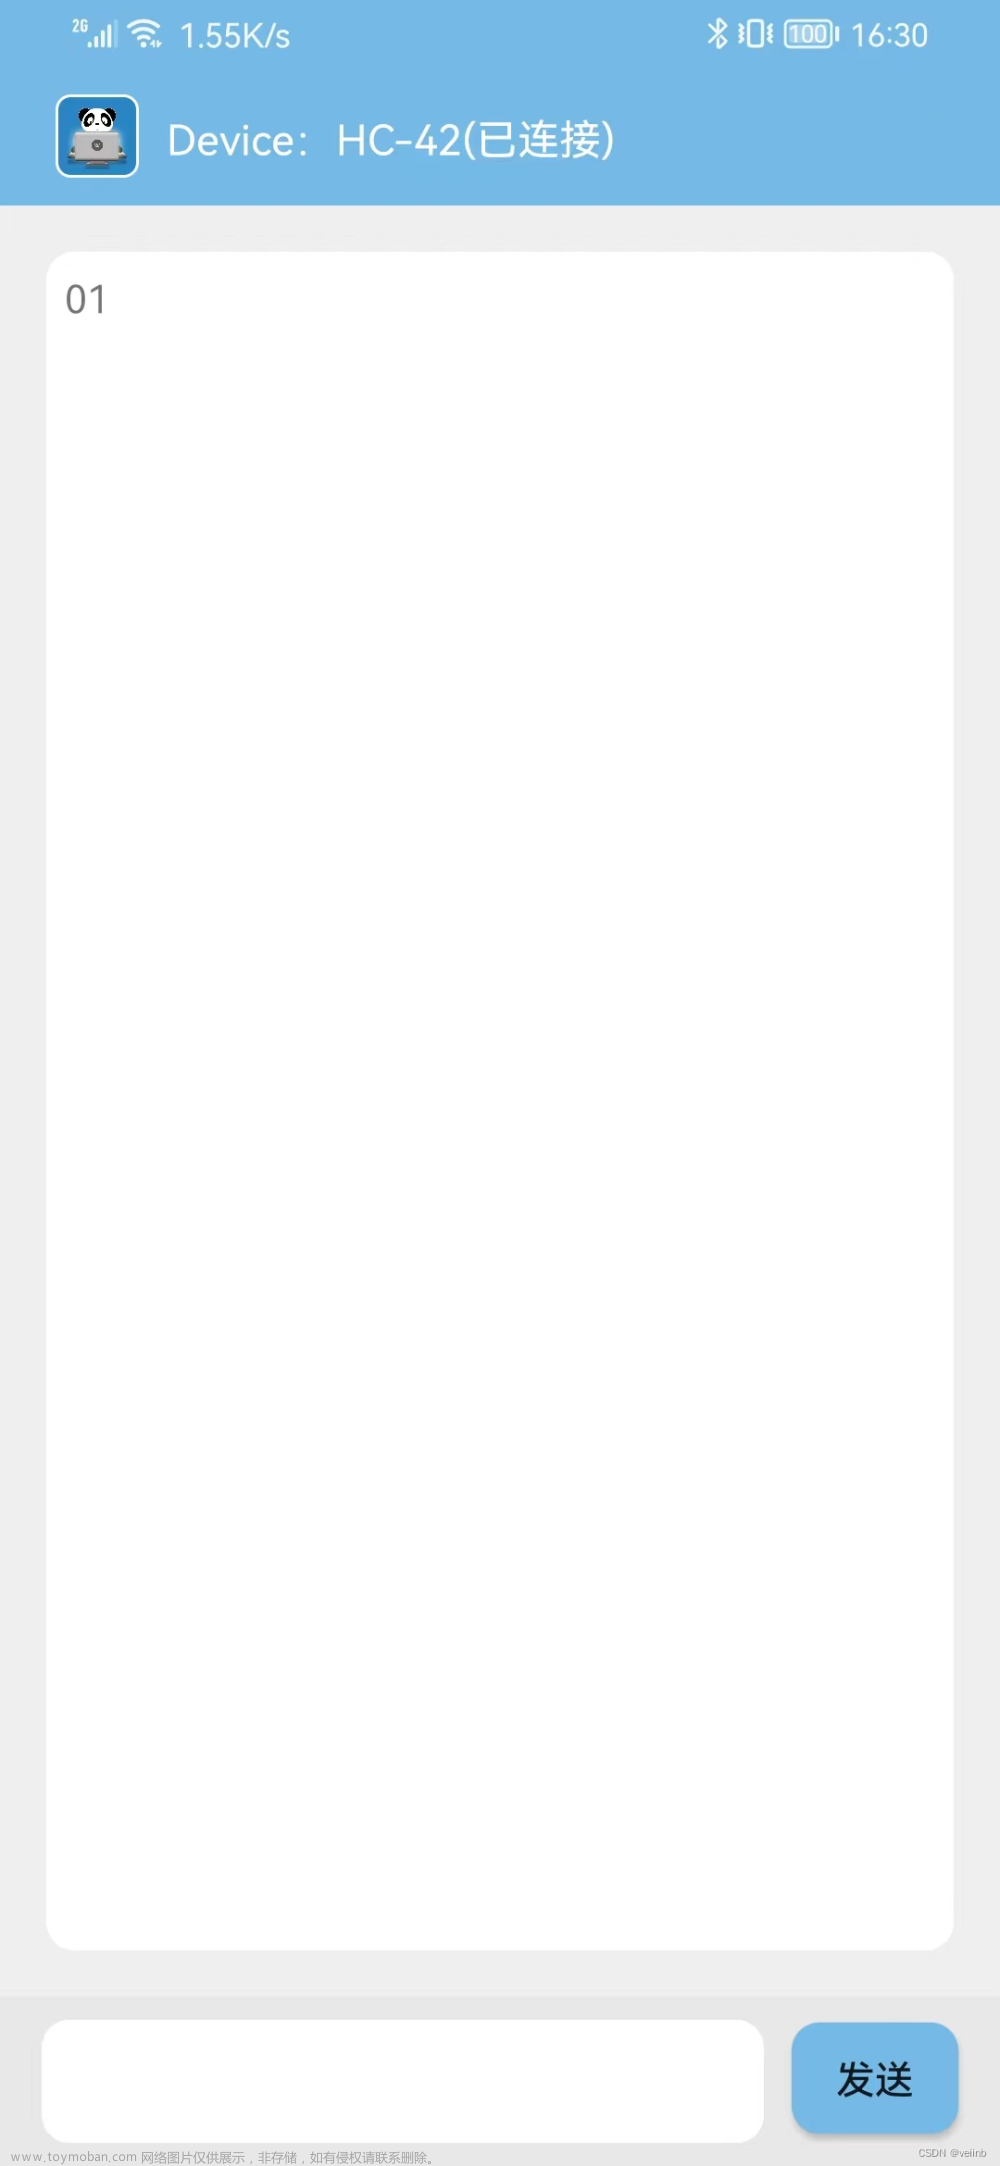
首先看一下本次的效果图:
一、软件UI界面部分的设计实现
可以看 软件UI界面设计的实现 这篇博文,先实现界面设计后,再完成接下来的功能代码实现。
二、功能代码的实现。
1、在AndroidManifest.xml中添加依赖:
<uses-permission android:name="android.permission.BLUETOOTH"/>
<uses-permission android:name="android.permission.BLUETOOTH_ADMIN"/>
<uses-permission android:name="android.permission.ACCESS_FINE_LOCATION"/>
<uses-permission android:name="android.permission.ACCESS_COARSE_LOCATION"/>
<uses-feature android:name="android.hardware.bluetooth_le" android:required="true"
2、新建文件BlueToothController .java,完整代码及其解析如下:
package BluetoothPackage;
import android.app.Activity;
import android.bluetooth.BluetoothAdapter;
import android.bluetooth.BluetoothDevice;
import android.bluetooth.BluetoothGatt;
import android.bluetooth.BluetoothGattCallback;
import android.bluetooth.le.BluetoothLeScanner;
import android.bluetooth.le.ScanCallback;
import android.content.Context;
import android.content.Intent;
import java.util.ArrayList;
import java.util.List;
/**
* Created by WYB on 2023/4/28.
*/
public class BluetoothController {
private BluetoothAdapter mAdapter;//本手机的蓝牙适配器
private BluetoothLeScanner mLeScanner;//本手机蓝牙适配器上的扫描硬件
private Activity mActivity;
public static final int REQUEST_CODE_ENABLE_BLUETOOTH = 0;
public BluetoothController(Activity activity){
mAdapter = BluetoothAdapter.getDefaultAdapter();//获取本机蓝牙适配器
mLeScanner = mAdapter.getBluetoothLeScanner();//获取本机蓝牙扫描器
mActivity = activity;
}
public BluetoothAdapter getAdapter() {
return mAdapter;
}
public BluetoothLeScanner getmLeScanner(){
return mLeScanner;
}
/*
打开蓝牙设备
*/
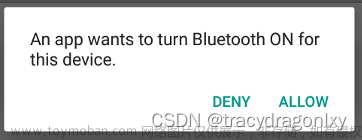
public void turnOnBlueTooth(){
Intent intent = new Intent(BluetoothAdapter.ACTION_REQUEST_ENABLE);
mActivity.startActivityForResult(intent,REQUEST_CODE_ENABLE_BLUETOOTH);
}
/*
关闭蓝牙设备
*/
public void turnOffBlueTooth(){
mAdapter.disable();
}
/**
* 打开蓝牙可见性,让别的设备发现我
*/
public void enableVisibily(Context context){
Intent intent = new Intent(BluetoothAdapter.ACTION_REQUEST_DISCOVERABLE);
intent.putExtra(BluetoothAdapter.EXTRA_DISCOVERABLE_DURATION,300);
context.startActivity(intent);
}
/*
查找未绑定的蓝牙设备
*/
public void findDevice(){
assert (mAdapter!=null);
mAdapter.startDiscovery();
}
/*
查看已绑定的蓝牙设备
*/
public List<BluetoothDevice> getBondedDeviceList(){
return new ArrayList<>(mAdapter.getBondedDevices());
}
/*
开启扫描
*/
public void scanBlueTooth(ScanCallback scanCallback){
mLeScanner.startScan(scanCallback);
}
/*
关闭扫描
*/
public void stopBlueTooth(ScanCallback scanCallback){
mLeScanner.stopScan(scanCallback);
}
/*
连接设备
*/
public BluetoothGatt connectBlueTooth(BluetoothDevice bluetoothDevice, boolean autoConnect, BluetoothGattCallback gattCallback){
return bluetoothDevice.connectGatt(this.mActivity,autoConnect,gattCallback);
}
}3、MainActivity .java,完整代码及其解析如下:
package com.example.wyb.bluetoothchatui;
import android.Manifest;
import android.bluetooth.BluetoothAdapter;
import android.bluetooth.BluetoothDevice;
import android.bluetooth.BluetoothManager;
import android.bluetooth.le.ScanCallback;
import android.bluetooth.le.ScanResult;
import android.content.Context;
import android.content.Intent;
import android.content.pm.PackageManager;
import android.os.Build;
import android.os.Handler;
import android.support.v4.app.ActivityCompat;
import android.support.v4.content.ContextCompat;
import android.support.v7.app.AppCompatActivity;
import android.os.Bundle;
import android.util.Log;
import android.view.View;
import android.widget.AdapterView;
import android.widget.Button;
import android.widget.ListView;
import android.widget.Toast;
import java.util.ArrayList;
import java.util.List;
import BluetoothPackage.BluetoothController;
import MyClass.DeviceAdapter;
import MyClass.DeviceClass;
public class MainActivity extends AppCompatActivity {
    private DeviceAdapter mAdapter1,mAdapter2;
    private List<DeviceClass> mbondDeviceList = new ArrayList<>();//搜索到的所有已绑定设备保存为列表(仅保留名称与地址)
    private List<DeviceClass> mfindDeviceList = new ArrayList<>();//搜索到的所有未绑定设备保存为列表(仅保留名称与地址)
    private List<BluetoothDevice> bondDevices = new ArrayList<>();//搜索到的所有的已绑定设备
    private List<BluetoothDevice> findDevices = new ArrayList<>();//搜索到的所有的未绑定设备
    private BluetoothController mbluetoothController;
    private Toast mToast;
    private mScanCallBack myScanCallBack;
    private static final int PERMISSION_REQUEST_COARSE_LOCATION=1;
    private Button findBtn;
    private Handler mHandler = new Handler();
    @Override
    protected void onCreate(Bundle savedInstanceState) {
        super.onCreate(savedInstanceState);
        setContentView(R.layout.activity_main);
        mbluetoothController = new BluetoothController(this);
        Init_listView();//初始化设备列表
        findBtn = (Button) findViewById(R.id.button1);
        Init_Bluetooth();//开启蓝牙相关权限
    }
    //扫描蓝牙功能的实现
    private class mScanCallBack extends ScanCallback{
        @Override
        public void onScanResult(int callbackType, ScanResult result){
            super.onScanResult(callbackType,result);
            if(!findDevices.contains(result.getDevice()))
            {
                mfindDeviceList.add(new DeviceClass(result.getDevice().getName(),result.getDevice().getAddress()));
                findDevices.add(result.getDevice());
                mAdapter2.notifyDataSetChanged();
            }
        }
        @Override
        public void onBatchScanResults(List<ScanResult> results){
            super.onBatchScanResults(results);
        }
        @Override
        public void onScanFailed(int errorCode){
            super.onScanFailed(errorCode);
        }
    }
    //初始化蓝牙权限
    private void Init_Bluetooth(){
        myScanCallBack = new mScanCallBack();
        if (Build.VERSION.SDK_INT >= Build.VERSION_CODES.M) {
            if (this.checkSelfPermission(Manifest.permission.ACCESS_COARSE_LOCATION) != PackageManager.PERMISSION_GRANTED) {
                requestPermissions(new String[]{Manifest.permission.ACCESS_COARSE_LOCATION}, PERMISSION_REQUEST_COARSE_LOCATION);
            }
        }
        mbluetoothController.turnOnBlueTooth();
    }
    //初始化列表,适配器的加载
    public void Init_listView(){
        mAdapter1 = new DeviceAdapter(MainActivity.this, R.layout.device_item, mbondDeviceList);
        ListView listView1 = (ListView)findViewById(R.id.listview1);
        listView1.setAdapter(mAdapter1);
        mAdapter1.notifyDataSetChanged();
        mAdapter2 = new DeviceAdapter(MainActivity.this, R.layout.device_item, mfindDeviceList);
        ListView listView2 = (ListView)findViewById(R.id.listview2);
        listView2.setAdapter(mAdapter2);
        mAdapter2.notifyDataSetChanged();
        listView2.setOnItemClickListener(toBondDevices);//点击设备,进行绑定
    }
    //点击开始查找蓝牙设备
    public View findDevice(View view){
        //先执行其他代码,8s后执行run()里面的代码
        mHandler.postDelayed(new Runnable() {
            @Override
            public void run() {
                change_Button_Text("搜索设备","ENABLE");
                mbluetoothController.stopBlueTooth(myScanCallBack);
            }
        }, 8000);
        change_Button_Text("搜索中...","DISABLE");
        mbluetoothController.scanBlueTooth(myScanCallBack);Log.e("提示","---------->findDevice");
        return view;
    }
    //点击按键搜索后按键的变化
    private void change_Button_Text(String text,String state){
        if("ENABLE".equals(state)){
            findBtn.setEnabled(true);
            findBtn.getBackground().setAlpha(255); //0~255 之间任意调整
            findBtn.setTextColor(ContextCompat.getColor(this, R.color.black));
        }
        else {
            findBtn.setEnabled(false);
            findBtn.getBackground().setAlpha(150); //0~255 之间任意调整
            findBtn.setTextColor(ContextCompat.getColor(this, R.color.colorAccent));
        }
        findBtn.setText(text);
    }
    //点击设备后执行的函数,跳转到第二个操作界面,并将选中的蓝牙设备信息传递过去
    private AdapterView.OnItemClickListener toBondDevices =new AdapterView.OnItemClickListener(){
        @Override
        public void onItemClick(AdapterView<?> adapterView, View view, int i, long l){
            mbluetoothController.stopBlueTooth(myScanCallBack);
            BluetoothDevice device = findDevices.get(i);
            Intent intent = new Intent(MainActivity.this,Main2Activity.class);
            intent.putExtra("device",device);
            startActivity(intent);
        }
    };
    //设置toast的标准格式
    private void showToast(String text){
        if(mToast == null){
            mToast = Toast.makeText(this, text,Toast.LENGTH_SHORT);
            mToast.show();
        }
        else {
            mToast.setText(text);
            mToast.show();
        }
    }
}
4、MainActivity2 .java,完整代码及其解析如下:
package com.example.wyb.bluetoothchatui;
import android.bluetooth.BluetoothDevice;
import android.bluetooth.BluetoothGatt;
import android.bluetooth.BluetoothGattCallback;
import android.bluetooth.BluetoothGattCharacteristic;
import android.bluetooth.BluetoothGattService;
import android.content.Intent;
import android.support.v7.app.AppCompatActivity;
import android.os.Bundle;
import android.util.Log;
import android.view.View;
import android.widget.EditText;
import android.widget.ListView;
import android.widget.TextView;
import android.widget.Toast;
import java.util.List;
import BluetoothPackage.BluetoothController;
public class Main2Activity extends AppCompatActivity {
    private BluetoothDevice Device;
    private TextView textView;
    private EditText editText;
    private mGattCallback myGattCallBack;
    private BluetoothGatt mybluetoothGatt;
    private BluetoothController mbluetoothController;
    private String SERVICE_EIGENVALUE_SED = "0000ffe1-0000-1000-8000-00805f9b34fb";
    private android.os.Handler mytimeHandler = new android.os.Handler();
    private BluetoothGattCharacteristic mneedGattCharacteristic;
    private TextView deviceState;
    private TextView appname;
    @Override
    protected void onDestroy() {
        //返回第一个界面时取消蓝牙配对
        mybluetoothGatt.disconnect();
        super.onDestroy();
    }
    @Override
    protected void onCreate(Bundle savedInstanceState) {
        super.onCreate(savedInstanceState);
        setContentView(R.layout.activity_main2);
        Intent intent = getIntent();
        Device = intent.getParcelableExtra("device");
        textView = (TextView) findViewById(R.id.textView1);
        editText = (EditText) findViewById(R.id.input_text);
        deviceState = (TextView) findViewById(R.id.device_state);
        appname = (TextView) findViewById(R.id.AppName);
        appname.setText("");
        deviceState.setText("Device:"+Device.getName()+"(未连接)");
        mbluetoothController = new BluetoothController(this);
        myGattCallBack = new mGattCallback();
        mybluetoothGatt = mbluetoothController.connectBlueTooth(Device,false,myGattCallBack);

    }
    //蓝牙绑定功能的实现
    private class mGattCallback extends BluetoothGattCallback {
        @Override
        public void onConnectionStateChange(BluetoothGatt gatt,int status,int newState){
            Log.e("提示","蓝牙连接成功");
            super.onConnectionStateChange(gatt,status,newState);
            mytimeHandler.postDelayed(new Runnable(){
                @Override
                public void run(){
                    mybluetoothGatt.discoverServices();
                    deviceState.setText("Device:"+Device.getName()+"(已连接)");
                }
            },1000);
        }
        @Override
        public void onServicesDiscovered(BluetoothGatt gatt,int status){
            List<BluetoothGattService> services = mybluetoothGatt.getServices();
            for(int i=0;i<services.size();i++){
                Log.e("提示","第"+i+"个"+services.get(i));
                List<BluetoothGattCharacteristic> characteristics = services.get(i).getCharacteristics();
                for (int j=0;j<characteristics.size();j++){
                    Log.e("提示","第"+i+"个服务,第"+j+"个特征值"+characteristics.get(j));
                    if(characteristics.get(j).getUuid().toString().equals(SERVICE_EIGENVALUE_SED)){
                        Log.e("提示","我找到我需要的特征了");
                        mneedGattCharacteristic = characteristics.get(j);
                        mybluetoothGatt.setCharacteristicNotification(mneedGattCharacteristic,true);
                    }
                }
            }
            super.onServicesDiscovered(gatt,status);
            Log.e("提示","onServicesDiscovered");
        }
        @Override
        public void onCharacteristicRead(BluetoothGatt gatt, BluetoothGattCharacteristic characteristic,int status){
            super.onCharacteristicRead(gatt,characteristic,status);
            Log.e("提示","onCharacteristicRead");
        }
        @Override
        public void onCharacteristicChanged(BluetoothGatt gatt,BluetoothGattCharacteristic characteristic){
            super.onCharacteristicChanged(gatt,characteristic);
            Log.e("提示","onCharacteristicChanged");
        }
    }
    //发送信息的实现
    public void sendData(BluetoothGatt bluetoothGatt,BluetoothGattCharacteristic bluetoothGattCharacteristic,String text){
        bluetoothGattCharacteristic.setValue(text);
        bluetoothGatt.writeCharacteristic(bluetoothGattCharacteristic);
    }
    //处理要发送的信息,并更新界面内容
    public View sendMessage(View view){
        sendData(mybluetoothGatt,mneedGattCharacteristic,editText.getText().toString());
        textView.setText(textView.getText().toString()+editText.getText().toString());
        editText.getText().clear();
        return view;
    }
}
三、本项目的最终分享
链接:https://pan.baidu.com/s/1rX6GbTvHRU3Mb18tgwEjHg 提取码:td1d
四、后文文章来源:https://www.toymoban.com/news/detail-445228.html
那么到此你就已经完成了本项目的制作,此软件制作其实没有想象中的那么难,至于STM32上的程序编写教程可以看往期博文: Bluetooth(HC)与STM32的连接通讯(在手机端通过蓝牙控制STM32板子小灯)文章来源地址https://www.toymoban.com/news/detail-445228.html
到了这里,关于Android Studio制作手机App:通过手机蓝牙(Bluetooth)与STM32上的低功耗蓝牙(HC-42)连接通信,实现手机端对单片机的控制。的文章就介绍完了。如果您还想了解更多内容,请在右上角搜索TOY模板网以前的文章或继续浏览下面的相关文章,希望大家以后多多支持TOY模板网!