1.Opencv人脸检测
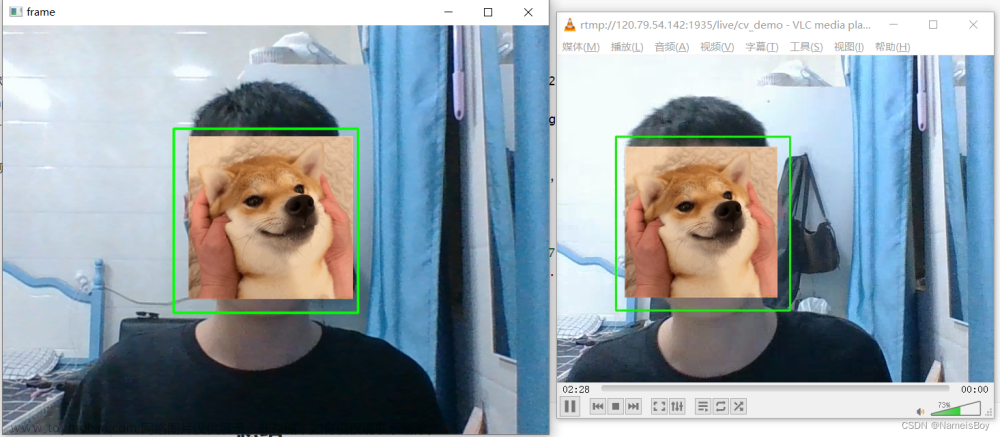
(1)基于级联分类器的人脸检测:
https://mydreamambitious.blog.csdn.net/article/details/124851743
(2)训练自己的级联分类器:
https://mydreamambitious.blog.csdn.net/article/details/124955149
(3)基于dlib人脸检测
https://mydreamambitious.blog.csdn.net/article/details/123535760
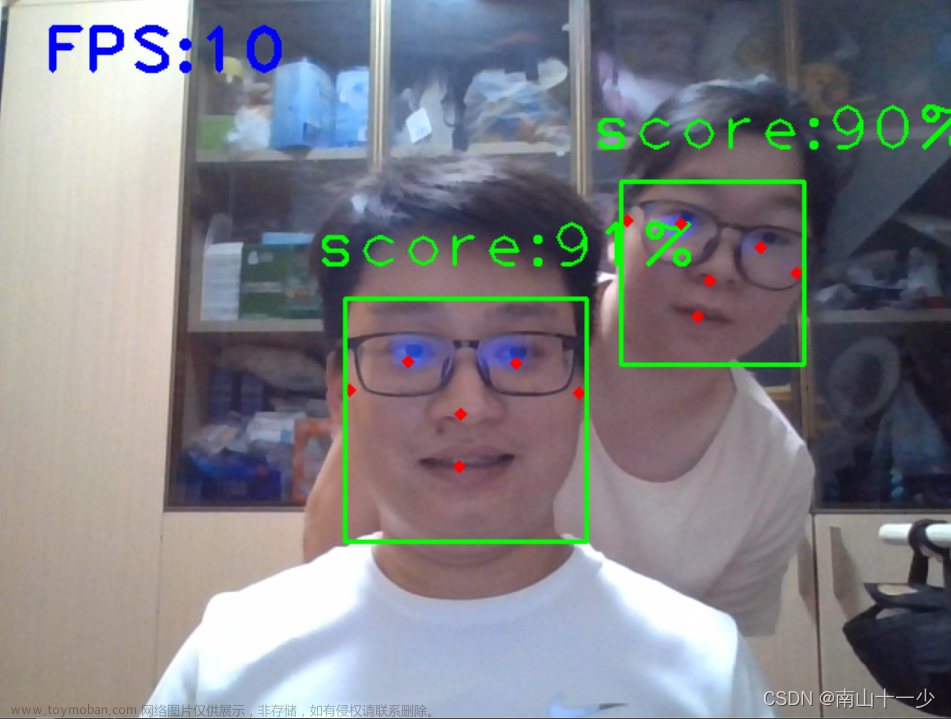
2.MTCNN人脸检测
https://mydreamambitious.blog.csdn.net/article/details/125249753
3.DeepFace人脸检测
下载:pip install deepface -i https://pypi.tuna.tsinghua.edu.cn/simple
基于deepFace框架的人脸识别编程
deepFace是轻量级人脸识别和面部属性分析(年龄、性别、情感、种族)框架。
集成了人脸识别领域取得过历史最好成绩的几个有名的模型,包括:
VGG-Face、Google FaceNet、OpenFace、Facebook DeepFace、DeepID、ArcFace、Dlib
4.DeepFace中模型性能的比较

一般情况下,根据LFW数据集上的实验结果,FaceNet, VGG-Face, ArcFace 和 Dlib 总体性能优于: OpenFace, DeepFace 和 DeepID。
FaceNet (/w 512d) :99.65%
ArcFace : 99.40%
Dlib : 99.38%
VGG-Face : 98.78%
OpenFace : 93.80%
人类水平: 97.53%
5.实现过程
(1)导入库
import os
import cv2
import pickle
import numpy as np
from deepface import DeepFace
(2)查看DeepFace中的情况
#查看DeepFace包含的特征点
def Print_DeepFace():
    print(dir(DeepFace))
(3)两张图片进行验证是否为同一个人
模型可以使用:Facenet, OpenFace, DeepFace, DeepID,Dlib, ArcFace or Ensemble,VGG-Face;其中VGG-Face是默认设置模型
#验证两个人是否为同一个人
def VerifyPerson(img_path1='images/zhang.jpg',img_path2='images/wang.jpg'):
    img1=cv2.imread(img_path1)
    img2=cv2.imread(img_path2)

    #验证是否相似
    # 可以使用的模型
    #model_name (string): VGG-Face,
    # Facenet, OpenFace, DeepFace, DeepID,Dlib, ArcFace or Ensemble
    compare=DeepFace.verify(img1_path=img1,img2_path=img2,model_name='VGG-Face')
    print(compare)
    print('是否相似: {}'.format(compare['verified']))

    img1=cv2.resize(src=img1,dsize=(450,450))
    img2=cv2.resize(src=img2,dsize=(450,450))
    cv2.imshow('img1',img1)
    cv2.imshow('img2',img2)
    cv2.waitKey(0)
    cv2.destroyAllWindows()
(4)对人的特征进行检测
其中包括人的表情,年龄,性别,种族等。
#对人的特征进行检测
def FaceEmotion(img_path='images/li.png'):
    img = cv2.imread(img_path)

    #检测人脸的表情
    emotion = DeepFace.analyze(img_path=img_path, actions = ['emotion', 'age', 'gender', 'race'])
    for item in emotion.items():
        print(item)
    print(emotion['emotion'])
    img = cv2.resize(src=img, dsize=(450, 450))

    x0=emotion['region']['x']
    y0=emotion['region']['y']
    w=emotion['region']['w']
    h=emotion['region']['h']
    cv2.rectangle(img=img,pt1=(x0,y0),pt2=(x0+w,y0+h),color=(0,255,0),thickness=2)

    cv2.imshow('img', img)
    cv2.waitKey(0)
    cv2.destroyAllWindows()

(5)人脸的识别
img_path:是需要查找的人脸图片;model_name:模型名称;db_path:图片库的位置;distance_metric:检测使用的方法:如余弦相似度,欧式距离;model:在每次调用find函数时都会建立人脸识别模型。您可以通过预先构建的模型来加速功能:model = DeepFace.build_model('VGG-Face'),这里的模型名称必须和model_name相同;enforce_detection:如果无法检测到人脸,该函数将引发异常。如果不想获得异常,请将此设置为True。这对于低分辨率图像可能很方便。detector_backend:retinaface, mtcnn, opencv, ssd or dlib;prog_bar:是否设置进度条;
#从图片文件夹下查找指定的人脸图片
def FindFace(img_path='images/zhang.jpg'):

    model=DeepFace.build_model('VGG-Face')
    findResult=DeepFace.find(img_path=img_path,model_name='Facenet',db_path='images',model=model)
    print(findResult)
之后会产生一个.pkl文件,这个文件在自己设置的图片库位置:db_path:图片库的位置
(6)流媒体和实时人脸检测
dp_path:人脸库的路径,使用相同的.jpg文件;time_threshold:表示多长时间时间显示图片;frame_threshold:聚焦人脸需要多少帧;detector_backend:后端采用的检测方式,默认是opencv,还有其他:mtcnn,ssd,dlib, retinaface;distance_metric:检测使用的方法:如余弦相似度,欧式距离;enable_facial_analysis:人脸分析,默认为True;如果为false的话,仅仅对人脸进行识别;source:设置为0,表示默认打开摄像头进行检测,或者使用视频的路径;文章来源:https://www.toymoban.com/news/detail-446238.html
#流媒体和实时人脸检测
def DeepFaceStream():
    DeepFace.stream(db_path='images',model_name='VGG-Face',time_threshold=1,frame_threshold=2)
(7)读取.pkl文件
#读取.pkl文件
def readPKL(PKL_Name='images/representations_facenet.pkl'):
    fp=open(PKL_Name,'rb')
    content=pickle.load(fp)
    print(content)
(8)提取特征向量
#提取特征向量
def Feature(img_path='images/zhang.jpg'):
    model=DeepFace.build_model('Facenet')
    features=DeepFace.represent(img_path=img_path,model_name='Facenet',model=model)
    print(features)
 文章来源地址https://www.toymoban.com/news/detail-446238.html
if __name__ == '__main__':
    print('PyCharm')
    # Print_DeepFace()
    # VerifyPerson()
    # FaceEmotion()
    # DeepFaceStream()
    # FindFace()
    # readPKL()
    Feature()
到了这里,关于DeepFace人脸检测(python实现)的文章就介绍完了。如果您还想了解更多内容,请在右上角搜索TOY模板网以前的文章或继续浏览下面的相关文章,希望大家以后多多支持TOY模板网!


