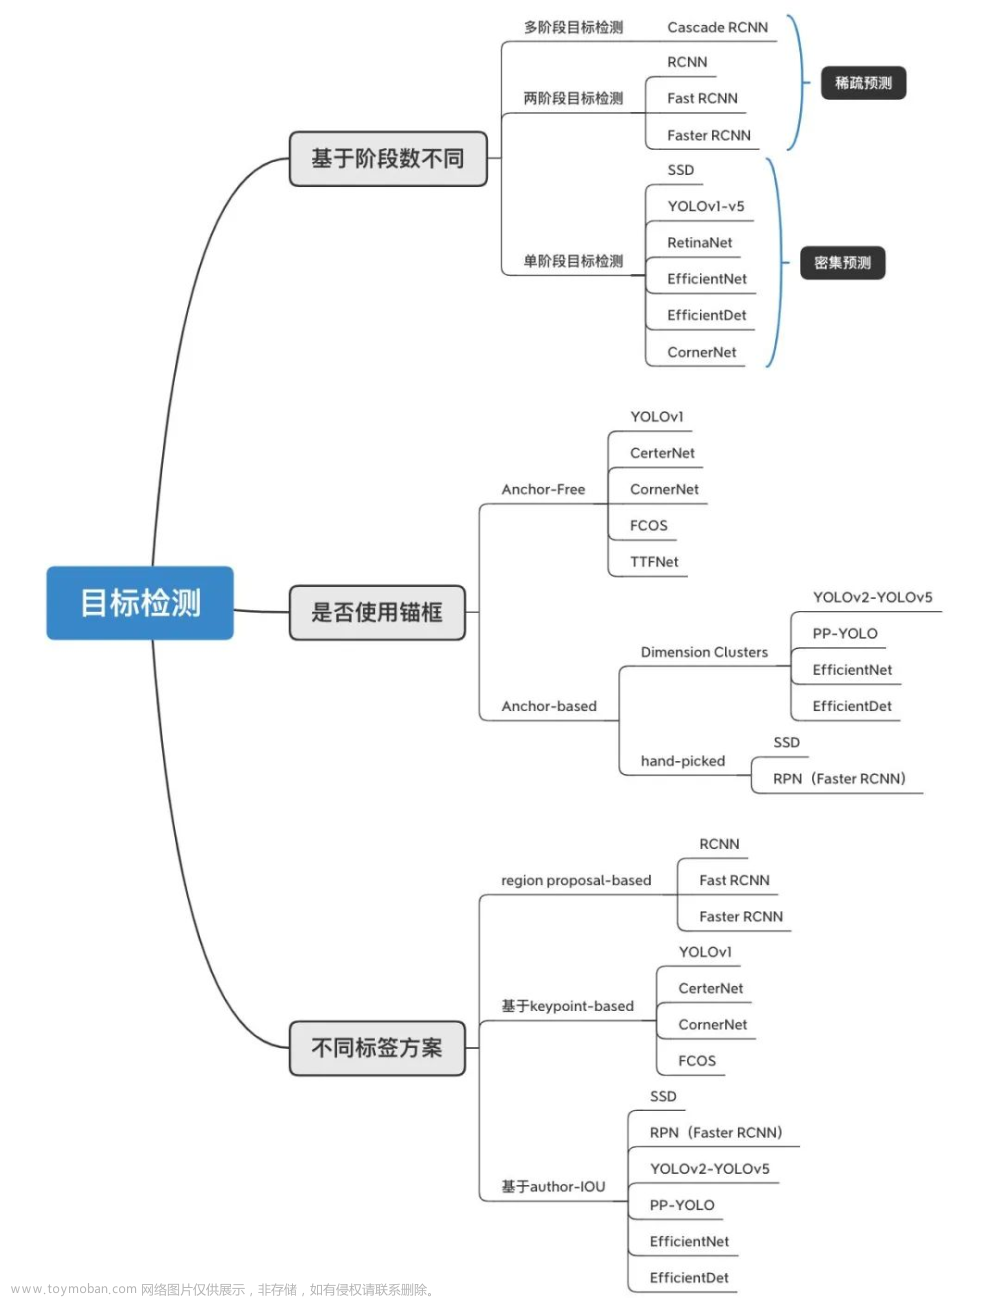
个人觉得,单目标检测相比分割复杂的地方主要在于(1)样本分配策略(2)预测结果后处理以及指标计算。这次记录一下指标计算,下次有时间记录一下目标检测中的样本分配策略。
本文以YOLOv5 7.0的val代码为例子,解析单阶段目标检测是怎么计算指标的。这里只展示核心代码,完整代码见github。
数据集介绍
首先介绍一下我的数据集。我使用的数据集是txt格式的,一共是三个类别。我使用的权重是用YOLOv5在我的数据集上训练得到的。批量大小设置为8,标签读入后的张量为(标签格式为xywh,原本的标签中的坐标其实是归一化的,这里乘上了图像大小):
这个张量每行代表一个目标框,每一行从左到右代表1.标签所属图像的索引 2.标签的类别 3.中心点横坐标 4.中心点纵坐标 5.目标框宽度 6.目标框高度。
代码解析
1.创建Dataloader
dataloader = create_dataloader(data[task],    # 测试集的路径
                               imgsz,         # 推理时的图像size
                               batch_size,    # 批量大小
                               stride,        # 步距
                               single_cls,    # 数据集类别是否只有一类
                               pad=pad,       # 填充
                               rect=rect,     # 是否使用平方推理
                               workers=workers,
                               prefix=colorstr(f'{task}: '))[0]
2.推理与非极大值抑制
conf_thres = args.conf_thres
iou_thres = args.iou_thres
pbar = tqdm(dataloader, desc=s, bar_format=TQDM_BAR_FORMAT)

for batch_i, (im, targets, paths, shapes) in enumerate(pbar):
    if cuda:
        im = im.to(device, non_blocking=True)
        targets = targets.to(device)
    im = im.half() if half else im.float()  # uint8 to fp16/32
    im /= 255  # 0 - 255 to 0.0 - 1.0
    nb, _, height, width = im.shape  # batch size, channels, height, width

    # Inference
    preds = model(im, augment=augment)

    # NMS
    # txt格式标签默认是归一化的(0~1),这里把他还原到图像尺寸
    targets[:, 2:] *= torch.tensor((width, height, width, height), device=device)  # to pixels (num_gt, 6)

    preds = non_max_suppression(preds,
                                conf_thres,
                                iou_thres,
                                labels=[],
                                multi_label=True,
                                agnostic=single_cls,
                                max_det=max_det)
需要注意,这里默认的非极大值抑制的置信度阈值为0.001:
这意味着会保留一些预测置信度很低的预测框。同一张图片置信度阈值设置为0.3与0.001的对比:
 可以看出来在低置信度阈值下网络是有很多离谱预测的。这里为什么不把置信度阈值设高一点呢?作者是故意的还是不小心的?后面会有解释。
这里我们以0.001为置信度阈值,看看非极大值抑制之后的预测preds:
看看非极大值抑制之前preds:

可以看到,对于第一张图片而言,预测框的数量从3*(56*84+28*42+14*21)=18522减少到了15个。
3.对一个batch逐张图像计算指标
stats = []
# [0.5, 0.55, ..., 0.95]
iouv = torch.linspace(0.5, 0.95, 10, device=device) # iou阈值 0.5--0.95
niou = iouv.numel()  # 10

for batch_i, (im, targets, paths, shapes) in enumerate(pbar):
    ...
    for si, pred in enumerate(preds):  # 此时pred对应的是该batch中每张图像的预测。
        labels = targets[targets[:, 0] == si, 1:]  # 取出这张图像的targets
        nl, npr = labels.shape[0], pred.shape[0]  # number of labels, predictions
        path, shape = Path(paths[si]), shapes[si][0]  # 这张图片的绝对路径,与图像实际size
        correct = torch.zeros(npr, niou, dtype=torch.bool, device=device)
        seen += 1

        # Predictions
        predn = pred.clone()
        # 把预测框从从统一的size映射回图像原初始尺寸
        scale_boxes(im[si].shape[1:], predn[:, :4], shape, shapes[si][1])

        # Evaluate
        if nl:
            tbox = xywh2xyxy(labels[:, 1:5])  # target boxes (num_gt, 4)
            scale_boxes(im[si].shape[1:], tbox, shape, shapes[si][1])  # gt映射回原始图像尺寸
            labelsn = torch.cat((labels[:, 0:1], tbox), 1)  # native-space labels
            # 每个预测只对应一个gt,每个gt也只对应一个预测
            correct = process_batch(predn, labelsn, iouv)  # (num_pred, 10)
        stats.append((correct, pred[:, 4], pred[:, 5], labels[:, 0]))  # (correct, conf, pcls, tcls)

stats = [torch.cat(x, 0).cpu().numpy() for x in zip(*stats)]  # to numpy
if len(stats) and stats[0].any():
    tp, fp, p, r, f1, ap, ap_class = ap_per_class(*stats, plot=plots, save_dir=save_dir, names=names)
    ap50, ap = ap[:, 0], ap.mean(1)  # AP@0.5, AP@0.5:0.95
    mp, mr, map50, map = p.mean(), r.mean(), ap50.mean(), ap.mean()
这里主要介绍一下两个函数:process_batch与ap_per_class。
process_batch
def process_batch(detections, labels, iouv):
    """
    Return correct prediction matrix
    返回每个预测框在10个IoU阈值上是TP还是FP
    Arguments:
        detections (array[N, 6]), x1, y1, x2, y2, conf, class
        labels (array[M, 5]), class, x1, y1, x2, y2
    Returns:
        correct (array[N, 10]), for 10 IoU levels
    """
    correct = np.zeros((detections.shape[0], iouv.shape[0])).astype(bool)
    # 计算每个预测与每个gt的iou
    iou = box_iou(labels[:, 1:], detections[:, :4])  # (M, N)
    # 对比每个预测与每个gt的类别,相同则为True,否则为False
    correct_class = labels[:, 0:1] == detections[:, 5]  # (M, N)
    for i in range(len(iouv)):
        # iou超过阈值而且类别正确,则为True,返回索引
        x = torch.where((iou >= iouv[i]) & correct_class)
        if x[0].shape[0]:  # 至少有一个TP
            matches = torch.cat((torch.stack(x, 1), iou[x[0], x[1]][:, None]), 1).cpu().numpy()  # [label, detect, iou]
            if x[0].shape[0] > 1:  # TP数量大于1
                # 按照iou从高到低排序
                matches = matches[matches[:, 2].argsort()[::-1]]
                # 这两步是确保每个gt只对应一个预测,每个预测也只对应一个gt
                # 如果出现一对多的情况,则取iou最高的那个
                matches = matches[np.unique(matches[:, 1], return_index=True)[1]]
                matches = matches[np.unique(matches[:, 0], return_index=True)[1]]
            correct[matches[:, 1].astype(int), i] = True  # (N, 10)
    return torch.tensor(correct, dtype=torch.bool, device=iouv.device)
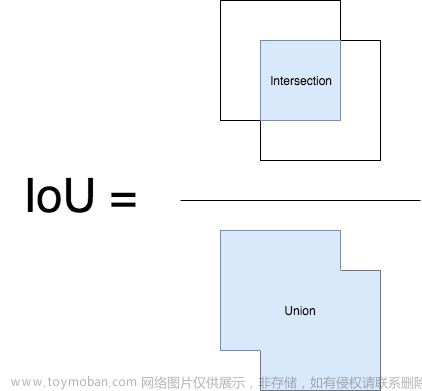
假设对于某张图片,网络产生了20个预测框,我们认为设定了一系列的iou阈值记为iouv(这里就假设为[0.5, 0.55, 0.6, 0.65, 0.7, 0.75, 0.8, 0.85, 0.9, 0.95]),则输入预测结果与真实标签gt,这个函数会返回一个形状为(20, 10)的张量(10是设定阈值的数量),记录在每个iou阈值下哪些预测框为真阳性(TP)。TP在这里的定义是:如果一个预测框与一个真实边界框的类别相同且iou大于阈值,则该预测框在此iou阈值下为真阳性。需要注意的是,这里预测框与gt是一一对应的,比如说(1)预测框A和B对于同一个gt来说都是TP,但是A与该gt的iou为0.9,而B与该gt的iou为0.8,那么最后只有A算TP,而B算FP。(2)预测框A对于gt1和gt2来说都是TP,但是A与gt1的iou为0.9,A与gt2的iou为0.8,那么A会被分配给gt1。
ap_per_class
先看一下ap_per_class的输入stats:
可以看到,stats是列表,其中包含4个numpy数组,这里的6947代表的是我的测试集(共400张)上网络产生的所有预测框,564代表测试集标签中的所有目标框。
- 第一个数组代表测试集中的所有预测在10个iou阈值上是TP还是FP。
- 第二个数组代表所有预测框的置信度
- 第三个数组代表所有预测框的预测类别
- 第四个数组代表标签的类别
代码解析:
def ap_per_class(tp, conf, pred_cls, target_cls, plot=False, save_dir='.', names=(), eps=1e-16, prefix=""):
    """ Compute the average precision, given the recall and precision curves.
    Source: https://github.com/rafaelpadilla/Object-Detection-Metrics.
    # Arguments
        tp:  True positives (nparray, nx1 or nx10).
        conf:  Objectness value from 0-1 (nparray).
        pred_cls:  Predicted object classes (nparray).
        target_cls:  True object classes (nparray).
        plot:  Plot precision-recall curve at mAP@0.5
        save_dir:  Plot save directory
    # Returns
        The average precision as computed in py-faster-rcnn.
    """
    # Sort by objectness
    i = np.argsort(-conf)
    tp, conf, pred_cls = tp[i], conf[i], pred_cls[i]  # 从大到小排序

    # Find unique classes
    unique_classes, nt = np.unique(target_cls, return_counts=True)
    nc = unique_classes.shape[0]  # number of classes, number of detections
    # Create Precision-Recall curve and compute AP for each class
    px, py = np.linspace(0, 1, 1000), []  # for plotting
    ap, p, r = np.zeros((nc, tp.shape[1])), np.zeros((nc, 1000)), np.zeros((nc, 1000))
    # 计算每个类别的指标
    for ci, c in enumerate(unique_classes):
        i = pred_cls == c
        n_l = nt[ci]  # number of labels
        n_p = i.sum()  # number of predictions
        if n_p == 0 or n_l == 0:
            continue

        # Accumulate FPs and TPs
        # 统计随着预测目标的增多,TP与FP数量的变化
        fpc = (1 - tp[i]).cumsum(0)
        tpc = tp[i].cumsum(0)

        # 统计精确率与召回率曲线,这里的曲线是指精确率与召回率随着样本数增加的变化
        # p与r是iou阈值为0.5的精确率与召回率曲线(所有类别的,每类对应一条曲线)
        # recall与precision则是所有iou阈值下的精确率与召回率曲线
        # Recall
        recall = tpc / (n_l + eps)  # 计算召回率
        r[ci] = np.interp(-px, -conf[i], recall[:, 0], left=0)

        # Precision
        precision = tpc / (tpc + fpc)  # 计算精确率
        p[ci] = np.interp(-px, -conf[i], precision[:, 0], left=1)

        # AP from recall-precision curve
        # 计算每个iou阈值下的ap-->(num_cls, niou)
        for j in range(tp.shape[1]):
            ap[ci, j], mpre, mrec = compute_ap(recall[:, j], precision[:, j])
            if plot and j == 0:
                py.append(np.interp(px, mrec, mpre))  # precision at mAP@0.5

    # Compute F1 (harmonic mean of precision and recall)
    f1 = 2 * p * r / (p + r + eps)
    names = [v for k, v in names.items() if k in unique_classes]  # list: only classes that have data
    names = dict(enumerate(names))  # to dict
    # 绘制曲线
    if plot:
        plot_pr_curve(px, py, ap, Path(save_dir) / f'{prefix}PR_curve.png', names)
        plot_mc_curve(px, f1, Path(save_dir) / f'{prefix}F1_curve.png', names, ylabel='F1')
        plot_mc_curve(px, p, Path(save_dir) / f'{prefix}P_curve.png', names, ylabel='Precision')
        plot_mc_curve(px, r, Path(save_dir) / f'{prefix}R_curve.png', names, ylabel='Recall')
    i = smooth(f1.mean(0), 0.1).argmax()  # max F1 index
    p, r, f1 = p[:, i], r[:, i], f1[:, i]
    tp = (r * nt).round()  # true positives
    fp = (tp / (p + eps) - tp).round()  # false positives
    return tp, fp, p, r, f1, ap, unique_classes.astype(int)
需要注意的是,这里返回的p与r是使得所有类别的平均f1-score最大的p与r。例如:
从代码中我们可以得知,每个类别的p与r原本都是长为1000的变化曲线,图中的all classes 0.91 at 0.670代表在670这个点位时,我们的所有类别的平均score达到最大,所以最后返回的p与r也是这个点对应的p与r(代码里其实取的点其实会有一些差异,比如我在这次验证时实际取的是689。略有不同是因为代码里取值时还进行了一个平滑操作)。至于为什么这么返回,因为我们非极大值抑制的时候置信度阈值设得很低,这样肯定会导致我们的预测样本数量很多,所以最后精确率会很低,召回率会很高。实际算出的p和r是取决于置信度阈值的,所以取f1-score最高的点的p、r返回,其实也就代表着我们为模型的验证取了一个合适的置信度阈值。这也是为什么前面的置信度阈值不用设得高一点的原因。
至此,整个val.py就已经分析完了,现在我们来看下计算完指标后打印的日志:
这个日志其实我觉得写的有点容易让人产生误解,其实只有all对应的这一行才是mAP,代表所有的类别的AP值的平均。这个日志写的容易让不了解AP值的人误以为单独每个类别都有一个mAP指标。all这一行打印的是平均AP值,剩下的打印的是每个类别自己的AP值。文章来源:https://www.toymoban.com/news/detail-447239.html
AP计算
AP简单来说就是PR曲线与坐标轴围成的面积: 在绘制PR曲线的时候,首先要弄清楚一个点:随着预测数量的增加,recall是递增的,而precision是递减的。也就是说随着recall的递增,precision是递减的。对于YOLOv5,只需要根据precision和recall绘制PR曲线然后计算面积就行。文章来源地址https://www.toymoban.com/news/detail-447239.html
到了这里,关于单阶段目标检测:YOLOv5中的指标计算的文章就介绍完了。如果您还想了解更多内容,请在右上角搜索TOY模板网以前的文章或继续浏览下面的相关文章,希望大家以后多多支持TOY模板网!


