什么是Dapp?零基础带你搭建一个Dapp
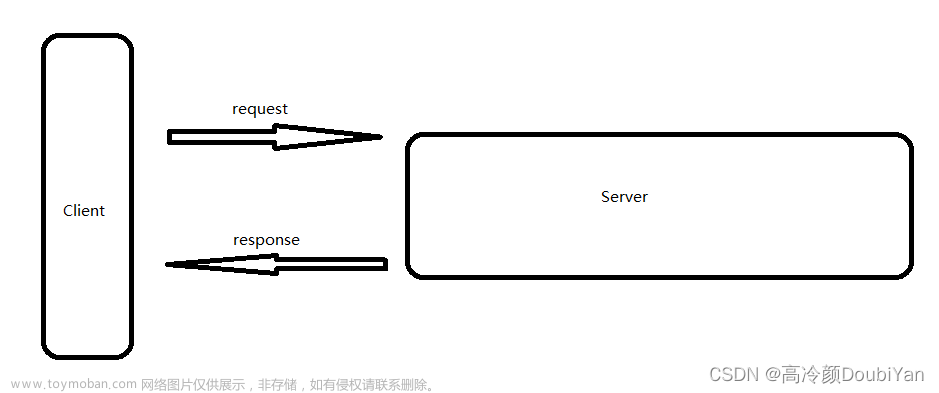
前言:Dapp就是去中心化应用,它和我们平时使用的App(微信,支付宝等)只差了一个去中心化,如何理解这一去中心化?从体验层面来说:Dapp中并没有管理者,大家都是平等的,互相监督;而从技术层面来说:传统的App和部署在服务器的后端产生交互,而Dapp则是和部署在区块链上的智能合约产生交互。
本篇文章带大家实现一个简单Dapp的搭建,通过实战让你进一步了解Dapp,跟着做就行了!
1.DApp实现之合约编写
- 打开Remix编辑器
- 新建
InfoContract.sol文件,并将下面合约内容Copy上去
编写InfoContract合约
// SPDX-License-Identifier: GPL-3.0

pragma solidity 0.8.0;

contract InfoContract{
    string name;
    uint256 age;

    function setInfo(string memory _name,uint256 _age) public {
        name = _name;
        age = _age;

    }

    function getInfo() public view returns(string memory,uint){
        return (name,age);
    }
}
2.DApp实现之前端编写
2.1创建一个新文件夹Dapp
并用VScode或者Atom打开该文件夹(选择你自己使用的编辑器即可)
2.2Dapp中创建index.html和index.css
index.html
<html>

<head>
    <title>Dapp Demo</title>
    <link rel="stylesheet" type="text/css" href="index.css">
</head>

<body>
    <div class="container">
        <h1>
            First Dapp
        </h1>

        <h2 id="info"></h2>

        <label>姓名:</label>
        <input id="name" type="text">

        <label>年龄:</label>
        <input id="age" type="text">

</body>

</html>
index.css
body {
    background-color: #f0f0f0;
    padding: 2em;
    font-family: 'Raleway','Source Sans Pro','Arial';

}

.container{
    width: 40%;
    margin: 0 auto;
}

label{
    display: block;
    margin-bottom:10px;
}

input{
    padding: 10px;
    width: 50%;
    margin-bottom: 1em;
}

button{
    margin: 2em 0;
    padding: 1em 4em;
    display: block;
}

#info{
    padding: 1em;
    background-color: #fff;
    margin: 1em 0;
    border: 1px solid;
}
2.3效果图预览

3. DApp实现之Web3与合约交互
3.1安装web3库
推荐使用第三种方法,因为不用安装任何环境
- Node
npm install web3
- Yarn
yarn add web3
- CDN
由于以太坊舍弃了web3的脚本使用方法,所以这里我们临时使用替代脚本
<!-- The legacy-web3 script must run BEFORE your other scripts. -->
    <script src="https://unpkg.com/@metamask/legacy-web3@latest/dist/metamask.web3.min.js"></script>
    <!-- 或者用 -->
    <script src="https://unpkg.com/@metamask/legacy-web3@latest/dist/metamask.web3.js"></script>
Tip: 若web3难以安装,建议参考这篇文章解决npm安装web3模块失败问题
3.2 Web3调用合约
参考文档:web3.eth.contract
3.2.1获取合约的abi
什么是abi?可以去复习之前的课程
- 回到Remix编辑器的编译器界面
- 点击右下角的
Compilation Details按钮

- 复制abi内容

3.2.2部署合约
需要保证你的小狐狸钱包里有bnb余额
- 选择
Injected Web3环境,点击Deploy部署

- 在小狐狸钱包中点击确认,交上部署合约的gas费
- 部署成功!

- 在左侧已部署合约中Copy合约地址

我的合约地址是0x528f48F5EbCbf25061e8814328A0073294ED58Cb
3.2.3编写Script脚本
<script>

        console.log(web3)
        web3.setProvider('ws://localhost:8545');
        //获取介绍内容
        const introduction = document.getElementById('info')

         //通过abi初始化合约
        var infoContract = web3.eth.contract(
            [{
                    "inputs": [],
                    "name": "getInfo",
                    "outputs": [{
                            "internalType": "string",
                            "name": "",
                            "type": "string"
                        },
                        {
                            "internalType": "uint256",
                            "name": "",
                            "type": "uint256"
                        }
                    ],
                    "stateMutability": "view",
                    "type": "function"
                },
                {
                    "inputs": [{
                            "internalType": "string",
                            "name": "_name",
                            "type": "string"
                        },
                        {
                            "internalType": "uint256",
                            "name": "_age",
                            "type": "uint256"
                        }
                    ],
                    "name": "setInfo",
                    "outputs": [],
                    "stateMutability": "nonpayable",
                    "type": "function"
                }
            ]
        );

        //通过地址实例化合约
        var info = infoContract.at('0x528f48F5EbCbf25061e8814328A0073294ED58Cb')

        //从合约获取消息
        info.getInfo(function (error, result) {
            if (!error) {
                //修改介绍内容
                introduction.innerHTML = result[0] + '(' + result[1] + 'years old)'
            }
        })


    </script>
3.2.4 更改合约信息
注意仍要在injected web3环境下更改,并且这将会收取一定的gas费用,小狐狸钱包上点击确认即可!

更改成功!

3.2.5前端显示

恭喜你!至此你已经实现了人生中第一次与智能合约的交互!
💎举一反三
我们通过调用该合约的getInfo()的方法,获取了我们设置的信息,并让它在前端显示出来。那么该如何通过前端去更新我们智能合约的信息呢?
index.html全部代码
index.css无需改动,用之前的即可文章来源:https://www.toymoban.com/news/detail-453702.html
<html>

<head>
    <title>Dapp Demo</title>
    <link rel="stylesheet" type="text/css" href="index.css">
    <script src="https://unpkg.com/@metamask/legacy-web3@latest/dist/metamask.web3.min.js"></script>
</head>

<body>
    <div class="container">
        <h1>
            First Dapp
        </h1>

        <h2 id="info"></h2>

        <label>姓名:</label>
        <input id="name" type="text">

        <label>年龄:</label>
        <input id="age" type="text">

        <button id="button">更新</button>
    </div>
    <script>
        console.log(web3)
        web3.setProvider('ws://localhost:8545');
        //获取介绍内容
        const introduction = document.getElementById('info')

        //通过abi初始化合约
        var infoContract = web3.eth.contract(
            [{
                    "inputs": [],
                    "name": "getInfo",
                    "outputs": [{
                            "internalType": "string",
                            "name": "",
                            "type": "string"
                        },
                        {
                            "internalType": "uint256",
                            "name": "",
                            "type": "uint256"
                        }
                    ],
                    "stateMutability": "view",
                    "type": "function"
                },
                {
                    "inputs": [{
                            "internalType": "string",
                            "name": "_name",
                            "type": "string"
                        },
                        {
                            "internalType": "uint256",
                            "name": "_age",
                            "type": "uint256"
                        }
                    ],
                    "name": "setInfo",
                    "outputs": [],
                    "stateMutability": "nonpayable",
                    "type": "function"
                }
            ]
        );

        //通过地址实例化合约
        var info = infoContract.at('0x528f48F5EbCbf25061e8814328A0073294ED58Cb')

        //从合约获取消息
        info.getInfo(function (error, result) {
            if (!error) {
                //修改介绍内容
                introduction.innerHTML = result[0] + '(' + result[1] + 'years old)'
            }
        })


    </script>

</body>

</html>
💎欢迎关注个人博客(区块链方向)
77Brother的技术小栈文章来源地址https://www.toymoban.com/news/detail-453702.html
到了这里,关于什么是Dapp?带你从零开始搭建一个Dapp的文章就介绍完了。如果您还想了解更多内容,请在右上角搜索TOY模板网以前的文章或继续浏览下面的相关文章,希望大家以后多多支持TOY模板网!


