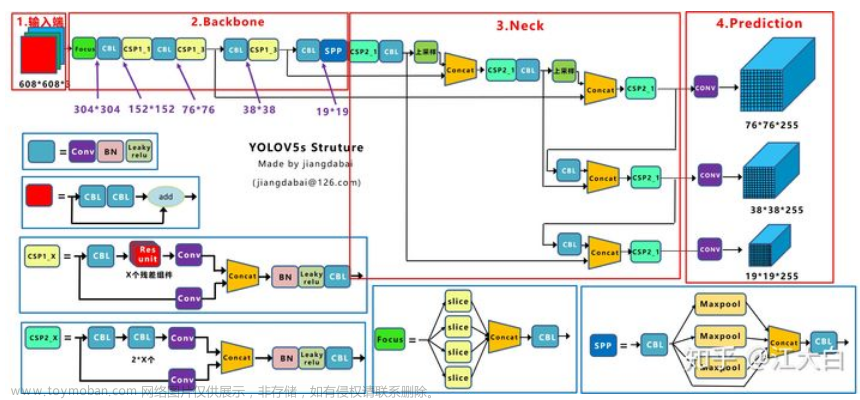
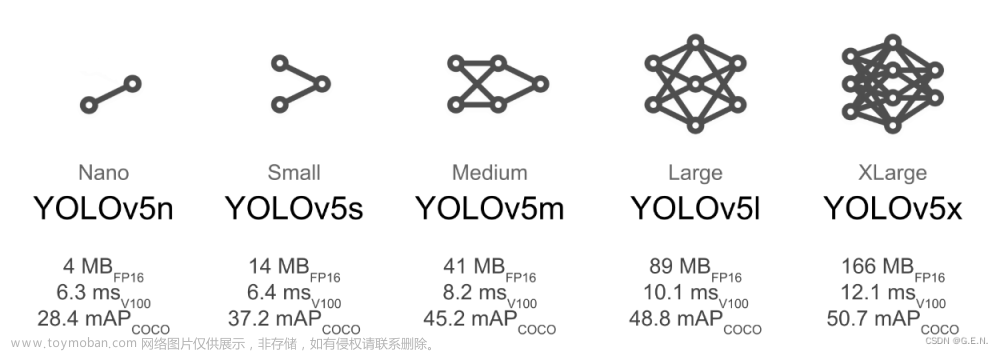
关于Yolo5训练自定义数据集,请参考此教程:YOLO5训练自定义数据集
完整项目(VS2022)
链接:https://pan.baidu.com/s/17jQUx-Dp0YYC4YWzYLs0AA?pwd=yzj9
提取码:yzj9
一 YOLO 导出ONNX模型
在export.py 中修改参数(如下图),运行导出ONNX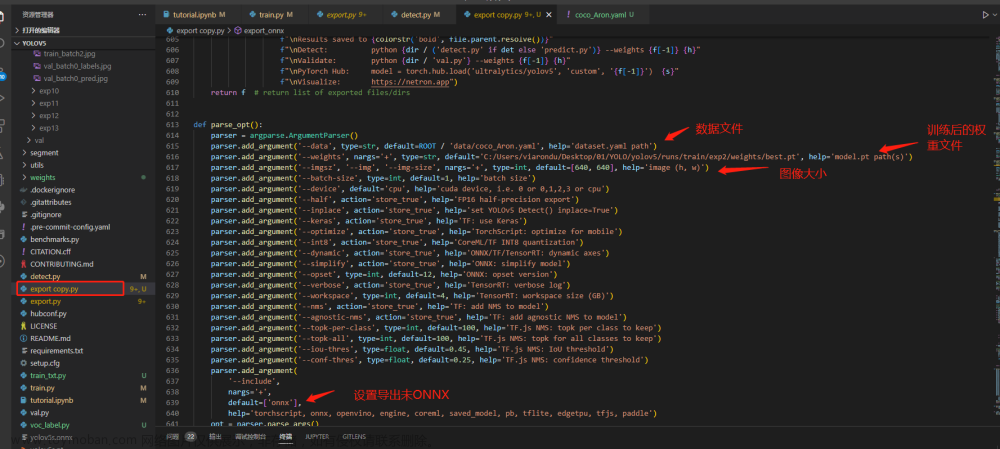

二 Yolov5Net.Scorer.dll文件设置及编译
C# ONNX模型推理dll库:
https://github.com/mentalstack/yolov5-net
根据模型修改model文件后,再编译dll,在项目中引用此dll
public class YoloCocoP5Model : YoloModel
{
//输入图像大小
public override int Width { get; set; } = 640;
public override int Height { get; set; } = 640;
public override int Depth { get; set; } = 3;

/// <summary>
/// 对象种类数 注意:此值=对象实际种类数+5
/// </summary>
public override int Dimensions { get; set; } = 6;

public override int[] Strides { get; set; } = new int[] { 8, 16, 32 };

public override int[][][] Anchors { get; set; } = new int[][][]
{
new int[][] { new int[] { 010, 13 }, new int[] { 016, 030 }, new int[] { 033, 023 } },
new int[][] { new int[] { 030, 61 }, new int[] { 062, 045 }, new int[] { 059, 119 } },
new int[][] { new int[] { 116, 90 }, new int[] { 156, 198 }, new int[] { 373, 326 } }
};

public override int[] Shapes { get; set; } = new int[] { 80, 40, 20 };

//阈值设定,大于此阈值才识别
public override float Confidence { get; set; } = 0.40f;
public override float MulConfidence { get; set; } = 0.25f;
public override float Overlap { get; set; } = 0.45f;


//ONNX模型的输出变量名称,可在https://netron.app/中查看
public override string[] Outputs { get; set; } = new[] { "output0" };

public override List<YoloLabel> Labels { get; set; } = new List<YoloLabel>()
{

//模型中的对象的种类信息
new YoloLabel { Id = 0, Name = "Stop-Sign" },


};

public override bool UseDetect { get; set; } = true;

public YoloCocoP5Model()
{

}
}
三 C# 中模型进行推理
C# 项目编译环境为>=.NET5,本案例使用.NET6
需要安装以下库:
Microsoft.ML.OnnxRuntime (ONNX运行时)
OpenCvSharp4.Extensions (输出图像框定对象使用)
OpenCvSharp4.Windows (输出图像框定对象使用)
同时需要引用上一步编译的:Yolov5Net.Scorer.dll
测试代码:文章来源:https://www.toymoban.com/news/detail-463067.html
using Yolov5Net.Scorer.Models;
using Yolov5Net.Scorer;
using OpenCvSharp;
using System.Windows.Forms;
using Point = OpenCvSharp.Point;

namespace YOLO_WinformDemo
{
    /// <summary>
    /// 此项目使用.NET6编译
    /// </summary>


    public partial class Form1 : Form
{
YoloScorer<YoloCocoP5Model> scorer;

string filePath = "";
public Form1()
{
InitializeComponent();

//加载模型地址
scorer = new YoloScorer<YoloCocoP5Model>(Application.StartupPath+ "\\onnx\\best.onnx");

}

private void btn_selectFile_Click(object sender, EventArgs e)
{
OpenFileDialog openFile=new OpenFileDialog();
if(openFile.ShowDialog() == DialogResult.OK)
{
filePath = openFile.FileName;
using var image = Image.FromFile(openFile.FileName);

picbox_Display.BackgroundImage = AddInfoToImage(image);


}


}


/// <summary>
/// 使用Opensharp4给识别对象加框和标注
/// </summary>
/// <param name="inputImage"></param>
/// <returns></returns>
public Image AddInfoToImage(Image inputImage)
{


List<YoloPrediction> predictions = scorer.Predict(inputImage);

if (predictions.Count == 0) {

return inputImage;

}
else
{

Mat inputMat = Cv2.ImRead(filePath, ImreadModes.Color);

foreach (YoloPrediction prediction in predictions)
{


Point p1 = new Point(prediction.Rectangle.X, prediction.Rectangle.Y);//矩形左上顶点

Point p2 = new Point(prediction.Rectangle.X+ prediction.Rectangle.Width, prediction.Rectangle.Y + prediction.Rectangle.Height);//矩形右下顶点

Point p3 = new Point(prediction.Rectangle.X, prediction.Rectangle.Y - 60);
Scalar scalar = new Scalar(0, 0, 255);
Cv2.Rectangle(inputMat, p1, p2, scalar, 7);

Cv2.PutText(inputMat, prediction.Label.Name+" "+ Math.Round(prediction.Score,2), p3, HersheyFonts.HersheyDuplex, 2, scalar, 4);

}


return OpenCvSharp.Extensions.BitmapConverter.ToBitmap(inputMat);


}


}


}
}
测试效果: 文章来源地址https://www.toymoban.com/news/detail-463067.html
到了这里,关于YOLO V5 ONNX模型在C# 中部署的文章就介绍完了。如果您还想了解更多内容,请在右上角搜索TOY模板网以前的文章或继续浏览下面的相关文章,希望大家以后多多支持TOY模板网!


