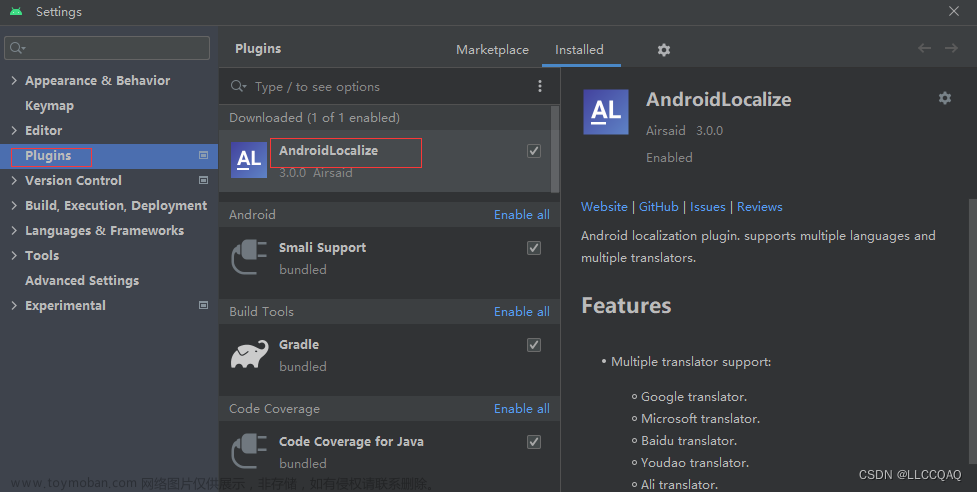
插件市场下载示例
hello-i18n 示例工程 - DCloud 插件市场
项目使用
main.js引入
// 国际化 json 文件,文件内容详见下面的示例
import en from './en.json'
import zhHans from './zh-Hans.json'
import zhHant from './zh-Hant.json'
const messages = {
	en,
	'zh-Hans': zhHans,
	'zh-Hant': zhHant
}

let i18nConfig = {
  locale: uni.getLocale(),// 获取已设置的语言
  messages
}

// VUE2
// #ifndef VUE3
import Vue from 'vue'
import VueI18n from 'vue-i18n'// v8.x
Vue.use(VueI18n)
const i18n = new VueI18n(i18nConfig)
Vue.config.productionTip = false
App.mpType = 'app'
const app = new Vue({
  i18n,
  ...App
})
app.$mount()
// #endif

// VUE3
// #ifdef VUE3
import { createSSRApp } from 'vue'
import { createI18n } from 'vue-i18n'// v9.x
const i18n = createI18n(i18nConfig)
export function createApp() {
  const app = createSSRApp(App)
  app.use(i18n)
  return {
    app
  }
}
// #endif
创建文件

en.json----"自定义key":"英文"

zh-Hans.json----"自定义key":"中文"

注意:json文件中的名称需要中英文对应。
index.js
import en from './en.json'
import zhHans from './zh-Hans.json'
export default {
	en,
	'zh-Hans': zhHans,
}
页面中使用
vue页面模板使用----$t('')
<template>
  <view class="container">
<--  index.title 为json文件中 自定义key -->
    <view class="title">{{$t('index.title')}}</view>
  </view>
</template>nvue页面模板使用----t('')
import messages from '../../locale/index.js'
	import {
		initVueI18n
	} from '@dcloudio/uni-i18n'
	const {
		t
	} = initVueI18n(messages)
// 初始化
created() {
const {
t
} = initVueI18n(messages);
this.t = t;
},pages.json 使用 ----%index.title%
{
  "pages": [
    {
      "path": "pages/index/index",
      "style": {
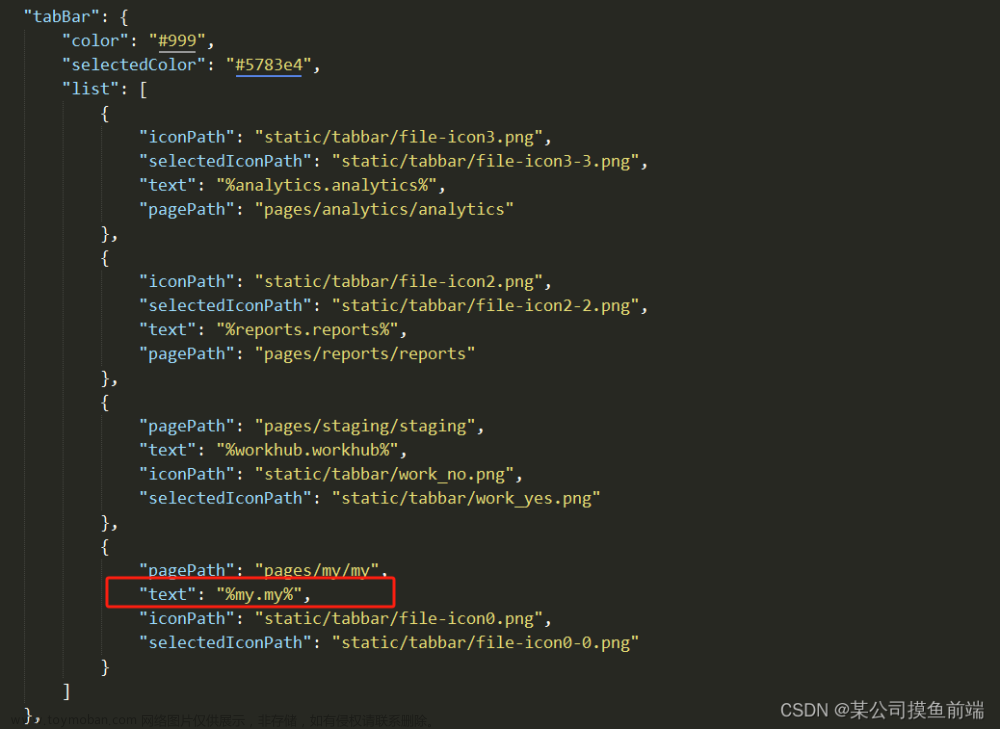
        "navigationBarTitleText": "%index.title%" // locale目录下 语言地区代码.json 文件中定义的 key,使用 %% 占位
      }
    }
  ],
  "tabBar": {
    "list": [{
        "pagePath": "pages/index/index",
        "text": "%index.home%"
      }
    ]
  }
}data中使用---this.$t('')
data() {
			return {
              // json 文件中定义的 key
				name: this.$t('dhjl'),
			}
		},
切换语言---在某一个页面写入
<view class="" style="margin-top: 20px;margin-left: 290px;">
			<u-radio-group v-model="radiovalue1" placement="column">
				<u-radio :customStyle="{marginBottom: '8px'}" v-for="(item, index) in locales" :key="index"
					:label="item.text" :name="item.text" @change="onLocaleChange(item)">
				</u-radio>
			</u-radio-group>
		</view>
computed:{
locales() {
return [{
text: this.$t('locale.en'),
code: 'en'
},
{
text: this.$t('locale.zh-hans'),
code: 'zh-Hans'
}
]
}
},// 更改语言
onLocaleChange(e) {
if (this.isAndroid) {
uni.showModal({
content: this.$t('index.language-change-confirm'),
success: (res) => {
if (res.confirm) {
uni.setLocale(e.code);
}
}
})
} else {
uni.setLocale(e.code);
this.$i18n.locale = e.code;
}
},启动项目,就可以成功切换语言了。
如果遇到切换语言的时候不能全局切换,可以尝试注释掉以下代码。
 文章来源:https://www.toymoban.com/news/detail-463484.html
以上就是关于在uniapp中使用国际化的一些说明,内容不多,操作简单。文章来源地址https://www.toymoban.com/news/detail-463484.html
到了这里,关于使用uniapp开发国际化---app,vue,nvue的文章就介绍完了。如果您还想了解更多内容,请在右上角搜索TOY模板网以前的文章或继续浏览下面的相关文章,希望大家以后多多支持TOY模板网!


