1. 安装
https://www.elastic.co/cn/
-
下载
https://www.elastic.co/cn/downloads/past-releases/elasticsearch-8-5-3
https://www.elastic.co/cn/downloads/past-releases/kibana-8-5-3 -
解压,点击
D:\elasticsearch-8.5.3\bin\elasticsearch.bat启动后会报错 -
修改配置
"D:\elasticsearch-8.5.3\config\elasticsearch.yml"配置文件会多出来一些配置
学习环境下,全部改为false即可
# Enable security features
xpack.security.enabled: False

xpack.security.enrollment.enabled: False

# Enable encryption for HTTP API client connections, such as Kibana, Logstash, and Agents
xpack.security.http.ssl:
  enabled: False
  keystore.path: certs/http.p12

# Enable encryption and mutual authentication between cluster nodes
xpack.security.transport.ssl:
  enabled: False
  verification_mode: certificate
  keystore.path: certs/transport.p12
  truststore.path: certs/transport.p12
-
再重新启动 ES
在浏览器输入 http://localhost:9200/
看见 json,就算安装好了
-
点击
"D:\kibana-8.5.3\bin\kibana.bat"
http://localhost:5601/app/dev_tools#/console -
测试
写入 doc
put product/_doc/1
{
  "name": "apple",
  "price": 5.6
}
返回
{
  "_index": "product",
  "_id": "1",
  "_version": 3,
  "result": "updated",
  "_shards": {
    "total": 2,
    "successful": 1,
    "failed": 0
  },
  "_seq_no": 2,
  "_primary_term": 1
}
查询 doc
get /product/_doc/1
返回
{
  "_index": "product",
  "_id": "1",
  "_version": 3,
  "_seq_no": 2,
  "_primary_term": 1,
  "found": true,
  "_source": {
    "name": "apple",
    "price": 5.6
  }
}
2. search
查看所有 index
get _cat/indices
从 index 中 from 第几个数据开始,size 个docs
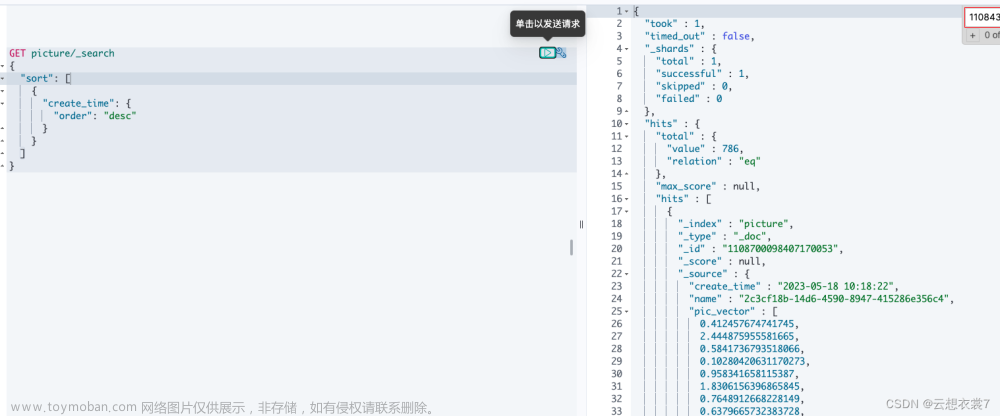
GET kibana_sample_data_logs/_search?from=1&size=2
3. index
创建 index
PUT test_index
{
  "settings":{
    "number_of_shards": 1,
    "number_of_replicas": 1
  }
}
删除 index
DELETE test_index
创建完 index 后,主分片数量、index名、字段类型 不可以再修改
重新创建文档,只会带过来 doc,属性设置不会带过来
POST _reindex
{
  "source": {
    "index": "test_index"
  },
  "dest": {
    "index": "new_test_index"
  }
}
检查 index 是否存在
head new_test_index
4. doc CRUD
创建发生在 主分片(可读可写)
op_type
操作类型:
- index:更新
- create:只创建,不更新,如果存在相同doc报错
PUT test_index/_doc/1?op_type=create
{
  "name": "test1"
}
id 1 的 doc 已存在,create 报错
{
  "error": {
    "root_cause": [
      {
        "type": "version_conflict_engine_exception",
        "reason": "[1]: version conflict, document already exists (current version [1])",
        "index_uuid": "ntM1X5SOTxiz8tRVwdHK6g",
        "shard": "0",
        "index": "test_index"
      }
    ],
    "type": "version_conflict_engine_exception",
    "reason": "[1]: version conflict, document already exists (current version [1])",
    "index_uuid": "ntM1X5SOTxiz8tRVwdHK6g",
    "shard": "0",
    "index": "test_index"
  },
  "status": 409
}
index 操作,替换 doc
PUT test_index/_doc/1?op_type=index
{
  "name": "test_new"
}
{
  "_index": "test_index",
  "_id": "1",
  "_version": 2,
  "result": "updated",
  "_shards": {
    "total": 2,
    "successful": 1,
    "failed": 0
  },
  "_seq_no": 1,
  "_primary_term": 1
}
POST 可以自动生成 随机 id
POST test_index/_doc/
{
  "name": "test_new"
}
{
  "_index": "test_index",
  "_id": "YrdpU4UBIo5EnYllVY0M",
  "_version": 1,
  "result": "created",
  "_shards": {
    "total": 2,
    "successful": 1,
    "failed": 0
  },
  "_seq_no": 4,
  "_primary_term": 1
}
获取 doc 元字段
- 获取 doc 元字段
_source=false(不返回 source),不写的话,默认为 true
GET test_index/_doc/1?_source=false
{
  "_index": "test_index",
  "_id": "1",
  "_version": 4,
  "_seq_no": 3,
  "_primary_term": 1,
  "found": true
}
只获取 doc 源数据
GET test_index/_source/1
{
  "name": "test_new"
}
删除 doc
DELETE test_index/_doc/5
{
  "_index": "test_index",
  "_id": "5",
  "_version": 1,
  "result": "not_found",  # id 5 的不存在
  "_shards": {
    "total": 2,
    "successful": 1,
    "failed": 0
  },
  "_seq_no": 6,
  "_primary_term": 1
}
{
  "_index": "test_index",
  "_id": "1",
  "_version": 1,
  "result": "deleted",  # id 1 的存在,删除掉了
  "_shards": {
    "total": 2,
    "successful": 1,
    "failed": 0
  },
  "_seq_no": 7,
  "_primary_term": 1
}
update doc
- 更新 doc,更上面的 替换 是不一样的,更新可以只更新部分字段,其他字段保留
先添加一个 doc
POST test_index/_doc/1
{
  "name": "test_new",
  "value": 99
}
再查询
GET test_index/_doc/1
更新部分字段文章来源:https://www.toymoban.com/news/detail-464009.html
POST test_index/_update/1
{
  "doc": {
    "value": 100
  }
}
再查询文章来源地址https://www.toymoban.com/news/detail-464009.html
{
  "_index": "test_index",
  "_id": "1",
  "_version": 2,
  "_seq_no": 10,
  "_primary_term": 1,
  "found": true,
  "_source": {
    "name": "test_new",
    "value": 100
  }
}
到了这里,关于ES 安装、search、index、doc的文章就介绍完了。如果您还想了解更多内容,请在右上角搜索TOY模板网以前的文章或继续浏览下面的相关文章,希望大家以后多多支持TOY模板网!


![springboot中es查询报错:“failed to create querv:Cannot search on field [ableLook] since it is not indexed“](https://imgs.yssmx.com/Uploads/2024/02/524744-1.png)


