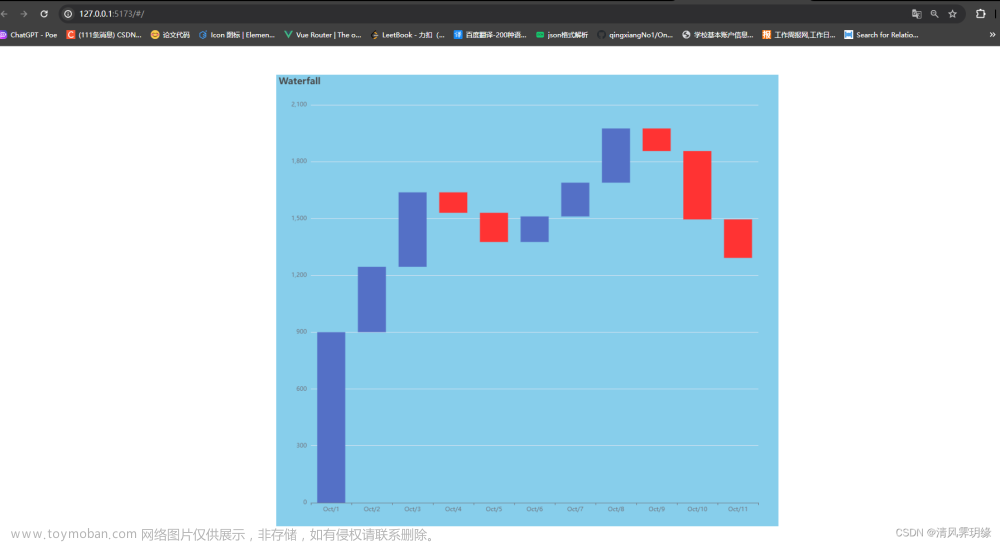
效果展示
最近要业务中需要做一个瀑布流的效果,按理说正常的瀑布流网上已经有很多解决方案了。
但我还是想自己尝试写一下。
又因为这块要求有一点特殊,下面大概讲下需求:
首先子元素的对方肯定还是和其他瀑布流一样,按照子View的宽高动态摆放位置
然后这边子View都是Textview,其实就是各种标签
还有就是要求可以限制行数
比如子元素很多,只展示前两行
后面的用“…”表示(类似我们TextView里面文字过多时展示的效果一样)
具体效果如下:
可以看到最后的一个标签的内容是省略号
如果规定是三行,并且每超出规定行数,效果是这样的(红色背景色是我自己加的):
那么开干
测量代码
这边先定义了两个变量:childMarginRight 和chilMarginBottom
主要是来控制子View之间的间距的
还有一个mMaxLines控制最大行数
这边思路是:动态测量子View,当超过两行时,把最后一个子View的内容改为省略号
先看测量方法:
  override fun onMeasure(widthMeasureSpec: Int, heightMeasureSpec: Int) {
    val widthSize = MeasureSpec.getSize(widthMeasureSpec)
    val widthMode = MeasureSpec.getMode(widthMeasureSpec)
    val heightSize = MeasureSpec.getSize(heightMeasureSpec)
    val heightMode = MeasureSpec.getMode(heightMeasureSpec)
    val childCount = childCount
    var lineWidth = 0
    var lineHeight = 0 //单行最大的高度
    var width = 0
    var height = 0 //总高度
    var lineCount = 1 // 当前行数
    for (i in 0 until childCount) {
      val child = getChildAt(i)
      measureChild(child, widthMeasureSpec, heightMeasureSpec)
      val childWidth = child.measuredWidth + childMarginRight
      val childHeight = child.measuredHeight
      if (lineWidth + childWidth > widthSize) { // 换行
        lineWidth = 0
        lineHeight = childHeight
        lineCount++ // 行数加1
        if (lineCount > mMaxLines) { // 超过最大行数,剩余的子控件不再计算在内
          lineCount = mMaxLines
          break
        }
        height += lineHeight
      } else {
        //求出这行最大的高
        lineHeight = lineHeight.coerceAtLeast(childHeight)
      }
      lineWidth += childWidth
    }
    width = if (widthMode == MeasureSpec.EXACTLY) widthSize else lineWidth
    height =
      if (heightMode == MeasureSpec.EXACTLY) heightSize else height + lineHeight + chilMarginBottom * (lineCount - 1)
    setMeasuredDimension(width, height)
  }
可以看到,每次换行时都判断下是否超出行了
最后去动态设置每行的高度
换行问题
其实这里还有一个问题:
如果要超出规定行数时
是否可以不把最后一行的最后一个元素的文字内容改为…,
而是直接又添加一个内容为…的TextView
只不过如果这样实现,就要判断新添加的元素会不会导致换行
所以这边没那么麻烦,当判断出要换行后,直接把最后一行的最后一个元素的文字内容改为…,
这块逻辑在onlayout中实现,如下:
  override fun onLayout(changed: Boolean, l: Int, t: Int, r: Int, b: Int) {
    val width = width
    val childCount = childCount
    var lineHeight = 0 //当前行最高子View的高度
    var left = 0 //当前画到的left位置
    var top = 0 //当前画到的top位置
    var lineCount = 1 // 当前行数

    //这里是算出在行数固定的情况下,最多能塞进多少子View
    maxChildCount = if (maxChildCount == -1) childCount else maxChildCount
    for (i in 0 until maxChildCount) {
      val child = getChildAt(i)
      val childWidth = child.measuredWidth
      val childHeight = child.measuredHeight
      if (left + childWidth + childMarginRight > width) { // 换行
        left = 0
        top += lineHeight + chilMarginBottom
        lineHeight = childHeight
        lineCount++ // 行数加1
        if (lineCount > mMaxLines) { // 超过最大行数,剩余的子控件不再布局
          maxChildCount = i
          if (lastChildView != null && lastChildView is TextView) {
            //最后一个元素设为...,如果不是textview,也可以自己额外加逻辑
            post {
              (lastChildView as TextView).apply {
                text = "..."
                requestLayout()
              }
            }
          }
          break
        }
      }
      lastChildView = child
      if (left != 0 && left + childWidth + childMarginRight <= width) {
        //说明不是这行的第一个子View 并且 加上右边间距后不会超出这一行
        left += childMarginRight
      }
      child.layout(left, top, left + childWidth, top + childHeight)
      left += childWidth
      //记录这一行最高的高度
      lineHeight = lineHeight.coerceAtLeast(childHeight)
    }
  }
可以看到,超出规定行数的元素就不会再摆放进去了
同时要计算好间距各种文章来源:https://www.toymoban.com/news/detail-481945.html
完整代码
最后贴下完整代码吧
这个控件比较简单,大家可以作为自定义控件的一个示例来学习文章来源地址https://www.toymoban.com/news/detail-481945.html
class XiongFlowLayout : ViewGroup {
  private var mMaxLines = 2 // 最大行数
  private var lastChildView: View? = null //布局里最后一个View,如果是超过两行并且这个View是Textview时修改文字为...
  private var maxChildCount = -1 //当前行数最大允许添加进布局的子View数量

  /**
   * 主要用来设置子View之间的间距的
   */
  private var childMarginRight = 10
  private var chilMarginBottom = 10

  constructor(context: Context?, attrs: AttributeSet?) : super(context, attrs) {
    // 构造方法
  }


  /**
   * 设置View之间的间距
   */
  fun setChildMargin(childMarginRight: Int, chilMarginBottom: Int) {
    this.childMarginRight = childMarginRight
    this.chilMarginBottom = chilMarginBottom
    requestLayout()
  }

  // 设置最大行数
  fun setMaxLines(maxLines: Int) {
    if (maxLines >= 1) {
      mMaxLines = maxLines
      requestLayout()
    }
  }

  override fun onMeasure(widthMeasureSpec: Int, heightMeasureSpec: Int) {
    val widthSize = MeasureSpec.getSize(widthMeasureSpec)
    val widthMode = MeasureSpec.getMode(widthMeasureSpec)
    val heightSize = MeasureSpec.getSize(heightMeasureSpec)
    val heightMode = MeasureSpec.getMode(heightMeasureSpec)
    val childCount = childCount
    var lineWidth = 0
    var lineHeight = 0 //单行最大的高度
    var width = 0
    var height = 0 //总高度
    var lineCount = 1 // 当前行数
    for (i in 0 until childCount) {
      val child = getChildAt(i)
      measureChild(child, widthMeasureSpec, heightMeasureSpec)
      val childWidth = child.measuredWidth + childMarginRight
      val childHeight = child.measuredHeight
      if (lineWidth + childWidth > widthSize) { // 换行
        lineWidth = 0
        lineHeight = childHeight
        lineCount++ // 行数加1
        if (lineCount > mMaxLines) { // 超过最大行数,剩余的子控件不再计算在内
          lineCount = mMaxLines
          break
        }
        height += lineHeight
      } else {
        //求出这行最大的高
        lineHeight = lineHeight.coerceAtLeast(childHeight)
      }
      lineWidth += childWidth
    }
    width = if (widthMode == MeasureSpec.EXACTLY) widthSize else lineWidth
    height =
      if (heightMode == MeasureSpec.EXACTLY) heightSize else height + lineHeight + chilMarginBottom * (lineCount - 1)
    setMeasuredDimension(width, height)
  }

  override fun onLayout(changed: Boolean, l: Int, t: Int, r: Int, b: Int) {
    val width = width
    val childCount = childCount
    var lineHeight = 0 //当前行最高子View的高度
    var left = 0 //当前画到的left位置
    var top = 0 //当前画到的top位置
    var lineCount = 1 // 当前行数

    //这里是算出在行数固定的情况下,最多能塞进多少子View
    maxChildCount = if (maxChildCount == -1) childCount else maxChildCount
    for (i in 0 until maxChildCount) {
      val child = getChildAt(i)
      val childWidth = child.measuredWidth
      val childHeight = child.measuredHeight
      if (left + childWidth + childMarginRight > width) { // 换行
        left = 0
        top += lineHeight + chilMarginBottom
        lineHeight = childHeight
        lineCount++ // 行数加1
        if (lineCount > mMaxLines) { // 超过最大行数,剩余的子控件不再布局
          maxChildCount = i
          if (lastChildView != null && lastChildView is TextView) {
            //最后一个元素设为...,如果不是textview,也可以自己额外加逻辑
            post {
              (lastChildView as TextView).apply {
                text = "..."
                requestLayout()
              }
            }
          }
          break
        }
      }
      lastChildView = child
      if (left != 0 && left + childWidth + childMarginRight <= width) {
        //说明不是这行的第一个子View 并且 加上右边间距后不会超出这一行
        left += childMarginRight
      }
      child.layout(left, top, left + childWidth, top + childHeight)
      left += childWidth
      //记录这一行最高的高度
      lineHeight = lineHeight.coerceAtLeast(childHeight)
    }
  }
}
到了这里,关于()自定义控件:写一个瀑布流效果的文章就介绍完了。如果您还想了解更多内容,请在右上角搜索TOY模板网以前的文章或继续浏览下面的相关文章,希望大家以后多多支持TOY模板网!


