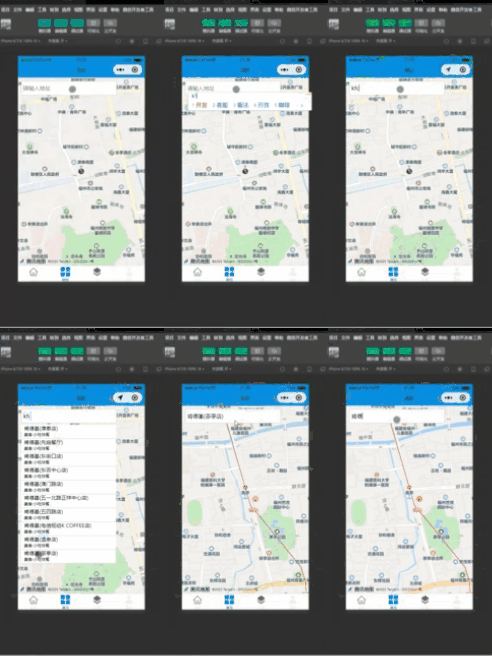
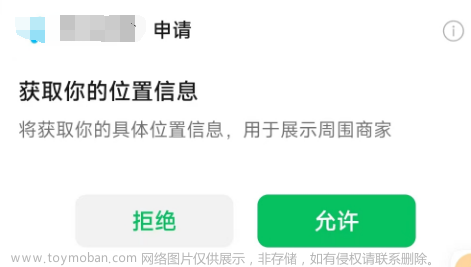
目前,我们可以通过一些现成的api来实现此功能。下面我将介绍一下通过腾讯位置服务来实现此功能的具体操作流程。
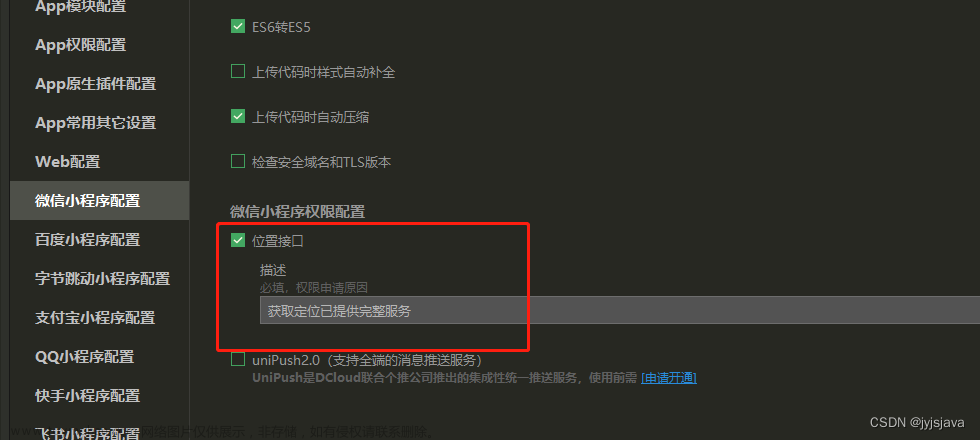
1、在Hbuilder x中对项目进行权限开放
进入到manifest.json文件中

2、获取调用腾讯位置服务所需的key
- 登录腾讯地图api: 腾讯位置服务 - 立足生态,连接未来
- 点击控制台--》应用管理--》我的应用--》添加Key---》填写内容--》添加

3、进入腾讯地图文档下载JavaScriptSDK [微信小程序JavaScript SDK | 腾讯位置服务 (qq.com)](https://lbs.qq.com/miniProgram/jsSdk/jsSdkGuide/jsSdkOverview)

4、解压刚下好的JavaScriptSDK
5、将min.js文件复制到项目static文件目录下
6、实现定位服务代码文章来源:https://www.toymoban.com/news/detail-484610.html
- Vuex配置
// 引入腾讯地图jssdk文件
import QQMapWX from "../static/js/qqmap-wx-jssdk.min.js"

export default {
	// 为当前模块开启命名空间
	namespaced: true,
	state: {
		// 默认城市
		city: '北京市',
        //当前位置的经纬度
		x: 0,
		y: 0
	},
	mutations: {
		newCityFun(state, newCity) {
			state.city = newCity
			console.log(newCity)
			console.log(state.city)
		},
		getCity() {
			var that = this
			// 获取用户是否开启 授权获取当前的地理位置、速度的权限。
			uni.getSetting({
				success(res) {
					console.log(res)

					// 如果没有授权
					if (!res.authSetting['scope.userLocation']) {
						// 则拉起授权窗口
						uni.authorize({
							scope: 'scope.userLocation',
							success() {
								let qqmapsdk = new QQMapWX({
									key: 'JOMBZ-MRF6U-GF2V3-BSKNG-757GO-O7FLR'
								});
								//点击允许后--就一直会进入成功授权的回调 就可以使用获取的方法了
								uni.getLocation({
									type: 'wgs84',
									success: function(res) {
										that.x = res.longitude
										that.y = res.latitude
										console.log("if", res)
										console.log('当前位置的经度:' + res.longitude)
										console.log('当前位置的纬度:' + res.latitude)
										// 逆地址解析方法
										qqmapsdk.reverseGeocoder({
											location: {
												latitude: res.latitude,
												longitude: res.longitude
											},
											success(res) {
												var newCity = ''
												console.log(res)
												// 取到用户的定位城市,赋值传递出去
												newCity = res.result
													.address_component.city
												// that.commit('m_location/newCityFun')
											}
										})
										uni.showToast({
											title: '当前位置的经纬度:' + res.longitude +
												',' + res.latitude,
											icon: 'success',
											mask: true
										})
									},
									fail(error) {
										console.log('失败', error)
									}
								})
							},
							fail(error) {
								//点击了拒绝授权后--就一直会进入失败回调函数--此时就可以在这里重新拉起授权窗口
								console.log('拒绝授权', error)

								uni.showModal({
									title: '提示',
									content: '若点击不授权,将无法使用位置功能',
									cancelText: '不授权',
									cancelColor: '#999',
									confirmText: '授权',
									confirmColor: '#f94218',
									success(res) {
										console.log(res)
										if (res.confirm) {
											// 选择弹框内授权
											uni.openSetting({
												success(res) {
													console.log(res.authSetting)
												}
											})
										} else if (res.cancel) {
											// 选择弹框内 不授权
											console.log('用户点击不授权')
										}
									}
								})
							}
						})
					} else {
						let qqmapsdk = new QQMapWX({
							key: 'JOMBZ-MRF6U-GF2V3-BSKNG-757GO-O7FLR'
						});
						// 有权限则直接获取
						uni.getLocation({
							type: 'wgs84',
							success: function(res) {
								that.x = res.longitude
								that.y = res.latitude
								console.log("else", res)
								console.log('当前位置的经度:' + res.longitude)
								console.log('当前位置的纬度:' + res.latitude)
								// 逆地址解析方法
								qqmapsdk.reverseGeocoder({
									location: {
										latitude: res.latitude,
										longitude: res.longitude
									},
									success(res) {
										var newCity = ''
										console.log(res)
										// 取到用户的定位城市,赋值传递出去
										newCity = res.result.address_component.city
										// that.commit('m_location/newCityFun')
									},
									fail(res) {
										console.log("错误", res)
									}
								})
								//打开地图
								uni.openLocation({
									latitude: that.y,
									longitude: that.x,
									success: function() {}
								});
								uni.showToast({
									title: '当前位置的经纬度:' + res.longitude + ',' + res.latitude,
									icon: 'success',
									mask: true
								})
							},
							fail(error) {
								uni.showToast({
									title: '请勿频繁调用!',
									icon: 'none',
								})
								console.log('失败', error)
							}
						})
					}
				}
			})
		}
	},
	actions: {

	}
}注意:需将以上代码中的key,换成自己刚刚配置的key。文章来源地址https://www.toymoban.com/news/detail-484610.html
let qqmapsdk = new QQMapWX({
	key: 'JOMBZ-MRF6U-GF2V3-BSKNG-757GO-O7FLR'
});- 页面配置
<template>
		<view>{{addstr}}</view>
</template>

<script>
	import {
		mapState,
		mapMutations,
		mapGetters,
		mapActions
	} from 'vuex'
	export default {
		data() {
			return {
				title: 'Hello',
			}
		},
		onReady() {
			// 把m_location模块中的 getCity 函数映射到当前组件
			this.getCity()

		},
		methods: {
			...mapMutations('m_location', ['getCity']),
		},
		computed: {
			// 从getter中引入addstr
			...mapGetters('m_location', ['addstr'])
		}
	}
</script>
到了这里,关于uniapp实现微信小程序用户实时位置定位并显示地图的文章就介绍完了。如果您还想了解更多内容,请在右上角搜索TOY模板网以前的文章或继续浏览下面的相关文章,希望大家以后多多支持TOY模板网!


