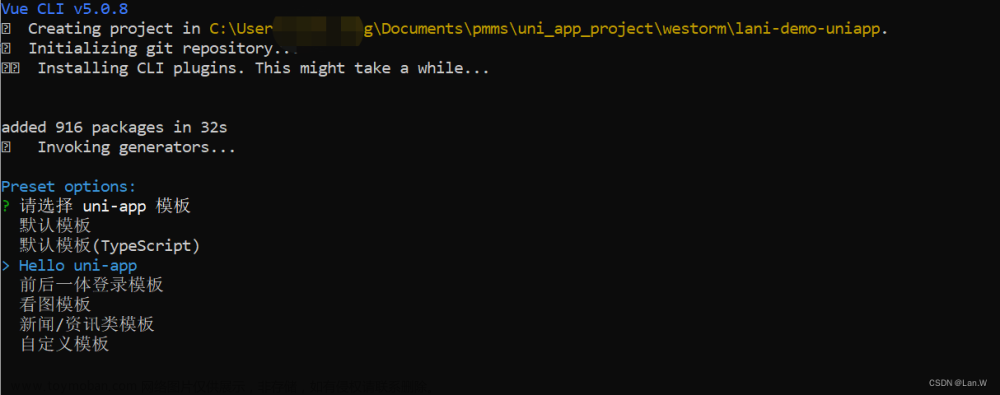
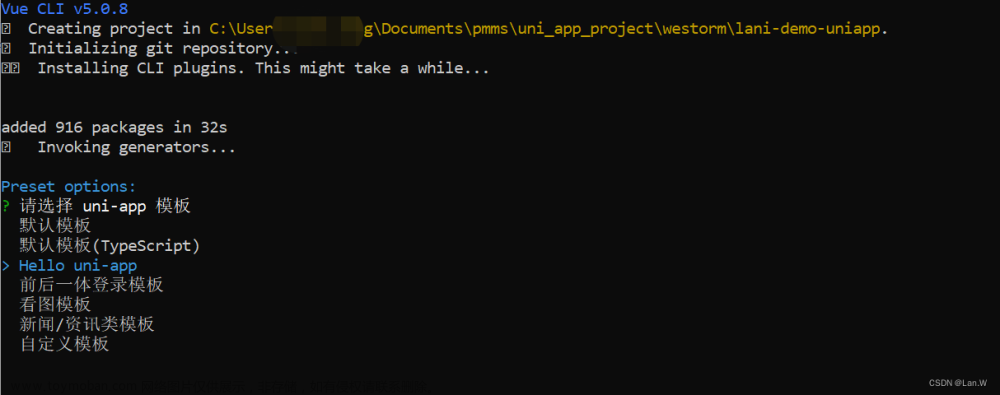
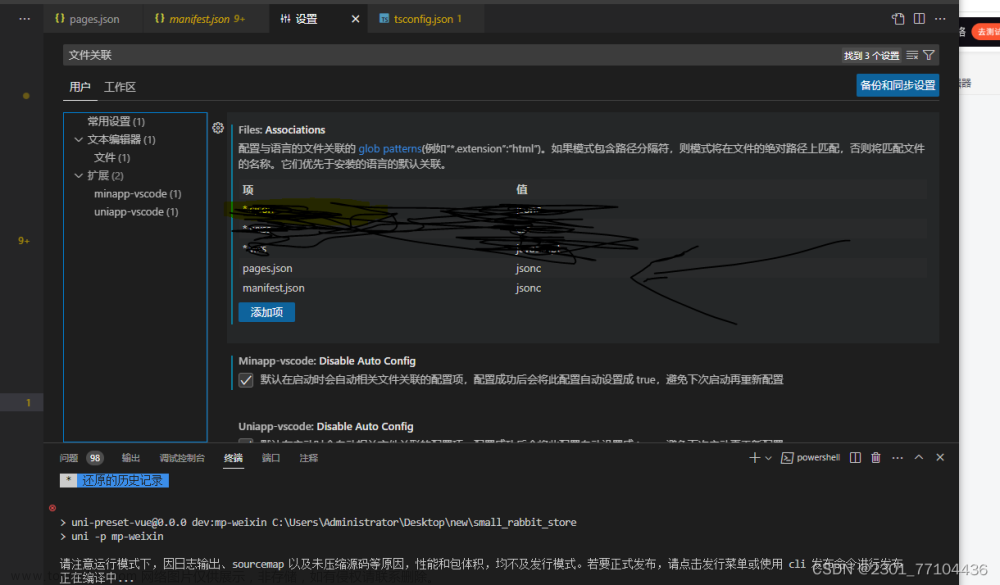
1.执行命令创建项目。
vue create -p dcloudio/uni-preset-vue (项目名称)
2.选择模板,需要ts加上ts,一般默认选择默认模板。

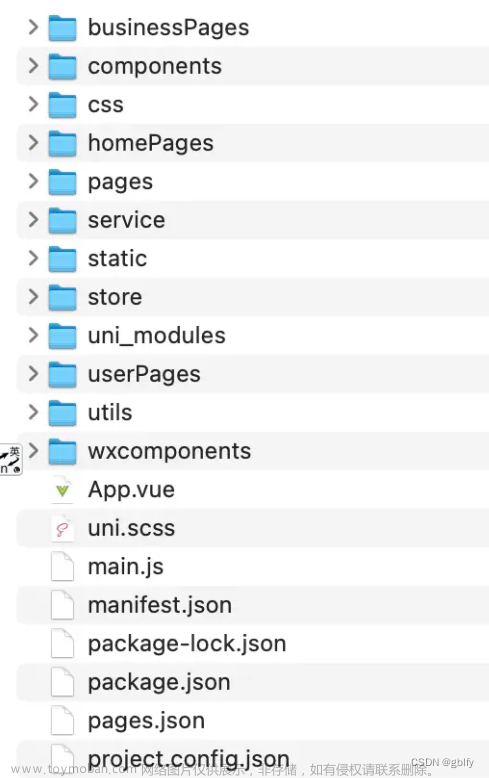
3.新建完成后的package.json,有对应的打包命令,

博主报了一个这样的错误,是因为autoprefixer版本过高,降低一下版本即可

npm i postcss-loader autoprefixer@8.0.0

这里也可以会出现sassloader版本的报错的问题,如果出现查一下版本换一下版本即可。
安装node-sass的时候要用淘宝镜像,npm基本下不下来
npm install -g cnpm --registry=https://registry.npm.taobao.org
cnpm install node-sass
4.打完包之后,把dist下的dev下的mp-weixin包通过微信开发者工具打开,之后在vscode修改保存就可以实现微信开发者工具热更新了。

5.使用uniapp最火的uview
npm i uview-ui6.main.js引入uview
import uView from "uview-ui";
Vue.use(uView);7.在全局样式文件uni.scss中引入
@import 'uview-ui/theme.scss';
8.在pages.json中 配置easycom组件模式
"easycom": {
		"^u-(.*)": "uview-ui/components/u-$1/u-$1.vue"
	}
9.在vue.config.js中加入
// vue.config.js,如没有此文件则手动创建
module.exports = {
    transpileDependencies: ['uview-ui']
}
10.在pages/index中使用button,下面是效果图
 文章来源:https://www.toymoban.com/news/detail-484900.html
文章来源地址https://www.toymoban.com/news/detail-484900.html
到了这里,关于使用命令行新建vue2/uniapp小程序项目的文章就介绍完了。如果您还想了解更多内容,请在右上角搜索TOY模板网以前的文章或继续浏览下面的相关文章,希望大家以后多多支持TOY模板网!

