下载源码:
git clone https://github.com/AUTOMATIC1111/stable-diffusion-webui
一般方法就是:
bash webui.sh
但是很遗憾这个国内很难成功,而且很容易陷入困境,因此需要下面方法
核心思想:环境和源码分开安装
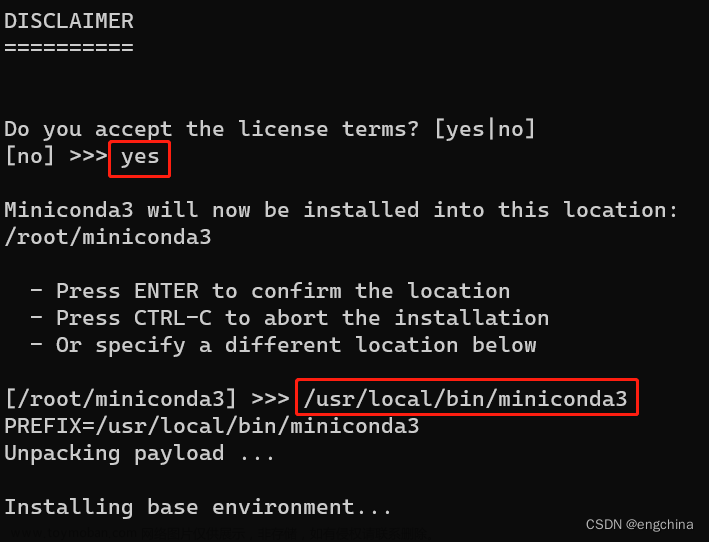
下载一个anconda并安装,由于过程简单,这个省略,然后
conda create -n sd python=3.8 -y
conda activate sd
pip install torch==2.0.0+cu118 torchvision==0.15.0+cu118 --extra-index-url https://download.pytorch.org/whl/cu118
cd stable-diffusion-webui
pip install -r requirements.txt
后面缺什么就pip什么
mkdir repositories
git clone https://github.com/Stability-AI/stablediffusion.git repositories/stable-diffusion-stability-ai
git clone https://github.com/CompVis/taming-transformers.git repositories/taming-transformers
git clone https://github.com/sczhou/CodeFormer.git repositories/CodeFormer
git clone https://github.com/salesforce/BLIP.git repositories/BLIP
git clone https://github.com/crowsonkb/k-diffusion.git repositories/k-diffusion
安装SD所需的库
pip install transformers==4.19.2 diffusers invisible-watermark --prefer-binary
安装k-diffusion
pip install git+https://github.com/crowsonkb/k-diffusion.git --prefer-binary
(可选)安装GFPGAN(面部修复)
pip install git+https://github.com/TencentARC/GFPGAN.git --prefer-binary
(可选)安装CodeFormer所需的库(面部修复)
pip install -r repositories/CodeFormer/requirements.txt --prefer-binary
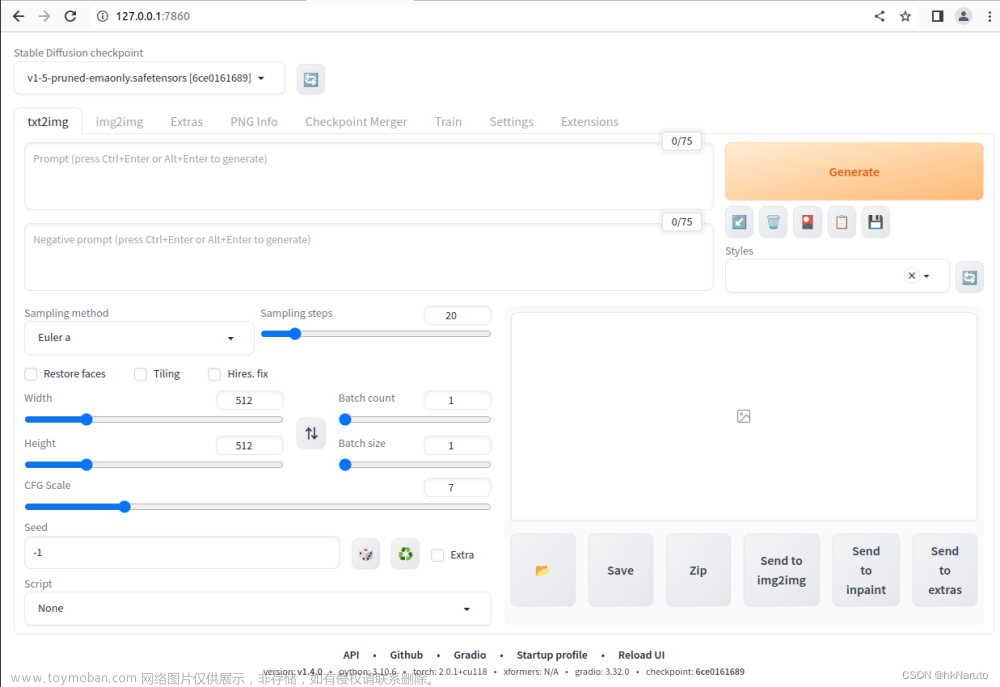
安装完跑起来:
python webui.py
如果报什么错解决什么错就行了,如果报错
no module named 'open_clip'
安装:pip install open_clip_torch即可文章来源:https://www.toymoban.com/news/detail-486198.html
执行python webui.py后面操作会自动下载模型,如果下载不了,手动下载对应目录即可。文章来源地址https://www.toymoban.com/news/detail-486198.html
到了这里,关于[ubuntu][]ubuntu上安装stable-diffusion-webui的文章就介绍完了。如果您还想了解更多内容,请在右上角搜索TOY模板网以前的文章或继续浏览下面的相关文章,希望大家以后多多支持TOY模板网!

![Stable Diffusion WebUI 安装记录[Ubuntu服务器]](https://imgs.yssmx.com/Uploads/2024/04/848382-1.png)


