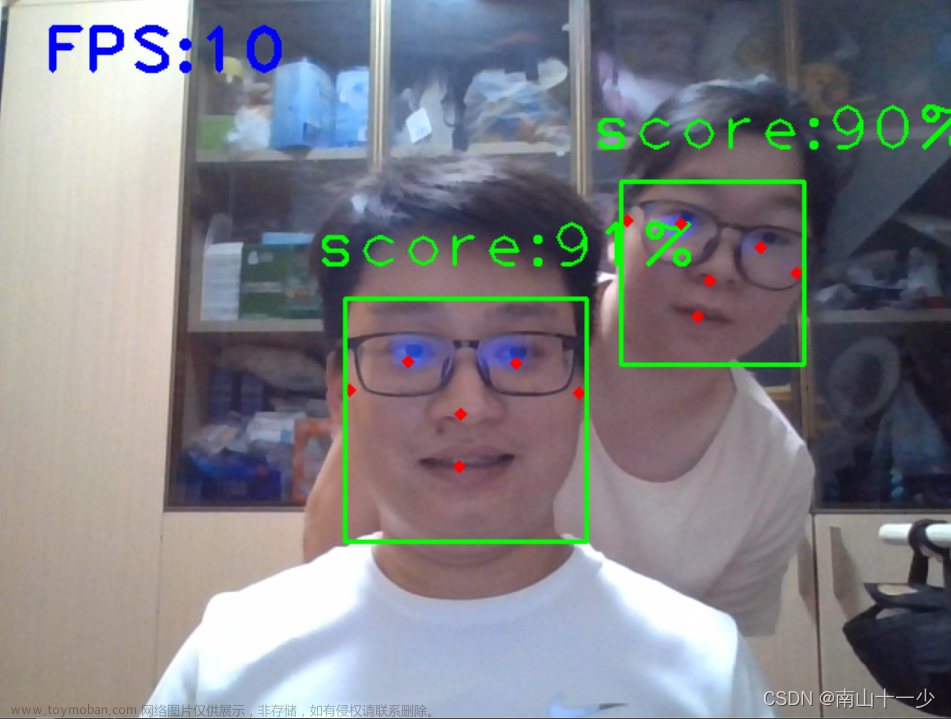
OpenCV是构建计算机视觉应用程序的强大工具。计算机视觉中最常见的任务之一是人脸检测,它涉及识别图像或视频中人脸的存在、位置和面部特征。
在本文中,我们将学习如何使用 Haar 级联分类器检测图像中的人脸。
先决条件
在开始之前,你需要在计算机上安装 OpenCV。
参考:https://opencv.org/releases/
你还需要一个示例图像来测试人脸检测算法。你可以使用任何你喜欢的图像。
第 1 步:加载 Haar 级联分类器
使用 OpenCV 进行面部和眼睛检测的第一步是加载 Haar 级联分类器。分类器是一个预训练的机器学习模型,经过训练可以检测人脸和眼睛。
这是加载分类器的代码:
import cv2

face_cascade = cv2.CascadeClassifier('haarcascade_frontalface_default.xml')
eye_cascade = cv2.CascadeClassifier('haarcascade_eye.xml')
第 2 步:加载图像
接下来,我们需要加载我们要处理的图像。我们可以使用cv2模块中的imread函数来加载图像。
image = cv2.imread('Image.png')第 3 步:将图像转换为灰度
Haar 级联分类器在灰度图像上效果最好,因此我们需要将图像转换为灰度图像。我们可以使用cvtColor函数来做到这一点。
gray = cv2.cvtColor(image, cv2.COLOR_BGR2GRAY)第 4 步:检测人脸
现在我们可以使用级联分类器的detectMultiScale函数来检测图像中的人脸。此函数返回代表检测到的人脸位置的矩形列表。
#detect faces
faces = face_cascade.detectMultiScale(gray, 1.1, 4)

# Get the face ROI
face_roi = gray[y:y+h, x:x+w]

#detect eyes
eyes = eye_cascade.detectMultiScale(face_roi)
第 5 步:在脸部和眼睛周围画矩形
最后,我们可以使用rectangle函数在人脸周围绘制矩形。
#Rectangle around face
for (x, y, w, h) in faces:
    cv2.rectangle(image, (x, y), (x+w, y+h), (255, 0, 0), 2)

#Rectangle around eyes
for (ex, ey, ew, eh) in eyes:
     cv2.rectangle(frame, (x+ex, y+ey), (x+ex+ew, y+ey+eh), (0, 255, 0), 2)
第 6 步:显示图像
我们可以使用imshow函数来显示带有检测到的人脸的图像。
cv2.imshow('Face Detection', image)
cv2.waitKey()
cv2.destroyAllWindows()
完整代码——检测实时视频源中的面部和眼睛
import cv2

# Load the cascade classifiers for face and eye detection
face_cascade = cv2.CascadeClassifier('haarcascade_frontalface_default.xml')
eye_cascade = cv2.CascadeClassifier('haarcascade_eye.xml')

# Start the video capture
capture = cv2.VideoCapture(0)

while True:
    # Read the frame from the video capture
    _, frame = capture.read()

    # Convert the frame to grayscale
    gray = cv2.cvtColor(frame, cv2.COLOR_BGR2GRAY)

    # Detect faces in the frame
    faces = face_cascade.detectMultiScale(gray, 1.1, 4)

    # Loop over the faces
    for (x, y, w, h) in faces:
        # Draw a rectangle around the face
        cv2.rectangle(frame, (x, y), (x+w, y+h), (255, 0, 0), 2)

        # Get the face ROI
        face_roi = gray[y:y+h, x:x+w]

        # Detect eyes in the face ROI
        eyes = eye_cascade.detectMultiScale(face_roi)

        # Loop over the eyes
        for (ex, ey, ew, eh) in eyes:
            # Draw a rectangle around the eyes
            cv2.rectangle(frame, (x+ex, y+ey), (x+ex+ew, y+ey+eh), (0, 255, 0), 2)

    # Display the frame
    cv2.imshow('Face Recognition', frame)

    # Check if the user pressed 'q' to quit
    if cv2.waitKey(1) & 0xFF == ord('q'):
        break

# Release the video capture and destroy the windows
capture.release()
cv2.destroyAllWindows()
☆ END ☆
如果看到这里,说明你喜欢这篇文章,请转发、点赞。微信搜索「uncle_pn」,欢迎添加小编微信「 woshicver」,每日朋友圈更新一篇高质量博文。文章来源:https://www.toymoban.com/news/detail-488424.html
↓扫描二维码添加小编↓文章来源地址https://www.toymoban.com/news/detail-488424.html
到了这里,关于使用 OpenCV 进行面部和眼睛检测的文章就介绍完了。如果您还想了解更多内容,请在右上角搜索TOY模板网以前的文章或继续浏览下面的相关文章,希望大家以后多多支持TOY模板网!


