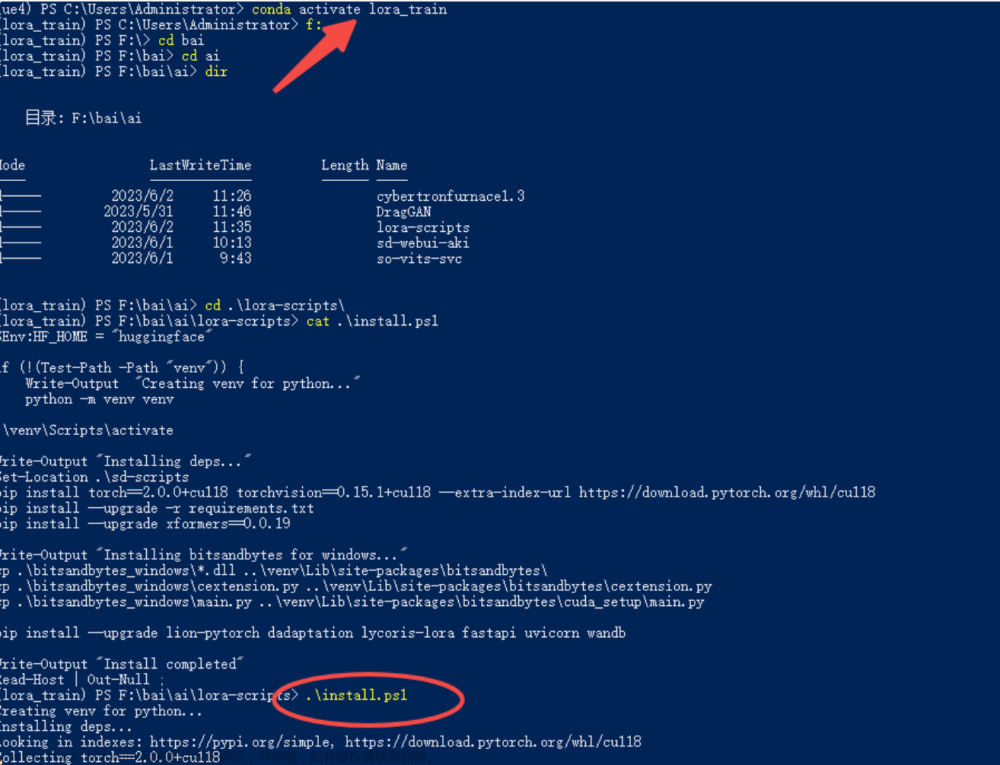
在学校Arc中部署lora training,一大问题就是依赖缺失和冲突。可以利用miniconda或者anaconda建立虚拟环境来解决。
安装anaconda 或者 miniconda(官网上也有教程):
wget https://repo.anaconda.com/archive/Anaconda3-5.3.0-Linux-x86_64.sh
chmod +x Anaconda3-5.3.0-Linux-x86_64.sh
./Anaconda3-5.3.0-Linux-x86_64.sh
建立虚拟环境:
conda create -n Lora python=3.10
conda init bash #添加conda环境进入Bash configuration file
source /root/.bashrc #重新加载bash配置
conda activate lora # 加载虚拟环境
现在进入到虚拟环境中
首先解决cuda的配置,其中要配置合适的cuda版本以及对应版本的cuDNN
conda官方库中的cuda包都不完全,无法激活nvcc命令,因此使用conda-forge库中的cudatoolkit包,以及dev包来确保可以激活nvcc命令。这里以cuda11.7版本为例。
conda install cudatoolkit==11.7.0 -c conda-forge#
conda install cudatoolkit-dev==11.7.0 -c conda-forge#
接下来安装cuDNN,依旧使用conda-forge库中的cudnn,我选择使用8.4.0.27版本的。查看库中的版本可以使用:
conda config --add channels conda-forge #加入conda forge 源
conda search -c conda-forge <package_name>
例如:
conda search -c conda-forge cudatoolkit #寻找可以使用的cudatoolkit版本
conda search -c conda-forge cudnn #寻找可以使用的cudnn版本
之后安装对应版本的tensorflow:
参考:https://docs.nvidia.com/deeplearning/frameworks/tensorflow-release-notes/rel-23-02.html#rel-23-02
可知我们需要的tensorflow的版本是2.8.0版本,tensorRT版本是8.2.5,由于8.2.5无法由python 3.10 编译,选择最相近版本8.4.2.4。
pip install tensorflow-gpu==2.8.0
pip install tensorflow==2.8.0
pip install nvidia-tensorrt==8.4.2.4
之后安装pytorch:
conda install pytorch cudatoolkit=11.7 -c pytorch或者,你可以使用pip的话:
pip install torch==1.13.1+cu117 -f https://download.pytorch.org/whl/cu117/torch_stable.html以及安装pytorchvision:同样可以使用:
conda install pytorch torchvision cudatoolkit=11.7 -c pytorch或者:
pip install torch torchvision -f https://download.pytorch.org/whl/cu117/torch_stable.html安装triton
pip install nvidia-pyindex
pip install triton
安装trainer本体
下面参考:https://github.com/zwh20081/LoRA_onekey_deploy_script/blob/main/onekey_with_xformers_new.sh
之后可以安装xformers来加速lora的训练:
git clone https://github.com/facebookresearch/xformers/  #导入xformer文件
cd xformers
git submodule update --init --recursive
# 强制使用CUDA环境,不开启可能会导致xformers未和CUDA一起编译
export FORCE_CUDA="1"
# 进入https://developer.nvidia.com/cuda-gpus#compute
# 设置所用显卡对应的Compute Capability,我的a-100是8.0,v-100是7.0
export TORCH_CUDA_ARCH_LIST=8.0
# PATH环境变量中追加cuda目录,确保编译时能识别镜像预置的cuda11.7
export PATH=$PATH:/usr/local/cuda

# 确保gcc编译时能够识别cuda的头文件cd(可能用不到)
pip install -r requirements.txt #安装requirements.txt文本下需要的依赖
pip install -e . #在当前目录下安装xformer
这时你的xformer 应当安装完毕。
之后安装Lora训练器:
cd .. #回到上层目录
git clone https://github.com/derrian-distro/LoRA_Easy_Training_Scripts
cd LoRA_Easy_Training_Scripts
git submodule init #初始化git子模块
git submodule update #升级子模块
cd sd_scripts

pip install --upgrade -r requirements.txt #升级文本下的依赖
此时可能会更新:
但是tensorflow可能会错误的升级到2.10版本。因此根据你的cuda版本降级tensorflow。
我这里还是降级到2.8.0:
pip install tensorflow==2.8.0之后
accelerate config这时应当可以正常使用了。
configure 过程中可能有一些设置,推荐是:
- This machine
- No distributed training
- NO
- NO
- NO
- all
- fp16/bf16
使用:
修改ArgsList.py中的参数设置
之后再main.py的目录中使用:文章来源:https://www.toymoban.com/news/detail-490094.html
accelerate launch main.pyEnjoy文章来源地址https://www.toymoban.com/news/detail-490094.html
到了这里,关于关于stable diffusion的lora训练在linux远程工作站的部署的文章就介绍完了。如果您还想了解更多内容,请在右上角搜索TOY模板网以前的文章或继续浏览下面的相关文章,希望大家以后多多支持TOY模板网!

