0. 背景
在Vue项目中添加一个markdown编辑器,选择使用editor.md,记录在Vue项目中的简单使用。
1. 环境配置
1.1 下载editor.md
官网地址:http://pandao.github.io/editor.md/
项目文件解压后放入:public/static/内
1.2 下载jQuery
下载地址:https://www.jsdelivr.com/package/npm/jquery?tab=files&version=1.12.0
下载后放入editor.md根目录下
1.3 下载scriptjs
cnpm install --save scriptjs
2. 实现
2.1 editor.md的配置文件

MarkdownConfig.js
const defaultConfig = {
  width: '100%',
  height: 600,
  path: '/static/editor.md/lib/',
  // theme: 'dark',
  // previewTheme: 'dark',
  // editorTheme: 'pastel-on-dark',
  markdown: '', // 默认填充内容
  lineWrapping: true, // 编辑框不换行
  codeFold: true, // 代码折叠
  placeholder: '请输入...',
  syncScrolling: true,
  saveHTMLToTextarea: true, // 保存 HTML 到 Textarea
  searchReplace: true,
  watch: true, // 实时预览
  htmlDecode: 'style,script,iframe|on*', // 开启 HTML 标签解析,为了安全性,默认不开启
  toolbar: true, // 工具栏
  previewCodeHighlight: true, // 预览 HTML 的代码块高亮,默认开启
  emoji: true,
  taskList: true,
  tocm: true, // Using [TOCM]
  tex: true, // 开启科学公式TeX语言支持,默认关闭
  flowChart: true, // 开启流程图支持,默认关闭
  sequenceDiagram: true, // 开启时序/序列图支持,默认关闭,
  dialogLockScreen: false, // 设置弹出层对话框不锁屏,全局通用,默认为true
  dialogShowMask: false, // 设置弹出层对话框显示透明遮罩层,全局通用,默认为true
  dialogDraggable: false, // 设置弹出层对话框不可拖动,全局通用,默认为true
  dialogMaskOpacity: 0.4, // 设置透明遮罩层的透明度,全局通用,默认值为0.1
  dialogMaskBgColor: '#000', // 设置透明遮罩层的背景颜色,全局通用,默认为#fff
  // imageUpload: false,
  // imageFormats: ['jpg', 'jpeg', 'gif', 'png', 'bmp', 'webp'],
  // imageUploadURL: 'http://127.0.0.1:8030/api/files/uploadSingleFile',
  // onload: function() {
  //    // this.fullscreen();
  //    // this.unwatch();
  //    // this.watch().fullscreen();
  //    // this.setMarkdown("#PHP");
  //    // this.width("100%");
  //    // this.height(480);
  //    // this.resize("100%", 640);
  // },
}
export {
  defaultConfig
}
2.2 editor.md的组件

<template>
  <div class="markdown-editor-box">
    <link rel="stylesheet" href="./static/editor.md/css/editormd.min.css">
    <div :id="editorId"></div>
  </div>
</template>

<script>
import scriptjs from 'scriptjs'
import { defaultConfig } from '@/config/MarkdownConfig'

export default {
  name: 'MarkdownEditor',
  props: {
    editorId: {
      type: String,
      default: 'markdown-editor'
    },
    onchange: {
      type: Function
    },
    config: {
      type: Object
    },
    initData: {
      type: String
    },
    initDataDelay: {
      type: Number,
      default: 0
    }
  },
  data () {
    return {
      editor: null,
      editorLoaded: false
    }
  },
  methods: {
    fetchScript (url) {
      return new Promise(resolve => {
        scriptjs(url, () => {
          resolve()
        })
      })
    },
    getConfig () {
      return { ...defaultConfig, ...this.config }
    },
    getEditor () {
      return this.editor
    },
    getDoc () {
      return this.doc
    },
    watch () {
      return this.editor.watch()
    },
    unwatch () {
      return this.editor.unwatch()
    },
    previewing () {
      return this.editor.previewing()
    },
    getHTML () {
      return this.editor.getHTML()
    },
    getMarkdown () {
      return this.editor.getMarkdown()
    },
    setMarkdown (markdown) {
      return this.editor.setMarkdown(markdown)
    },
    initEditor () {
      (async () => {
        await this.fetchScript('./static/editor.md/jquery-1.10.2.min.js')
        await this.fetchScript('/static/editor.md/editormd.min.js')
        this.$nextTick(() => {
          const editor = window.editormd(this.editorId, this.getConfig())
          console.log('init editor ', editor)
          editor.on('load', () => {
            setTimeout(() => {
              this.editorLoaded = true
              this.initData && editor.setMarkdown(this.initData)
            }, this.initDataDelay)
          })
          this.onchange && editor.on('change', () => {
            const html = editor.getPreviewedHTML()
            this.onchange({
              markdown: editor.getMarkdown(),
              html: html,
              text: window.$(html).text()
            })
          })
          this.editor = editor
        })
      })()
    }
  },
  mounted () {
    this.initEditor()
  },
  watch: {
    initData: function (newVal) {
      if (newVal) {
        this.editorLoaded && this.editor.setMarkdown(newVal)
      }
    }
  }
}
</script>

<style scoped lang="less">

</style>
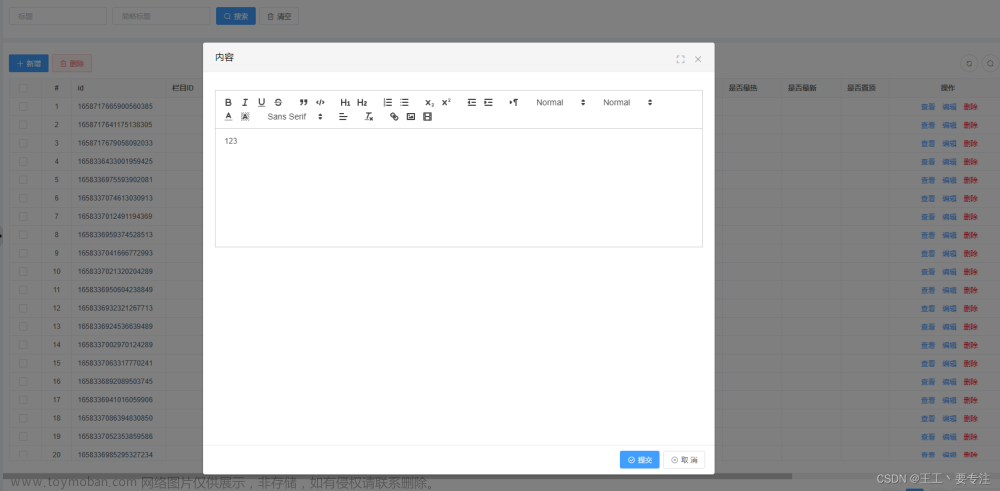
3. 测试
3.1 使用
在其他文件内使用文章来源:https://www.toymoban.com/news/detail-490559.html
<markdown-editor ref="markdownView"></markdown-editor>
3.2 结果
 文章来源地址https://www.toymoban.com/news/detail-490559.html
x. 参考
- VUE 使用 editor.md (一)
- vue整合editor.md
- markdown编辑器之editormd使用整合
到了这里,关于Vue中使用editor.md(1):简单使用的文章就介绍完了。如果您还想了解更多内容,请在右上角搜索TOY模板网以前的文章或继续浏览下面的相关文章,希望大家以后多多支持TOY模板网!