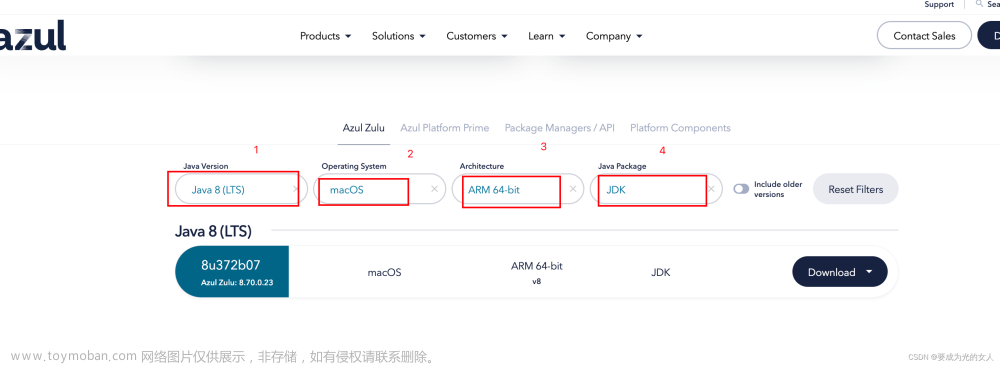
一、下载安装miniconda
miniconde官网:Miniconda — Conda documentation
M1最低只能适配到python3.8
打开终端,进入安装包所在文件夹,使用命令进行安装
bash Miniconda3-latest-MacOSX-arm64.sh
一路回车
二、配置环境
安装完成后重启终端,若前面增加(base)则环境自动配置完成,则可以正常使用。
若无,请复制下面命令并创建文件
vim ~/.zshrc
# >>> conda initialize >>>
# !! Contents within this block are managed by 'conda init' !!
__conda_setup="$('/Users/*****/miniconda3/bin/conda' 'shell.zsh' 'hook' 2> /dev/null)"
if [ $? -eq 0 ]; then
    eval "$__conda_setup"
else
    if [ -f "/Users/*****/miniconda3/etc/profile.d/conda.sh" ]; then
        . "/Users/*****/miniconda3/etc/profile.d/conda.sh"
    else
        export PATH="/Users/*****/miniconda3/bin:$PATH"
    fi
fi
unset __conda_setup
# <<< conda initialize <<<
******* 是你的用户名
重新执行刚修改过的环境
source ~/.zshrc
此时环境配置完成, 可以看到已经使用conda安装的python版本了
conda基础命令
conda/pip 下载第三方包时默认使用国外的源文件,因此在国内速度会比较慢,故通常使用国内第
三方镜像源进行下载
查看源
conda config --show channels
添加源
conda config --add channels <parameters>
eg:
conda config --add channels https://mirrors.tuna.tsinghua.edu.cn/anaconda/pkgs/free/
conda config --add channels https://mirrors.tuna.tsinghua.edu.cn/anaconda/pkgs/main/
conda config --add channels https://mirrors.tuna.tsinghua.edu.cn/anaconda/cloud/menpo/
conda config --add channels https://mirrors.tuna.tsinghua.edu.cn/anaconda/cloud/bioconda/
conda config --add channels https://mirrors.tuna.tsinghua.edu.cn/anaconda/cloud/msys2/
conda config --add channels https://mirrors.tuna.tsinghua.edu.cn/anaconda/cloud/conda-forge/
conda config --add channels https://mirrors.tuna.tsinghua.edu.cn/anaconda/cloud/pytorch/

# 设置搜索时显示通道地址
conda config --set show_channel_urls yes
删除源
conda config --remove channels <parameters>
恢复源(恢复官方下载地址,清除所有自行添加的第三方源)文章来源:https://www.toymoban.com/news/detail-492899.html
conda config --remove-key channels
Conda安装虚拟环境相关命令
 文章来源地址https://www.toymoban.com/news/detail-492899.html
到了这里,关于MAC OS(M1)安装配置miniconda的文章就介绍完了。如果您还想了解更多内容,请在右上角搜索TOY模板网以前的文章或继续浏览下面的相关文章,希望大家以后多多支持TOY模板网!

