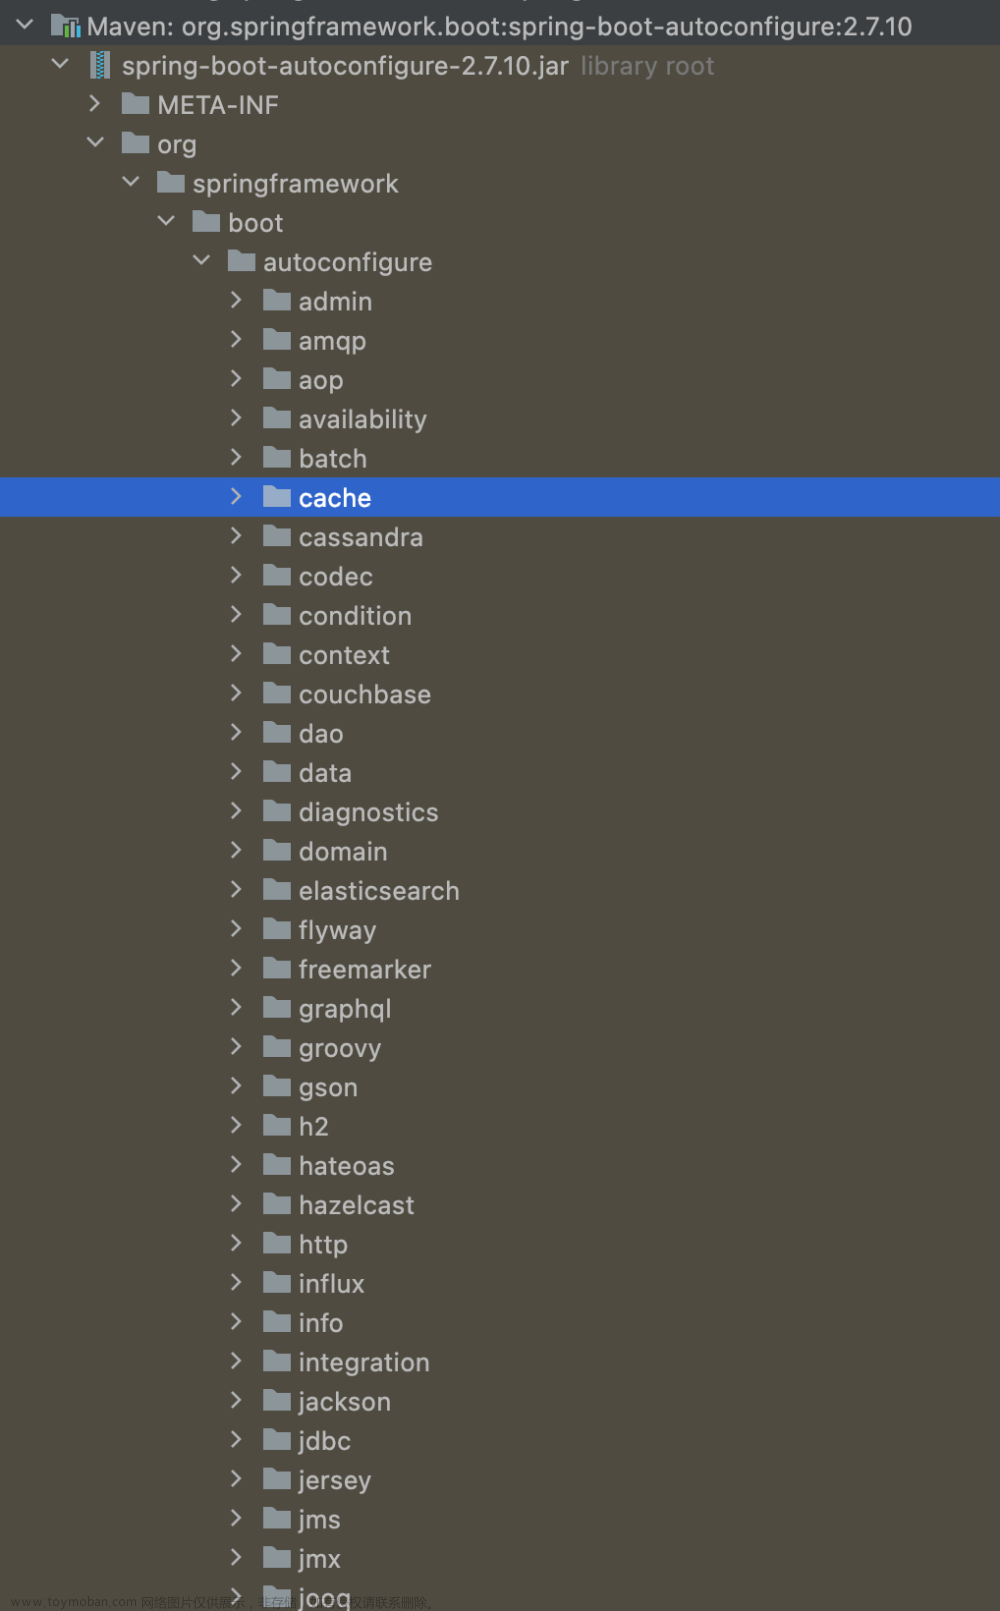
在SpringBoot中,EnableAutoConfiguration注解用于开启自动装配功能。
本文将详细分析该注解的工作流程。
EnableAutoConfiguration注解
启用SpringBoot自动装配功能,尝试猜测和配置可能需要的组件Bean。
自动装配类通常是根据类路径和定义的Bean来应用的。例如,如果类路径上有tomcat-embedded.jar,那么可能需要一个TomcatServletWebServerFactory(除非已经定义了自己的Servlet WebServerFactory Bean)。
自动装配试图尽可能地智能化,并将随着开发者定义自己的配置而取消自动装配相冲突的配置。开发者可以使用exclude()排除不想使用的配置,也可以通过spring.autoconfig.exclude属性排除这些配置。自动装配总是在用户定义的Bean注册之后应用。
用@EnableAutoConfiguration注解标注的类所在包具有特定的意义,通常用作默认扫描的包。通常建议将@EnableAutoConfiguration(如果没有使用@SpringBootApplication注解)放在根包中,以便可以搜索所有子包和类。
自动装配类是普通的Spring @Configuration类,使用SpringFactoriesLoader机制定位。通常使用@Conditional方式装配,最常用的是@ConditionalOnClass和@ConditionalOnMissingBean注解。
@AutoConfigurationPackage
@Import(AutoConfigurationImportSelector.class)
public @interface EnableAutoConfiguration {

	/**
	 * Exclude specific auto-configuration classes such that they will never be applied.
	 */
	Class<?>[] exclude() default {};

	/**
	 * Exclude specific auto-configuration class names such that they will never be
	 * applied.
	 * 当类路径下没有指定的类时,可以使用这个属性指定排除的类
	 */
	String[] excludeName() default {};
}
该注解Import了AutoConfigurationImportSelector类,AutoConfigurationImportSelector类实现了DeferredImportSelector接口。
Import注解和DeferredImportSelector接口在之前的"Spring @Import注解源码分析"中详细分析过,此处在介绍它们,只分析AutoConfigurationImportSelector的工作流程。
AutoConfigurationImportSelector类
DeferredImportSelector接口
A variation of ImportSelector that runs after all @Configuration beans have been processed. This type of selector can be particularly useful when the selected imports are @Conditional.
Implementations can also extend the org.springframework.core.Ordered interface or use the org.springframework.core.annotation.Order annotation to indicate a precedence against other DeferredImportSelectors.
Implementations may also provide an import group which can provide additional sorting and filtering logic across different selectors.
AutoConfigurationGroup类
AutoConfigurationImportSelector的getImportGroup方法返回了AutoConfigurationGroup类。
private static class AutoConfigurationGroup implements
		DeferredImportSelector.Group, BeanClassLoaderAware, BeanFactoryAware, ResourceLoaderAware {

	private final Map<String, AnnotationMetadata> entries = new LinkedHashMap<>();

	private final List<AutoConfigurationEntry> autoConfigurationEntries = new ArrayList<>();

	// ... 略

	@Override
	public void process(
			AnnotationMetadata annotationMetadata,
			DeferredImportSelector deferredImportSelector) {

		// AutoConfigurationEntry类使用List保存Configuration类
		AutoConfigurationEntry autoConfigurationEntry =
            ((AutoConfigurationImportSelector) deferredImportSelector)
				.getAutoConfigurationEntry(annotationMetadata);

		this.autoConfigurationEntries.add(autoConfigurationEntry);
		for (String importClassName : autoConfigurationEntry.getConfigurations()) {
			this.entries.putIfAbsent(importClassName, annotationMetadata);
		}
	}

	@Override
	public Iterable<Entry> selectImports() {
		// 查找排除的配置类
		Set<String> allExclusions = this.autoConfigurationEntries.stream()
				.map(AutoConfigurationEntry::getExclusions)
				.flatMap(Collection::stream)
				.collect(Collectors.toSet());
		// 所有配置类
		Set<String> processedConfigurations = this.autoConfigurationEntries.stream()
				.map(AutoConfigurationEntry::getConfigurations)
				.flatMap(Collection::stream)
				.collect(Collectors.toCollection(LinkedHashSet::new));
		// 将排除的配置类移除掉
		processedConfigurations.removeAll(allExclusions);

		// 排序
		return sortAutoConfigurations(processedConfigurations, getAutoConfigurationMetadata()).stream()
				.map((importClassName) -> new Entry(this.entries.get(importClassName), importClassName))
				.collect(Collectors.toList());
	}

	// ... 略
}
从上面的代码可以看出,查找自动装配类的逻辑在getAutoConfigurationEntry方法中。
getAutoConfigurationEntry方法
从META-INF/spring.factories文件解析EnableAutoConfiguration配置。
META-INF/spring.factories文件示例:
 文章来源:https://www.toymoban.com/news/detail-493486.html
protected AutoConfigurationEntry getAutoConfigurationEntry(AnnotationMetadata annotationMetadata) {
	AnnotationAttributes attributes = getAttributes(annotationMetadata);
	// 查找自动装配类
	List<String> configurations = getCandidateConfigurations(annotationMetadata, attributes);
	// 以下几行为查找排除类、过滤等操作
	configurations = removeDuplicates(configurations);
	Set<String> exclusions = getExclusions(annotationMetadata, attributes);
	checkExcludedClasses(configurations, exclusions);
	configurations.removeAll(exclusions);
	// 这里的Filter是从META-INF/spring.factories文件解析出来的
	configurations = getConfigurationClassFilter().filter(configurations);
	// 触发事件
	fireAutoConfigurationImportEvents(configurations, exclusions);
	return new AutoConfigurationEntry(configurations, exclusions);
}

protected List<String> getCandidateConfigurations(
		AnnotationMetadata metadata, AnnotationAttributes attributes) {
	// 从META-INF/spring.factories文件查找EnableAutoConfiguration配置
	List<String> configurations = SpringFactoriesLoader.loadFactoryNames(
						getSpringFactoriesLoaderFactoryClass(), getBeanClassLoader());
	return configurations;
}
SpringFactoriesLoader类loadFactoryNames方法
Load the fully qualified class names of factory implementations of the given type from "META-INF/spring.factories", using the given class loader.文章来源地址https://www.toymoban.com/news/detail-493486.html
public static List<String> loadFactoryNames(Class<?> factoryType, ClassLoader classLoader) {
	String factoryTypeName = factoryType.getName();
	return loadSpringFactories(classLoader).getOrDefault(factoryTypeName, Collections.emptyList());
}

private static Map<String, List<String>> loadSpringFactories(ClassLoader classLoader) {
	MultiValueMap<String, String> result = cache.get(classLoader);
	if (result != null) {
		return result;
	}

	try {
		// FACTORIES_RESOURCE_LOCATION = "META-INF/spring.factories"
		// 从类路径下查找META-INF/spring.factories文件
		Enumeration<URL> urls = (classLoader != null ?
				classLoader.getResources(FACTORIES_RESOURCE_LOCATION) :
				ClassLoader.getSystemResources(FACTORIES_RESOURCE_LOCATION));
		result = new LinkedMultiValueMap<>();
		while (urls.hasMoreElements()) {
			URL url = urls.nextElement();
			UrlResource resource = new UrlResource(url);
			// 获取properties配置
			Properties properties = PropertiesLoaderUtils.loadProperties(resource);
			for (Map.Entry<?, ?> entry : properties.entrySet()) {
				String factoryTypeName = ((String) entry.getKey()).trim();
				for (String factoryImplementationName :
                     StringUtils.commaDelimitedListToStringArray((String) entry.getValue())) {
					result.add(factoryTypeName, factoryImplementationName.trim());
				}
			}
		}
		// 把配置添加缓存
		cache.put(classLoader, result);
		return result;
	} catch (IOException ex) {
		throw new IllegalArgumentException("Unable to load factories from location [" +
				FACTORIES_RESOURCE_LOCATION + "]", ex);
	}
}
到了这里,关于springboot启动流程 (3) 自动装配的文章就介绍完了。如果您还想了解更多内容,请在右上角搜索TOY模板网以前的文章或继续浏览下面的相关文章,希望大家以后多多支持TOY模板网!


