一、Anaconda安装及配置
Anaconda是一个可用于科学计算的 Python 发行版,支持 Linux、Mac、Windows系统,内置了常用的科学计算包。它解决了官方
Python 的两大痛点。
第一:提供了包管理功能,Windows 平台安装第三方包经常失败的场景得以解决
第二:提供环境管理的功能,功能类似 Virtualenv,解决了多版本Python并存、切换的问题。
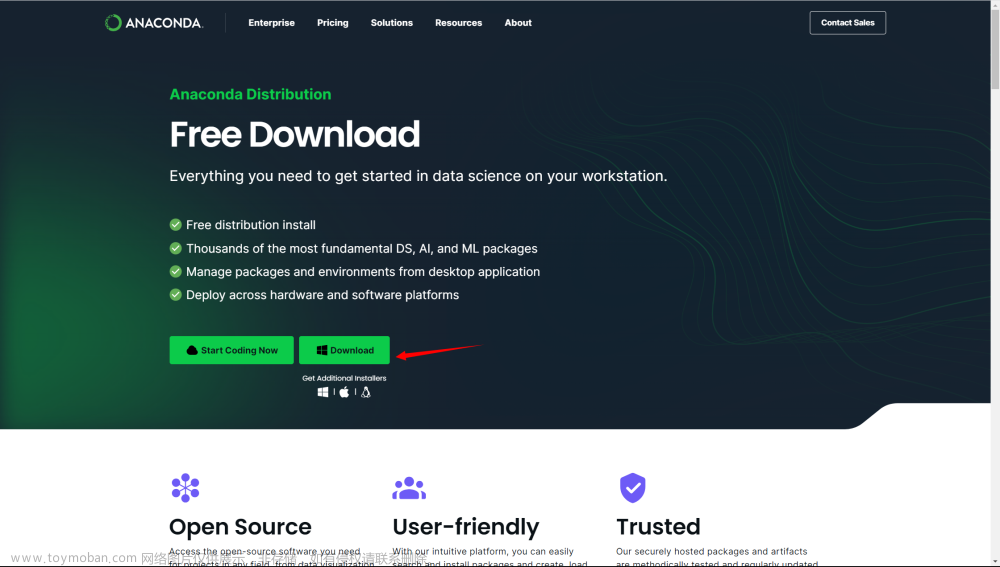
1.1 安装
xugj@lenovo:~$ wget https://repo.anaconda.com/archive/Anaconda3-2023.03-Linux-x86_64.sh
xugj@lenovo:~$ bash Anaconda3-2023.03-Linux-x86_64.sh
1.2 配置conda源
配置国内阿里源,或者清华源,加快包下载及安装速度。
Linux用户可以通过新建或修改用户目录下的 .condarc 文件(cd ~ 的目录即为用户目录)
channels:
  - defaults
show_channel_urls: true
default_channels:
  - http://mirrors.aliyun.com/anaconda/pkgs/main
  - http://mirrors.aliyun.com/anaconda/pkgs/r
  - http://mirrors.aliyun.com/anaconda/pkgs/msys2
custom_channels:
  conda-forge: http://mirrors.aliyun.com/anaconda/cloud
  msys2: http://mirrors.aliyun.com/anaconda/cloud
  bioconda: http://mirrors.aliyun.com/anaconda/cloud
  menpo: http://mirrors.aliyun.com/anaconda/cloud
  pytorch: http://mirrors.aliyun.com/anaconda/cloud
  simpleitk: http://mirrors.aliyun.com/anaconda/cloud
1.3 配置pip源
有些软件使用pip安装,所以需要把pip源同时配置上。
Linux用户可以通过新建或修改用户目录下的 ~/.pip /pip.conf 文件(cd ~ 的目录即为用户目录)
如下是配置为清华源
[global]
index-url = https://pypi.tuna.tsinghua.edu.cn/simple
[install]
trusted-host = pypi.tuna.tsinghua.edu.cn
二、PaddlePaddle安装及验证
参照官方文档:开始使用_飞桨-源于产业实践的开源深度学习平台
2.1 创建虚拟环境
首先根据具体的 Python 版本创建 Anaconda 虚拟环境,PaddlePaddle 的 Anaconda 安装支持 3.6 - 3.10 版本的 Python 安装环境。
bash-4.2$ conda create -n paddle_env python=3.9.13
(base) bash-4.2$ conda activate paddle_env
(paddle_env) bash-4.2$ python --version
2.2 CPU 版的 PaddlePaddle
如果您的计算机没有 NVIDIA® GPU,请安装 CPU 版的 PaddlePaddle
(paddle_env) bash-4.2$ conda install paddlepaddle==2.4.2 --channel https://mirrors.tuna.tsinghua.edu.cn/anaconda/cloud/Paddle/
2.3 验证安装
安装完成后您可以使用 python 或 python3 进入 python 解释器,输入import paddle ,再输入 paddle.utils.run_check()文章来源:https://www.toymoban.com/news/detail-493808.html
如果出现PaddlePaddle is installed successfully!,说明您已成功安装文章来源地址https://www.toymoban.com/news/detail-493808.html
(paddle_env) bash-4.2$ python3
Python 3.9.13 | packaged by conda-forge | (main, May 27 2022, 16:58:50)
[GCC 10.3.0] on linux
Type "help", "copyright", "credits" or "license" for more information.
>>> import paddle
/data/bmoss/anaconda3/envs/paddle_env/lib/python3.9/site-packages/pkg_resources/__init__.py:121: DeprecationWarning: pkg_resources is deprecated as an API
  warnings.warn("pkg_resources is deprecated as an API", DeprecationWarning)
/data/bmoss/anaconda3/envs/paddle_env/lib/python3.9/site-packages/pkg_resources/__init__.py:2870: DeprecationWarning: Deprecated call to `pkg_resources.declare_namespace('google')`.
Implementing implicit namespace packages (as specified in PEP 420) is preferred to `pkg_resources.declare_namespace`. See https://setuptools.pypa.io/en/latest/references/keywords.html#keyword-namespace-packages
  declare_namespace(pkg)
>>> paddle.utils.run_check()
Running verify PaddlePaddle program ...
PaddlePaddle works well on 1 CPU.
/data/bmoss/anaconda3/envs/paddle_env/lib/python3.9/site-packages/paddle/fluid/executor.py:1583: UserWarning: Standalone executor is not used for data parallel
  warnings.warn(
W0410 17:48:20.099856 21650 fuse_all_reduce_op_pass.cc:79] Find all_reduce operators: 2. To make the speed faster, some all_reduce ops are fused during training, after fusion, the number of all_reduce ops is 2.
PaddlePaddle works well on 2 CPUs.
PaddlePaddle is installed successfully! Let's start deep learning with PaddlePaddle now.
>>>
到了这里,关于CentOS 安装PaddlePaddle记录的文章就介绍完了。如果您还想了解更多内容,请在右上角搜索TOY模板网以前的文章或继续浏览下面的相关文章,希望大家以后多多支持TOY模板网!


