目录
一、下载安装git
二、SSH 公钥设置
生成 SSH 公钥
设置账户 SSH 公钥
仓库的 SSH Key 和账户 SSH Key 的区别?
修改描述
当使用 Git 的时候可能会出现一些不想被提交的东西被错误的commit了,更糟糕的是还被push到了服务器上。那么这个时候如果仅仅只是删除文件,再次commit、push,那么将会在服务器上留下痕迹。
今天这个方法可以不在服务器留下痕迹地还原提交记录。(前提是有这个权限)
/* 1、回滚本地的提交记录 */
git reset --hard 目标commit的hash值/* 2、强制提交到远端服务器 */
git push origin HEAD --force
简易的命令行入门教程:
Git 全局设置:
git config --global user.name "牛**"
git config --global user.email "@qq.com"
创建 git 仓库:
mkdir nyb_demo
cd nyb_demo
git init
touch README.md
git add README.md
git commit -m "first commit"
git remote add origin https://gitee.com/niu-**/nyb_**.git
git push -u origin "master"
已有仓库?
cd existing_git_repo
git remote add origin https://gitee.com/niu-**/nyb_**.git
git push -u origin "master"
一、下载安装git
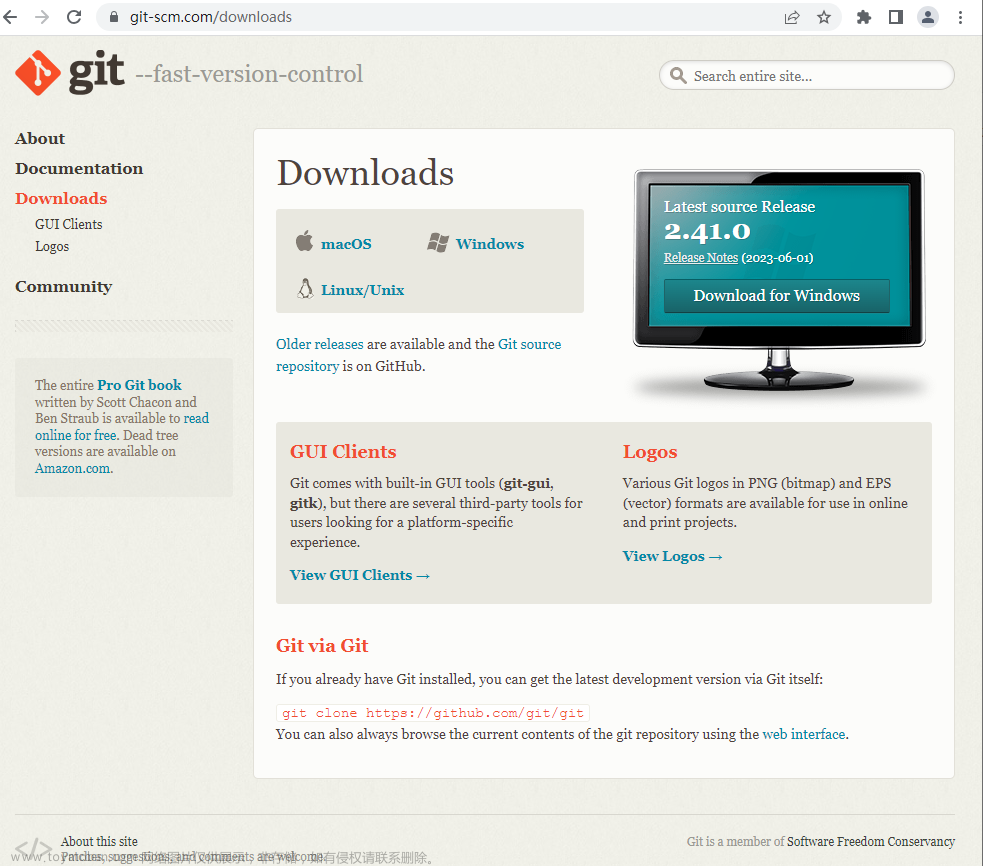
windows安装:进入网站Git下载安装,然后在cmd命令行配置,填写用户名和邮箱作为一个标识。表示你这台机器上所有的Git仓库都会使用这个配置,当然你也可以对某个仓库指定的不同的用户名和邮箱。
$ git config --global user.name "your name"
$ git config --global user.email "your_email@youremail.com"
#检查信息是否写入成功
$ git config --list
$ mkdir 新建文件夹(创建文件夹)
$ pwd(命令是用于显示当前的目录。)
$ git init (把这个目录变成git可以管理的仓库)
$ git add 文件 (添加到暂存区里面去)
$ git commit -m "注释内容"(告诉Git,把文件提交到仓库 big_data_platform_20200716J)
$ git status(来查看是否还有文件未提交)
$ git reset --hard HEAA^ (回退到上一个版本 回退到上上个版本只需把HEAD^ 改成 HEAD^^ 以此类推)
$ git reset --hard HEAD~100 (回退到前100个版本)
$ ssh-keygen -t rsa -C "@qq.com"(创建SSH KEY,登录Github,进Settings,点New SSH key,把id_rsa.pub内容复制Key里面,)
$ git remote rm origin
$ git remote add origin https://github.com/290/b_d_platform.git(和本地仓库进行关联)
$ git push -u origin master(通过git push -u origin master把本地仓库的项目推送到Github远程仓库上)
$ git push origin master
$ git pull --rebase origin master(合并)
克隆

git init

git remote add origin <你的项目地址>

git clone <项目地址>

git上传代码;

1、git pull origin master  //表示将本地代码同步线上;

2、git add .

3、git commit -m'aaa'(aaa为任意字符串,自己做个标识)

4、git push origin master

查看所有分支  :git branch -a

切换到某一分支:git checkout  分支名称

合并分支:git merge 原分支  目标分支

提交到远程仓库的时候,提示:fatal :remote origin already exists。  解决方案:删除远程仓库;输入命令:git remote rm origin

首次操作需要输入用户名和密码,就按提示输入用户名和密码即可
完成项目同步后,之后可以一直就向这个项目推送新的版本了
之后我们只需要一直做三件事,就能完成同步了
$ git add .
$ git commit -m"描述"
$ git push origin master
二、SSH 公钥设置
Gitee 提供了基于 SSH 协议的 Git 服务,在使用 SSH 协议访问仓库仓库之前,需要先配置好账户 SSH 公钥。
仓库公钥(部署公钥)请移步 添加部署公钥
生成 SSH 公钥
1、通过命令 ssh-keygen 生成 SSH Key:
ssh-keygen -t ed25519 -C "Gitee SSH Key"
-
-tkey 类型 -
-C注释
输出,如:
Generating public/private ed25519 key pair.
Enter file in which to save the key (/home/git/.ssh/id_ed25519):
Enter passphrase (empty for no passphrase):
Enter same passphrase again:
Your identification has been saved in /home/git/.ssh/id_ed25519
Your public key has been saved in /home/git/.ssh/id_ed25519.pub
The key fingerprint is:
SHA256:ohDd0OK5WG2dx4gST/j35HjvlJlGHvihyY+Msl6IC8I Gitee SSH Key
The key's randomart image is:
+--[ED25519 256]--+
|    .o           |
|   .+oo          |
|  ...O.o +       |
|   .= * = +.     |
|  .o +..S*. +    |
|. ...o o..+* *   |
|.E. o . ..+.O    |
| . . ... o =.    |
|    ..oo. o.o    |
+----[SHA256]-----+
- 中间通过三次回车键确定
2、查看生成的 SSH 公钥和私钥:
ls ~/.ssh/
输出:
id_ed25519 id_ed25519.pub
- 私钥文件
id_ed25519 - 公钥文件
id_ed25519.pub
3、读取公钥文件 ~/.ssh/id_ed25519.pub:
cat ~/.ssh/id_ed25519.pub
输出,如:
ssh-ed25519 AAAA***5B Gitee SSH Key
复制终端输出的公钥。
设置账户 SSH 公钥
用户可以通过主页右上角 「个人设置」->「安全设置」->「SSH 公钥」->「添加公钥」 ,添加生成的 public key 添加到当前账户中。
需要注意: 添加公钥需要验证用户密码

通过 ssh -T 测试,输出 SSH Key 绑定的用户名:
$ ssh -T git@gitee.com
Hi USERNAME! You've successfully authenticated, but GITEE.COM does not provide shell access.
在添加完公钥后,用户可以在 「个人设置」->「安全设置」->「SSH 公钥」 浏览查看当前账户已经添加的 SSH 公钥,并对公钥进行管理/删除操作。


仓库的 SSH Key 和账户 SSH Key 的区别?
账户的 SSH Key 和账户绑定,当账户具有 推送/拉取 权限时可通过 SSH 方式 推送/拉取 的仓库。
通过 ssh -T 测试时,输出 SSH Key 绑定的用户名:
$ ssh -T git@gitee.com
Hi USERNAME! You've successfully authenticated, but GITEE.COM does not provide shell access.
仓库的 SSH key 只针对仓库,且我们仅对仓库提供了部署公钥,即仓库下的公钥仅能拉取仓库,这通常用于生产服务器拉取仓库的代码。
通过 ssh -T 测试时,输出 Anonymous:文章来源:https://www.toymoban.com/news/detail-493922.html
ssh -T git@gitee.com
Hi Anonymous! You've successfully authenticated, but GITEE.COM does not provide shell access.
修改描述
当你提交代码时,可以使用 Git 提供的命令来修改提交描述。在 Git 中,每个提交都有一个描述,它描述了提交所做的更改。你可以使用以下命令修改提交描述:文章来源地址https://www.toymoban.com/news/detail-493922.html
git commit --amend -m "New commit description"git push --force到了这里,关于Git安装使用教程的文章就介绍完了。如果您还想了解更多内容,请在右上角搜索TOY模板网以前的文章或继续浏览下面的相关文章,希望大家以后多多支持TOY模板网!


