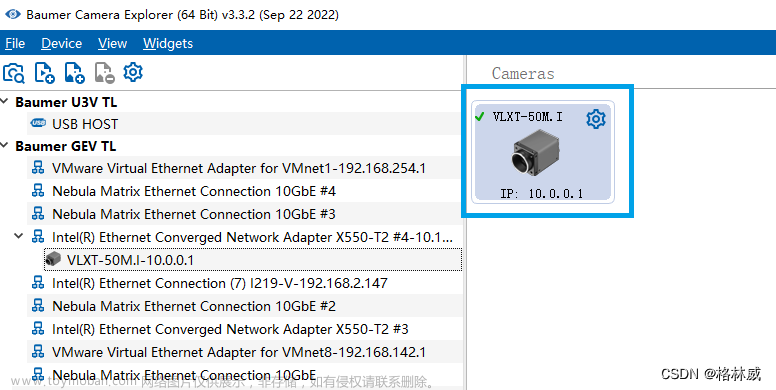
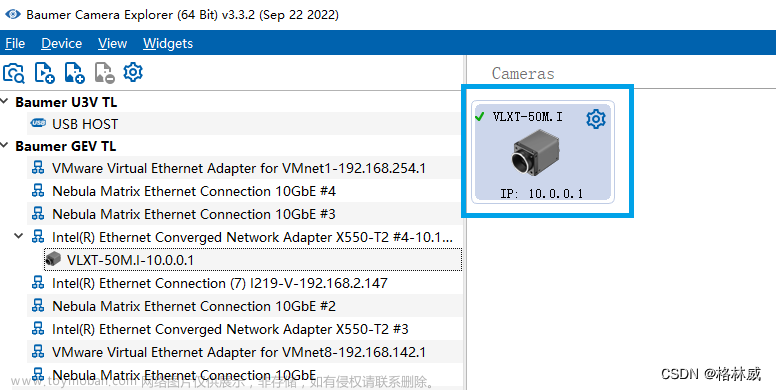
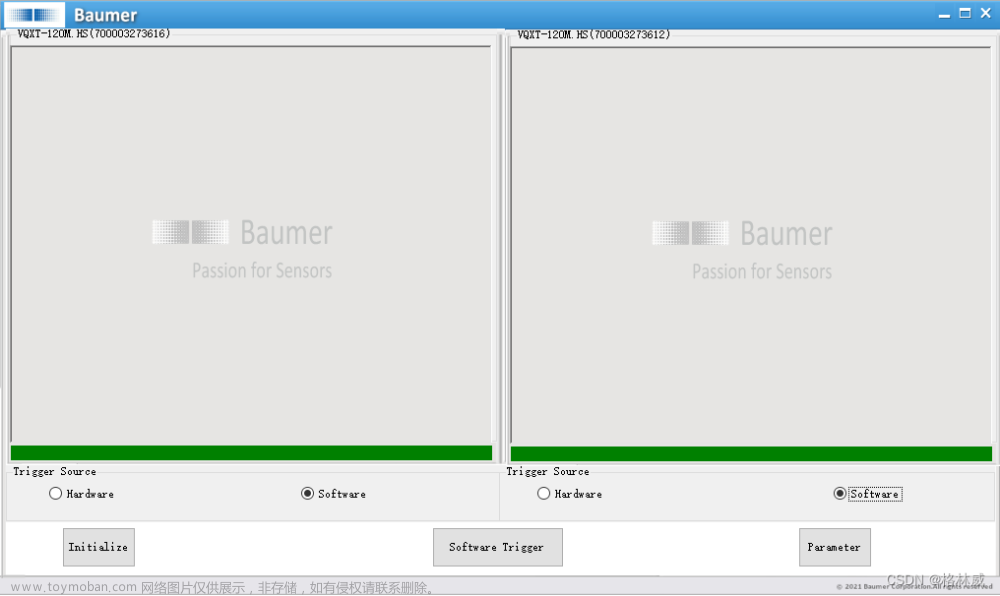
Baumer工业相机
Baumer工业相机堡盟相机是一种高性能、高质量的工业相机,可用于各种应用场景,如物体检测、计数和识别、运动分析和图像处理。
Baumer的万兆网相机拥有出色的图像处理性能,可以实时传输高分辨率图像。此外,该相机还具有快速数据传输、低功耗、易于集成以及高度可扩展性等特点。
Baumer工业相机由于其性能和质量的优越和稳定,常用于高速同步采集领域,通常使用各种图像算法来提高其捕获的图像的质量。
Baumer工业相机BGAPISDK和AutoFocus功能的技术背景
Baumer工业相机的BGAPI SDK是Baumer公司开发的针对其相机产品系列的一套软件开发工具包。该SDK提供了一组API,使开发人员可以编写专业应用程序,从而控制、捕获、处理和显示Baumer相机的图像和数据。BGAPI SDK支持多种编程语言,包括C++、C#、Visual Basic、LabVIEW、Matlab等,并提供了大量示例代码和文档,以帮助用户轻松上手,快速完成应用程序的开发。
BGAPI SDK提供了丰富的功能,可以控制Baumer相机的所有参数,包括曝光时间、增益、白平衡、触发模式等,以及支持各种数据格式,例如Raw、BMP、JPG等,同时还提供了实时显示、数据采集、图像处理等功能,为开发人员提供了高度定制化的解决方案。此外,BGAPI SDK还支持多相机系统的开发,并可支持各种计算机操作系统,如Windows、Linux、Mac OS等。
工业相机的AutoFocus功能是指该相机具备自动对焦功能,可以通过相机自身或外部设备(如光电传感器、激光测距仪等)对物体进行快速、精准的自动对焦。
自动对焦功能可以大大提高相机的拍摄效率和准确性,特别是在工业生产、机器视觉、智能制造等领域中,可以快速、准确地识别物体、测量尺寸和形状等参数,从而实现自动化生产和质量控制。
在选择工业相机时,需要根据具体应用场景考虑是否需要AutoFocus功能,并根据需求选择相应的对焦方式和适合的镜头。
本文介绍的使用BGAPI SDK进行使用AutoFocus功能。
Baumer工业相机通过BGAPISDK使用AutoFocus功能
下面介绍在C++里Baumer工业相机如何通过BGAPISDK使用AutoFocus功能方式
1.引用合适的类文件
代码如下(示例):
#include <stdio.h>
#include <iostream>
#include <iomanip>
#include <set>
#include <vector>
#include <algorithm>
#include <string>
#include "bgapi2_genicam/bgapi2_genicam.hpp"
#include <string>
#include <sstream>
#include <fstream>
#include <iostream>
#include <iomanip>


#include "AutoFocusHelper.h"
#include "math.h"
2.通过BGAPISDK声明AutoFocusHelper自动对焦功能
Baumer工业相机设置自动对焦AutoFocusHelper功能核心代码如下所示:
#ifndef AUTO_FOCUS_HELPER_H_
#define AUTO_FOCUS_HELPER_H_

#include <map>
#include <string>

#include "bgapi2_genicam/bgapi2_genicam.hpp"

#if USE_OPENCV
#   include "opencv2/opencv.hpp"
#endif  // USE_OPENCV

extern const char path_delimiter;
typedef struct _ROI {
    int64_t x;
    int64_t y;
    int64_t width;
    int64_t height;
} ROI;

extern const int64_t sobel_x[3][3];
extern const int64_t sobel_y[3][3];

bool CheckAndFixRoi(ROI* roi, int64_t width, int64_t height);
int64_t CrossCalculateMono(uint8_t* pSrc, int64_t width, int64_t height,
                           const int64_t matrix_x[3][3], const int64_t matrix_y[3][3],
                           const ROI& roi);

#ifdef USE_OPENCV  // OpenCV
    void ShowImage(void* buffer, int64_t width, int64_t height, int type, ROI* roi);
#endif  // USE_OPENCV   // OpenCV

void AutoBrightnessWhiteBalance(BGAPI2::Device* device, BGAPI2::DataStream* datastream, const ROI& roi);
//---------------------------------------------------------------------------------------------------------------------
#endif  // AUTO_FOCUS_HELPER_H_
3.通过BGAPISDK设置AutoFocusHelper自动对焦功能
SystemList
Open a System
Get the InterfaceList and fill it Open an Interface
Get the DeviceList and fill it
Open a Device

//---------------------------------------------------------------------------------------------------------------------
const int64_t sobel_x[3][3] = {
    { 1, 0,  -1 },
    { 2, 0,  -2 },
    { 1, 0,  -1 }
};

const int64_t sobel_y[3][3] = {
    {  1,  2,  1 },
    {  0,  0,  0 },
    { -1, -2, -1 }
};

//---------------------------------------------------------------------------------------------------------------------
// Checks, if the choosen Region of Interest fits the camera sensor.
// If it is outside the sensor, it will be reduced to fit.
bool CheckAndFixRoi(ROI* roi, int64_t width, int64_t height) {
    bool result = false;
    if (roi) {
        result = true;
        if (roi->x <= 0) {
            result = false;
            roi->x = 0;
        }
        if (roi->y <= 0) {
            result = false;
            roi->y = 0;
        }
        if (roi->width <= 0 || roi->width > width - roi->x) {
            result = false;
            roi->width = width - roi->x;
        }
        if (roi->height <= 0 || roi->height > height - roi->y) {
            result = false;
            roi->height = height - roi->y;
        }
    }
    return result;
}

//---------------------------------------------------------------------------------------------------------------------
// Calculation of the laplace algorithm using a horizontal and vertical matrix
// The result is an indicator for ????????
int64_t CrossCalculateMono(uint8_t* source, int64_t width, int64_t height,
        const int64_t matrix_x[3][3], const int64_t matrix_y[3][3],const ROI& roi) {
    int64_t pixel_sum = 0;
    int64_t pixel_x = 0;
    int64_t pixel_y = 0;
    for (int64_t y = 1; y < roi.height - 2; y++) {
        uint8_t* pMid = source + ((roi.y + y) * width) + roi.x;
        uint8_t* pTop = pMid - width;  // one line above
        uint8_t* pBottom = pMid + width;  // one line below
        for (int64_t x = 1; x < roi.width - 2; x++, pMid++, pTop++, pBottom++) {
            pixel_x = ((((pTop[-1] * matrix_x[0][0]) + (pTop[0] * matrix_x[0][1]) + (pTop[1] * matrix_x[0][2]) +
                (pMid[-1] * matrix_x[1][0]) + (pMid[0] * matrix_x[1][1]) + (pMid[1] * matrix_x[1][2]) +
                (pBottom[-1] * matrix_x[2][0]) + (pBottom[0] * matrix_x[2][1]) + (pBottom[1] * matrix_x[2][2]))));
            pixel_y = ((((pTop[-1] * matrix_y[0][0]) + (pTop[0] * matrix_y[0][1]) + (pTop[1] * matrix_y[0][2]) +
                (pMid[-1] * matrix_y[1][0]) + (pMid[0] * matrix_y[1][1]) + (pMid[1] * matrix_y[1][2]) +
                (pBottom[-1] * matrix_y[2][0]) + (pBottom[0] * matrix_y[2][1]) + (pBottom[1] * matrix_y[2][2]))));

            pixel_sum += static_cast<uint64_t>(sqrt((pixel_x * pixel_x + pixel_y * pixel_y) / 2));
        }
    }
    return pixel_sum;
}

//---------------------------------------------------------------------------------------------------------------------
#ifdef USE_OPENCV  // OpenCV
//---------------------------------------------------------------------------------------------------------------------
// If the example is compiled with OpenCV this method is used to show the images from the camera
void ShowImage(void* buffer, int64_t width, int64_t height, int type, ROI* roi) {
  cv::Mat img(static_cast<int>(height), static_cast<int>(width), type, buffer, cv::Mat::AUTO_STEP);
    if (roi) {
        cv::rectangle(
            img,
            cv::Point(static_cast<int>(roi->x + 1), static_cast<int>(roi->y + 1)),
            cv::Point(static_cast<int>(roi->x + roi->width - 2), static_cast<int>(roi->y + roi->height - 2)),
            cv::Scalar(255, 0, 255),
            3
        );
    }
    static int showtest = 0;
    if (!showtest++) {
        cv::namedWindow("Test Image", cv::WINDOW_NORMAL);
        cv::moveWindow("Test Image", 100, 100);
        cv::resizeWindow("Test Image", 1000, 800);
    }
    cv::imshow("Test Image", img);
    cv::waitKey(1);
}
#endif  // USE_OPENCV   // OpenCV

//---------------------------------------------------------------------------------------------------------------------
// for best results of the auto focus algorithm, we are using the automatic white balance and auto exposure
// of the camera to obtain well balanced images from the camera
void AutoBrightnessWhiteBalance(BGAPI2::Device* device, BGAPI2::DataStream* datastream, const ROI& roi) {
    // Set the ROI's for the auto features
    for (int64_t i = 0; i < 2; i++) {
        device->GetRemoteNode("AutoFeatureRegionSelector")->SetInt(i);
        device->GetRemoteNode("AutoFeatureRegionMode")->SetString("On");
        // Width, height and offsets need to be multiples of 32, 16 and 2 hence the calculations below
        device->GetRemoteNode("AutoFeatureWidth")->SetInt(32 * (roi.width / 32));
        device->GetRemoteNode("AutoFeatureOffsetX")->SetInt(16 * (roi.x / 16));
        device->GetRemoteNode("AutoFeatureHeight")->SetInt(2 * (roi.height / 2));
        device->GetRemoteNode("AutoFeatureOffsetY")->SetInt(2 * (roi.y / 2));
    }

    device->GetRemoteNode("AcquisitionStart")->Execute();
    device->GetRemoteNode("TriggerMode")->SetString("Off");
    device->GetRemoteNode("ExposureAuto")->SetString("Once");
    BGAPI2::Buffer* buffer_filled = nullptr;
    for (int i = 0; i < 100; i++) {
        buffer_filled = datastream->GetFilledBuffer(1000);
        if (buffer_filled)
            buffer_filled->QueueBuffer();
        if (device->GetRemoteNode("ExposureAuto")->GetString() == "Off") {
            break;
        }
    }
    // Set the WhiteBalance
    device->GetRemoteNode("BalanceWhiteAuto")->SetString("Once");
    for (int i = 0; i < 100; i++) {
        buffer_filled = datastream->GetFilledBuffer(1000);
        if (buffer_filled)
            buffer_filled->QueueBuffer();
        if (device->GetRemoteNode("BalanceWhiteAuto")->GetString() == "Off") {
            break;
        }
    }
    // now stop acquisition
    device->GetRemoteNode("AcquisitionStop")->Execute();

    // cleanup data stream
    BGAPI2::Buffer* buffer = nullptr;
    do {
      buffer = datastream->GetFilledBuffer(1000);
      if (buffer) buffer->QueueBuffer();
    } while (buffer);
}
Baumer工业相机使用AutoFocus自动对焦功能的优势
工业相机使用AutoFocus自动对焦功能有以下优势:
提高工作效率:自动对焦功能可以快速、准确地识别并对焦目标物体,避免了手动调节对焦焦距带来的时间浪费。因此,使用自动对焦功能可以提高生产效率,节省时间和人力成本。
提高测量精度:自动对焦功能可以根据不同的拍摄距离和物体大小,自动调整对焦焦距,保证图像清晰度和测量精度。
适应不同场景:自动对焦功能适应范围广泛,可以应用于工业生产、机器视觉、智能制造等多个领域中,对于不同大小、不同形状的目标物体均能有效识别并对焦,具有很高的通用性。
减少使用难度:相对于手动调节对焦焦距,自动对焦功能更易于操作和使用,减少了对操作人员技术水平的要求,也降低了需要培训的成本。
总之,自动对焦功能是现代工业相机的重要功能之一,对于提高工作效率、测量精度和操作便利性都有很大的帮助。
Baumer工业相机使用AutoFocus自动对焦功能的行业应用
工业相机使用AutoFocus自动对焦功能在以下行业应用广泛:
电子制造:工业相机应用于电子制造领域的检测和检验。自动对焦功能可以对电路板进行高效快速的检测和检验,并发现电路板上的任何错误或损坏。
汽车制造:工业相机也应用于汽车制造领域。自动对焦功能可以帮助自动化生产线上的机器视觉系统自动识别广泛的零部件,包括发动机部件、车身部件、安全系统部件等。
生物医学:工业相机还应用于生物医学领域,特别是在显微镜下对细胞、细胞组织进行检测和诊断。自动对焦功能可以帮助轴向和侧向扫描获取足够清晰的图像,以达到更准确的诊断和治疗。
食品包装:自动对焦功能还可以帮助食品加工和包装的自动化生产过程,精准地检测和确定包装和食品的大小和形状,确保处理过程中的一致性和质量控制。文章来源:https://www.toymoban.com/news/detail-494720.html
总之,自动对焦功能广泛应用于工业自动化和机器视觉领域。其强大的应用功能和高效率为人工操作提供了更好的替代方案,大大提高了行业效率和准确性。文章来源地址https://www.toymoban.com/news/detail-494720.html
到了这里,关于Baumer工业相机堡盟工业相机如何通过BGAPISDK使用AutoFocusHelper自动对焦补充功能(C++)的文章就介绍完了。如果您还想了解更多内容,请在右上角搜索TOY模板网以前的文章或继续浏览下面的相关文章,希望大家以后多多支持TOY模板网!


