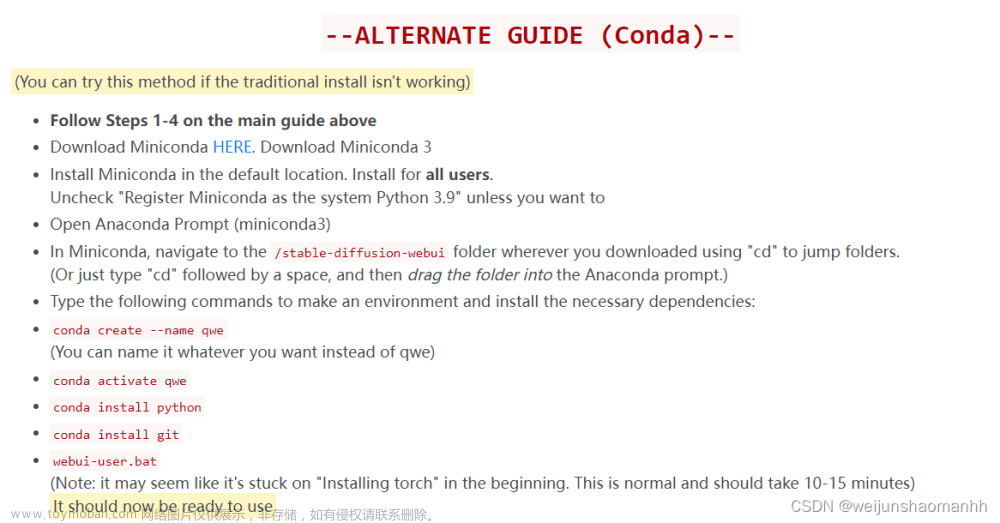
本地部署stable-diffusion-webui(windows)
1.安装conda;
2.创建conda env 和python 3.10.6;
conda create --name stable-diffusion-webui python=3.10.6
3.更新pip;
python -m pip install --upgrade pip
4.安装cuda 11.8;
https://developer.nvidia.com/cuda-toolkit-archive
5.克隆stable-diffusion-webui仓库 ;
git clone https://github.com/AUTOMATIC1111/stable-diffusion-webui.git
6.下载SD模型
下载stablediffusion预训练模型至stable-diffusion-webui/models/stable-diffusion;
V1.4
V1.5
7.运行sd-webui
conda virtual Cmd运行webui-user.bat,启动webui,直到系统提示,running on local URL: http://127.0.0.1:7860,即可在浏览器里使用stable-diffusion


8.使用controlnet


9.从civitai 下载模型并使用
如https://civitai.com/models/28059/icbinp-i-cant-believe-its-not-photography;sd 模型放在stable-diffusion-webui/models/stablediffusion内;lora模型放stablediffusionwebui/models/lora里。
10.SD+Controlnet+lora

一般般,有点效果。
11 Deforum
瞬息全宇宙 sd web ui deforum官方插件 https://github.com/deforum-art/sd-webui-deforum.git文章来源:https://www.toymoban.com/news/detail-497896.html
如何分享链接
- 1 webui.bat --share
- 2 webui-user.bar
set COMMANDLINE_ARGS= --share
从零开始,手把手教你Window本地化部署stable diffusion AI绘图
如何用AI绘图画出超真实的小姐姐?(Lora篇)文章来源地址https://www.toymoban.com/news/detail-497896.html
到了这里,关于Stable-diffusion-webui 本地部署及使用的文章就介绍完了。如果您还想了解更多内容,请在右上角搜索TOY模板网以前的文章或继续浏览下面的相关文章,希望大家以后多多支持TOY模板网!


