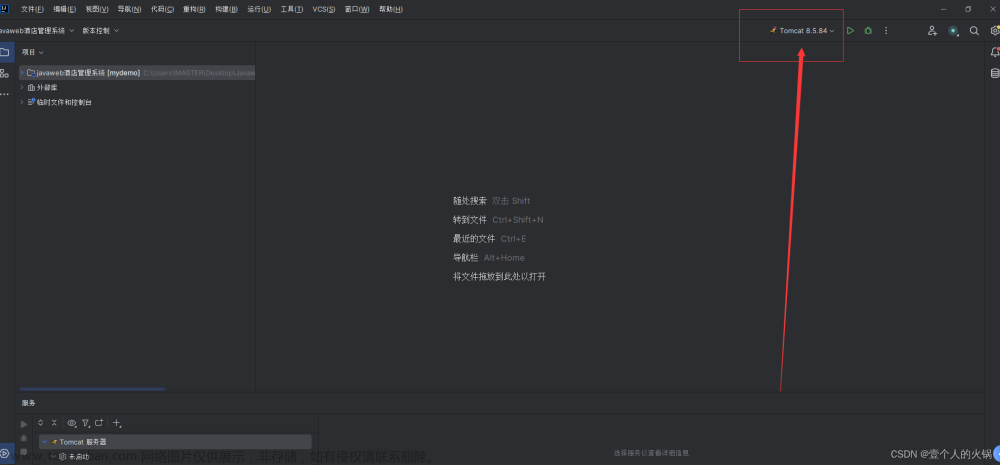
(1)、这里应该找Add Configuration点击这里:如果没有标志,点击Exit

(2)、这里可以配置一个配置项:

(3)、loacl是本地,那个是远程:这里我选择本地

(4)、点击configure,点击本地Tomcat配置,这里点tomcat的目录就行


(5)、这里本地的Tomcat就配置完毕了,接下来我们把它项目部署一下:点击Depl....

(6)、点击

(7)、创建一个a.html页面测试一下:

(8)、点一下小虫子就可以启动Tomcat了
 (9)、Tomcat可以正常访问了,配置没有问题

(10),这里可以修改端口,也可以修改上网的服务器:

2、方法二,配置Tomcat文件:
(1).在pom.xml文件中配置坐标:
这里alt + insert插件模板可以快速导入一下:


配置信息为:
<build>
    <plugins>
        <!--Tomcat插件 -->
        <plugin>
            <groupId>org.apache.tomcat.maven</groupId>
            <artifactId>tomcat7-maven-plugin</artifactId>
            <version>2.2</version>
        </plugin>
    </plugins>
</build>
右击就出现了tomcat7,点击就可以运行了

如果你想要写成端口号,可以写成这种样式文章来源:https://www.toymoban.com/news/detail-499116.html
<build>
<plugins>
<!--Tomcat插件 -->
<plugin>
<groupId>org.apache.tomcat.maven</groupId>
<artifactId>tomcat7-maven-plugin</artifactId>
<version>2.2</version>
<configuration>
<port>80</port><!--访问端口号 -->
<!--项目访问路径
未配置访问路径: http://localhost:80/tomcat-demo2/a.html
配置/后访问路径: http://localhost:80/a.html
如果配置成 /hello,访问路径会变成什么?
答案: http://localhost:80/hello/a.html
-->
<path>/</path>
</configuration>
</plugin>
</plugins>
</build>文章来源地址https://www.toymoban.com/news/detail-499116.html
到了这里,关于idea如何集成Tomcat的文章就介绍完了。如果您还想了解更多内容,请在右上角搜索TOY模板网以前的文章或继续浏览下面的相关文章,希望大家以后多多支持TOY模板网!


