本文概要
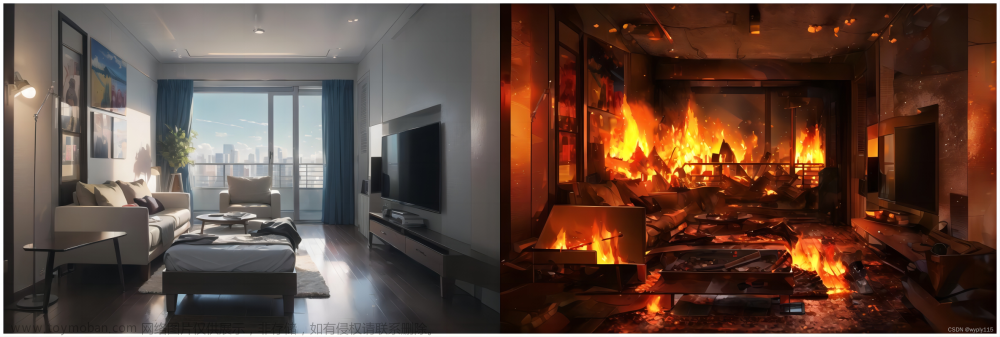
接上篇【Stable Diffusion】ControlNet基本教程(三),本篇再介绍两个ControlNet常见的基本用法:控制人物动作和建筑/室内生成。让人物摆出特定的动作,这是ControlNet最神级的操作!这意味着可以自定义姿势,这意味着AI绘图正式进入自主可控的世代!而建筑/室内设计生成则给做设计的小伙伴带来更多灵感,并且减少渲染等很多重复、繁琐的工作,帮助设计师更专注于设计本身。
3.5 控制人物动作
(1)openpose editor插件安装
①打开扩展(Extension)标签
②点击从网址安装(Install from URL)
③在扩展的 git 仓库网址(URL for extension’s git repository)处输入“https://github.com/fkunn1326/openpose-editor”
④点击安装(Install)
⑤重启 WebUI
(2) 人物骨架的创建
在openpose editor标签页下点击detect from选择你想要侦测骨架的图片,系统自动根据图片大小确定比例和人物骨架,点击add直接添加默认人物骨架,可以通过多次点击add来添加多个人物骨架。调整人物骨架,顶点表示的就是关节的位置,通过调节顶点的位置,修改人物整体的姿态,尽量保持骨架关节的比例大小不变,然后对关节进行调整,完成点击send to txt2img。
(3)绘制个性化人物
在openpose editor完成骨架创建后,点击send to txt2img发送,这个时候你在txt2img标签栏下的controlnet下拉式菜单中可以找到你刚刚创建的人物骨架
①点击enable启用controlnet
②Preprocessor保持none(重要),controlnet的model选择openpose
③输入图片提示词和相关参数生成人物图片
这样就能get到Lisa的同款姿势的人物图片了:
(Stable Diffusion checkpoint:chilloutmix_NiPrunedFp32Fix
Promp:bbest quality, masterpiece,best quality,official art,extremely detailed CG unity 8k wallpaper, (photorealistic:1.4), colorful, (Kpop idol), (aegyo sal:1),((puffy eyes)), full body,
(cyberpunk girl), (augmented reality:1), (neon lights), 1girl, blonde grey long hair,thick lips, blue contact lenses, hand on another’s hip, silver cybernetic implants,long sleeves,black crop top, black leather jacket, purple metallic leggings, silver metallic boots,halo, earrings, pendant, wristband, armlet,
Negative prompt:paintings, sketches, (worst quality:2), (low quality:2), (normal quality:2), lowres, normal quality, ((monochrome)), ((grayscale)), skin spots, acnes, skin blemishes, age spot)
Steps:28
Sampler:DPM++ SDE Karras
CFG Scale:8
Seed:-1
Denoising strength:0.45
Hires steps:20
Upscaler:Latent(bicubic antialised))文章来源:https://www.toymoban.com/news/detail-501427.html
3.6 建筑/室内生成
(1)上传需要处理的图像(Drop Image Here or Click to Upload)
在SketchUP或者其他任何建模软件中简单地拉一个体块,导出图像就可以了
(2)图像边缘处理
启用ControlNet,在“预处理(Preprocessor)”中选择“mlsd”,在“模型(Model)”中选择和预处理一致的“control_mlsd”
mlsd用于直线检测,适用于四四方方的场景,比如建筑物、城市规划、景观设计、室内设计等。
生成的预处理图就是很正直的线条:
(3)图像生成
在预处理图的基础上,选择大模型,大模型的选择还是可以多尝试,现在也出现了专门的用于建筑设计的大模型,可以在https://civitai.com/中筛选Checkpoint,在搜索框中输入“#architecture”,就可以出现很多专门用于建筑设计的大模型
输入描述词,也可以配合lora等参数,就可以生成建筑/室内图像了
图像示例:
(Stable Diffusion checkpoint:Aiarch_7000
Promp:landscape architecture,masterplan,(forest),plaza,pavement road,(river),dvArchModern,hyperrealistic,super detailed,delicate,intricate,high dynamic,high dynamic range
Negative prompt:signature,soft,blurry,drawing,sketch,poor quality,ugly,text,type,word,logo,pixelated,low resolution,saturated,high contrast,oversharpened)
(Stable Diffusion checkpoint:chilloutmix_NiPrunedFp32Fix
Promp:landscape architecture,masterplan,(forest),plaza,pavement road,(river),dvArchModern,hyperrealistic,super detailed,delicate,intricate,high dynamic,high dynamic range
Negative prompt:signature,soft,blurry,drawing,sketch,poor quality,ugly,text,type,word,logo,pixelated,low resolution,saturated,high contrast,oversharpened)
通过四篇博客,博主从ControlNet的基本概念、作用、操作流程、基本用法进行了总结,还没看过的小伙伴建议翻阅博主讲解ControlNet的其他三篇博文,并最好动手试一试,掌握了这四篇博客的内容,你将对ControlNet有了一个基本的认知,对常见的图像处理也将有一个大概的框架。欢迎点赞、关注、收藏支持一波,更多AI绘画教程敬请期待!文章来源地址https://www.toymoban.com/news/detail-501427.html
到了这里,关于【Stable Diffusion】ControlNet基本教程(四)的文章就介绍完了。如果您还想了解更多内容,请在右上角搜索TOY模板网以前的文章或继续浏览下面的相关文章,希望大家以后多多支持TOY模板网!


