第一步:下载jar包

第二步:导入jar包
右键项目名,点击properties;

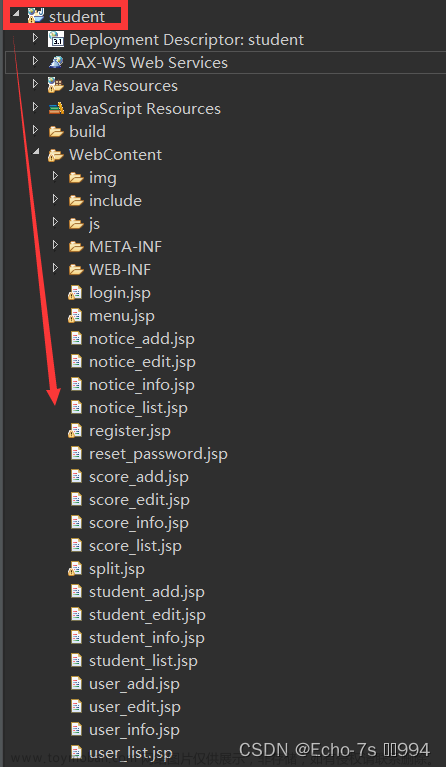
如图,点击add后找到刚刚下载的jar包添加进去,点击apply and close,添加成功后的项目目录如图所示;


第三步:连接数据库
建立数据库并在其中建立employee表;

像平常写程序一样建立包、类,这里我建了一个数据库连接的包,并在其中建立了一个Example类;

编写连接代码,加载驱动程序;
try
		{
			Class.forName("com.mysql.cj.jdbc.Driver");   //加载MYSQL JDBC驱动程序
			//Class.forName("org.gjt.mm.mysql.Driver");
			System.out.println("成功加载Mysql驱动程序!");
		 }
		catch (Exception e)
		{
			System.out.print("加载Mysql驱动程序时出错!");
		    e.printStackTrace();
		}
连接数据库,这里的数据库名字是db001,登录名是root,密码是自己设置的数据库密码。
try
		{
			Connection connect = DriverManager.getConnection( "jdbc:mysql://localhost:3306/db001","root","自己的数据库密码");
			//连接URL为  jdbc:mysql//服务器地址/数据库名,后面的2个参数分别是登陆用户名和密码
			System.out.println("成功连接Mysql服务器!");
			Statement stmt = connect.createStatement();
			ResultSet rs = stmt.executeQuery("select * from employee where age>25");
		    while (rs.next())
			 {
				 System.out.println(rs.getString("name"));
		     }
		    connect.close();
         }
		catch (Exception e)
		{
			System.out.print("获取数据错误!");
			e.printStackTrace();
		}
完整代码:
package 数据库连接;

import java.sql.*;

public class Example {
	public static void main(String args[])
	{
		try
		{
			Class.forName("com.mysql.cj.jdbc.Driver");   //加载MYSQL JDBC驱动程序
			//Class.forName("org.gjt.mm.mysql.Driver");
			System.out.println("成功加载Mysql驱动程序!");
		 }
		catch (Exception e)
		{
			System.out.print("加载Mysql驱动程序时出错!");
		    e.printStackTrace();
		}
		try
		{
			Connection connect = DriverManager.getConnection( "jdbc:mysql://localhost:3306/db001","root","你设置的密码");
			//连接URL为  jdbc:mysql//服务器地址/数据库名 ,后面的2个参数分别是登陆用户名和密码
			System.out.println("成功连接Mysql服务器!");
			Statement stmt = connect.createStatement();
			ResultSet rs = stmt.executeQuery("select * from employee where age>25");  //输出表中年纪大于25的员工
		    while (rs.next())
			 {
				 System.out.println(rs.getString("name"));
		     }
		    connect.close();
         }
		catch (Exception e)
		{
			System.out.print("获取数据错误!");
			e.printStackTrace();
		}
	}


}
运行结果:
 文章来源:https://www.toymoban.com/news/detail-503929.html
文章来源地址https://www.toymoban.com/news/detail-503929.html
到了这里,关于eclipse连接数据库(基础)的文章就介绍完了。如果您还想了解更多内容,请在右上角搜索TOY模板网以前的文章或继续浏览下面的相关文章,希望大家以后多多支持TOY模板网!


