微信官方文档介绍 官方文档
1、在小程序根目录下创建custom-tab-bar文件夹,并创建以下文件。
custom-tab-bar/index.js
custom-tab-bar/index.json
custom-tab-bar/index.wxml
custom-tab-barr/index.wxss

2、修改custom-tab-bar/index.js(清除初始化的内容)
Component({
  data: {
    selected: 0,
    list: [
      {
        pagePath: "/pages/index/index",
        text: "运动咨询",
        icon: "smile-o",

      },
      {
        pagePath: "/pages/food/food",
        text: "饮食推荐",
        icon:"fire-o",

      },
      {
        pagePath: "/pages/sport/sport",
        text: "运动统计",
        icon:"like-o",

      },
      {
        pagePath: "/pages/user/user",
        text: "个人中心",
        icon:"user-o",

      },

    ]
  },
  methods: {
    onChange(e) {
       console.log(e,'e')
       this.setData({ active: e.detail });
       wx.switchTab({
         url: this.data.list[e.detail].pagePath
       });
    },
    init() {
        const page = getCurrentPages().pop();
        this.setData({
          active: this.data.list.findIndex(item => item.pagePath === `/${page.route}`)
        });
       }
    }
})
3、修改custom-tab-bar/index.json(引入vant 组件)
	{
  "component": true,
    "usingComponents": {
      "van-tabbar": "@vant/weapp/tabbar/index",
      "van-tabbar-item": "@vant/weapp/tabbar-item/index"
    }
}
4、修改custom-tab-bar/index.wxml
	<van-tabbar active="{{ active }}" bind:change="onChange" active-color="#07c160">
  <van-tabbar-item wx:for="{{ list }}" icon="{{ item.icon }}" wx:key="index" >
    {{item.text}}
  </van-tabbar-item>
</van-tabbar>
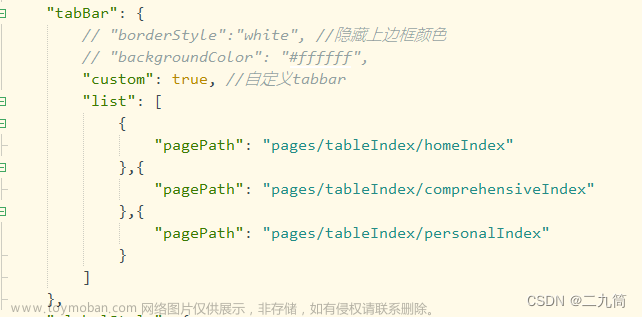
5、在app.json添加tabBar
"tabBar": {
		"custom": true,
		"color": "#000000",
		"selectedColor": "#000000",
		"backgroundColor": "#000000",
		"list": [
        {
          "pagePath": "pages/index/index",
          "text": "运动咨询"
        },
        {
          "pagePath": "pages/food/food",
          "text": "饮食推荐"
        },
        {
          "pagePath": "pages/sport/sport",
          "text": "运动统计"
        },
        {
          "pagePath": "pages/user/user",
          "text": "用户中心"
        }
		]
  },
6、每个tabBar页面的onShow()方法添加 (不添加的话 底部tabBar响应需要点击两下才可以)
  /**
   * 生命周期函数--监听页面显示
   */
  onShow:function() {
    this.getTabBar().init();
  },
效果图如下:
 文章来源:https://www.toymoban.com/news/detail-506144.html
参考文章 link文章来源地址https://www.toymoban.com/news/detail-506144.html
到了这里,关于微信小程序自定义tabBar以及图标-使用vant-weapp的文章就介绍完了。如果您还想了解更多内容,请在右上角搜索TOY模板网以前的文章或继续浏览下面的相关文章,希望大家以后多多支持TOY模板网!