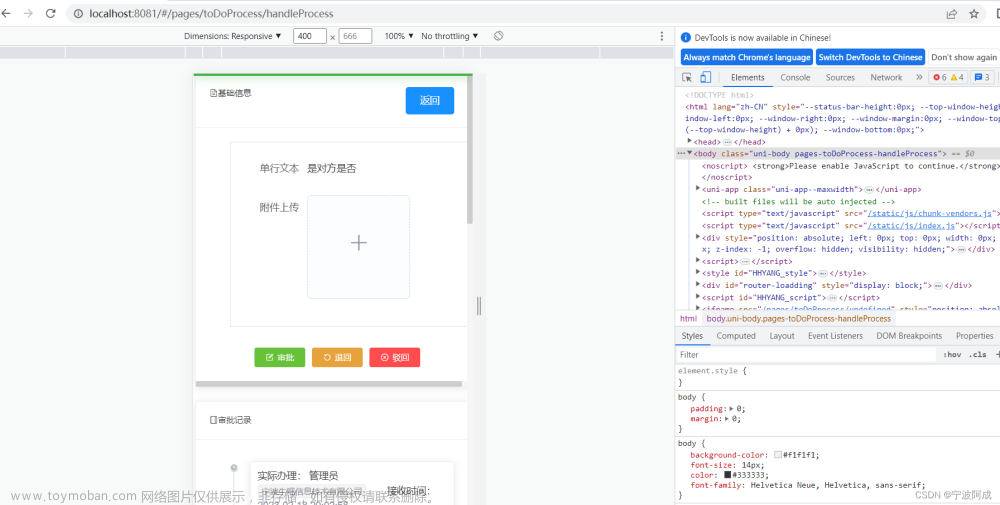
app里的webview与h5交互操作,需要在h5页面加点代码,然后才能执行app里的方法
官方地址文章来源:https://www.toymoban.com/news/detail-506390.html
 在nvue页面里才能实现与h5的交互,设置webview的高度文章来源地址https://www.toymoban.com/news/detail-506390.html
<template>
	<view>
		<view class="nav" :style="{'margin-top':styleObj.top}">
			<view style="width: 130rpx;height: 130rpx;display: flex;align-items: center;flex-direction: row;">
				<image src="/static/images/arrow_left_black.png" @tap="goback" style="width: 44rpx;height: 44rpx;margin-left: 20rpx;"></image>
			</view>
			<text style="font-size: 36rpx;height:36rpx;flex: 1;text-align: center;overflow: hidden;white-space: nowrap;">{{title}}</text>
			<text style="width: 130rpx;"></text>
		</view>
		<web-view :src="path" :style="{'height':styleObj.windowHeight+'px','width':styleObj.windowWidth+'px','top':statusBarHeight+'px'}"></web-view>
	</view>
</template>

<script>
	import {GoLun} from '@/utils/myPublic.js'
	import permision from '@/utils/wa-permission/permission.js'
	export default{
		data(){
			return{
				title:'',
				path:"",
				styleObj:{
					top:'',
					windowWidth:getApp().globalData.mySystemInfo.windowWidth,
					windowHeight:'',
					statusBarHeight:'',
				}
			}
		},
		onLoad(e) {
			let ss = getApp().globalData.mySystemInfo.windowHeight - getApp().globalData.mySystemInfo.statusBarHeight - 40;
			this.styleObj.windowHeight = ss;
			let pp = getApp().globalData.mySystemInfo.statusBarHeight+40;
			this.styleObj.statusBarHeight = pp;
			this.styleObj.top = getApp().globalData.mySystemInfo.statusBarHeight;
			console.log(e)
			let cc = decodeURIComponent(e.dataobj);
			let aa = JSON.parse(cc);
			this.title = aa.title;
			console.log('webview',aa)
			this.path = aa.path;
		},
		methods:{
			goback(){
				uni.navigateBack()
			},
			onPostMessage(e){
				console.log('应用响应',e)
				let data = e.detail.data[0];
				//保存海报
				if(data.action == 'saveImage'){
					this.selectImg(data.shareUrl);
				}
				//邀请好友
				if(data.action == 'share'){
					this.InviteFriends(data)
				}
			},
			//保存海报
			savePoster(url){
				console.log('保存海报',url)
				uni.showLoading({
					title: '图片保存中'
				});
				uni.downloadFile({
					url,
					success: (res) => {
						uni.hideLoading();
						if (res.statusCode === 200) {
							uni.saveImageToPhotosAlbum({
								filePath: res.tempFilePath,
								success: function() {
									uni.showToast({
										title: "保存成功",
										icon: "none"
									});
								},
								fail: function() {
									uni.showToast({
										title: "保存失败,请稍后重试",
										icon: "none"
									});
								}
							});
						}
					},
					fail: (err) => {
						uni.showToast({
							title: "保存失败,请稍后重试",
							icon: "none"
						});
					}
				})
			},
			//手机权限,摄像头和图册
			phoneAuthority(){
				return new Promise(async (rel,rej)=>{
					var platform = getApp().globalData.mySystemInfo.platform;
					if(platform == 'ios'){
						// let camera = permision.judgeIosPermission("camera");//判断ios是否给予摄像头权限
						//ios相册没权限,系统会自动弹出授权框
						let photoLibrary = permision.judgeIosPermission("photoLibrary");//判断ios是否给予相册权限
						if(photoLibrary){
							rel();
						}else{
							rej('请开启相册使用权限');
						}
					}else{
						// let camera = await permision.requestAndroidPermission("android.permission.CAMERA");//判断安卓是否给予摄像头权限
						let photoLibrary = await permision.requestAndroidPermission("android.permission.WRITE_EXTERNAL_STORAGE");//判断安卓是否给予相册写入权限
						// if(camera == -1 || photoLibrary == -1){
						if(photoLibrary == -1){
							rej('请开启相册使用权限');
						}else{
							rel();
						}
					}
				})
			},
			//跳转到手机开启权限的界面
			permissionSetting(){
				permision.gotoAppPermissionSetting();
			},
			//选取图片
			selectImg(url){
				const isIosTrue = uni.getStorageSync('iosFirstCamera');//是不是第一次开启相机
				//ios要先调用一下功能后,设置的权限列表里才会有该权限
				if(getApp().globalData.mySystemInfo.platform == 'ios' && isIosTrue !== 'false'){
					uni.setStorageSync('iosFirstCamera','false');//设为false就代表不是第一次开启相机
					this.savePoster(url)
				}else{
					this.phoneAuthority().then(e =>{
						this.savePoster(url)
					}).catch(e =>{
						console.log(e)
						this.permissionSetting()
					})
				}
			},
			//邀请好友
			InviteFriends(e){
				let obj = {
					linkUrl:`miniId==${e.userName}&&miniPath==/${e.path}`,
					type:'jumpwxmini'
				}
				console.log('邀请好友',e)
				GoLun(obj)
				.then(res =>{
					console.log('成功')
				})
				.catch(err =>{
					uni.showToast({
						title:'邀请失败',
						icon:'none'
					})
				});
			},
			freeReceive(e){
				console.log('免费领取,更新当前数据',e)
			}
		}
	}
</script>

<style lang="scss">
  .nav{
	  width: 750rpx;
	  height: 40px;
	  display: flex;
	  flex-direction: row;
	  align-items: center;
  }
</style>
到了这里,关于uniapp app的webview与h5交互操作的文章就介绍完了。如果您还想了解更多内容,请在右上角搜索TOY模板网以前的文章或继续浏览下面的相关文章,希望大家以后多多支持TOY模板网!


