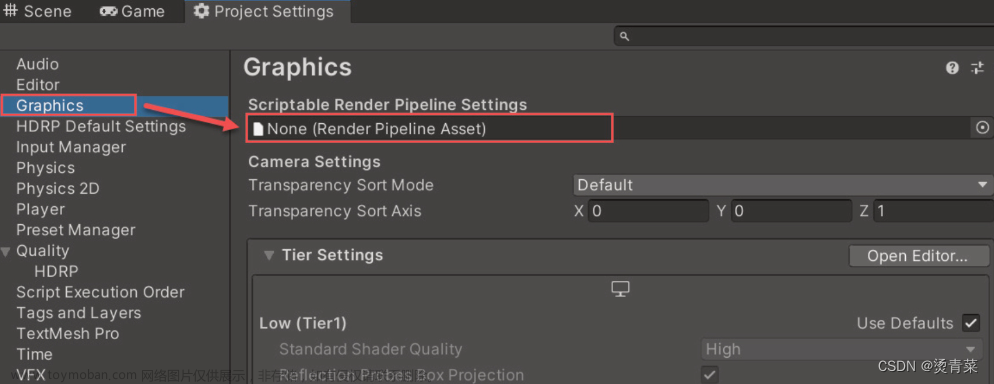
在Unity中,可以使用以下代码将场景渲染为一张图片:
// 创建一个RenderTexture作为渲染目标
 RenderTexture rt = new RenderTexture(Screen.width, Screen.height, 24);
// 设置相机的渲染目标为该
RenderTexture Camera.main.targetTexture = rt;
// 渲染相机所在的场景
Camera.main.Render();
// 恢复相机的渲染目标为默认值
Camera.main.targetTexture = null;
// 将RenderTexture转换为Texture2D Texture2D
screenshot = new Texture2D(rt.width, rt.height, TextureFormat.RGB24, false); RenderTexture.active = rt;
screenshot.ReadPixels(new Rect(0, 0, rt.width, rt.height), 0, 0);
screenshot.Apply();
 RenderTexture.active = null;
// 保存截图为PNG格式的文件
 byte[] bytes = screenshot.EncodeToPNG();
File.WriteAllBytes(Application.dataPath + "/screenshot.png", bytes);
这段代码创建了一个RenderTexture,将相机的渲染目标设置为该RenderTexture,渲染相机所在的场景,并将RenderTexture转换为Texture2D,最后将Texture2D保存为PNG格式的文件。
在Unity中,可以使用WWW类将图片上传到Web服务器。以下是示例代码:文章来源:https://www.toymoban.com/news/detail-506472.html
IEnumerator UploadImage()
{
     // 加载本地图片
     string imagePath = Application.dataPath + "/image.png"; byte[] imageData =     File.ReadAllBytes(imagePath);
     // 创建FormData对象,并添加需要上传的数据
     WWWForm form = new WWWForm();
     form.AddField("name", "image");
     form.AddBinaryData("file", imageData, "image.png", "image/png");
     // 创建一个HTTP请求,并发送FormData数据
     using (UnityWebRequest request = UnityWebRequest.Post("http://example.com/upload.php", form))
        {
            yield return request.SendWebRequest();
            if (request.result != UnityWebRequest.Result.Success)
            {
                Debug.LogError(request.error);
            }
            else
            {
                Debug.Log("Upload complete!");
            }
        }
}这段代码首先加载本地图片,然后创建一个FormData对象,并向其中添加需要上传的数据。接着创建一个HTTP请求,并发送FormData数据。最后根据请求结果输出日志信息。在实际应用中,需要将"http://example.com/upload.php"替换为实际的Web服务器地址。文章来源地址https://www.toymoban.com/news/detail-506472.html
到了这里,关于Unity将当前场景渲染到图片上并导出图片(本地/服务器)的文章就介绍完了。如果您还想了解更多内容,请在右上角搜索TOY模板网以前的文章或继续浏览下面的相关文章,希望大家以后多多支持TOY模板网!


![微信小程序获取服务器图片[渲染层网络层错误]404](https://imgs.yssmx.com/Uploads/2024/02/501915-1.png)


