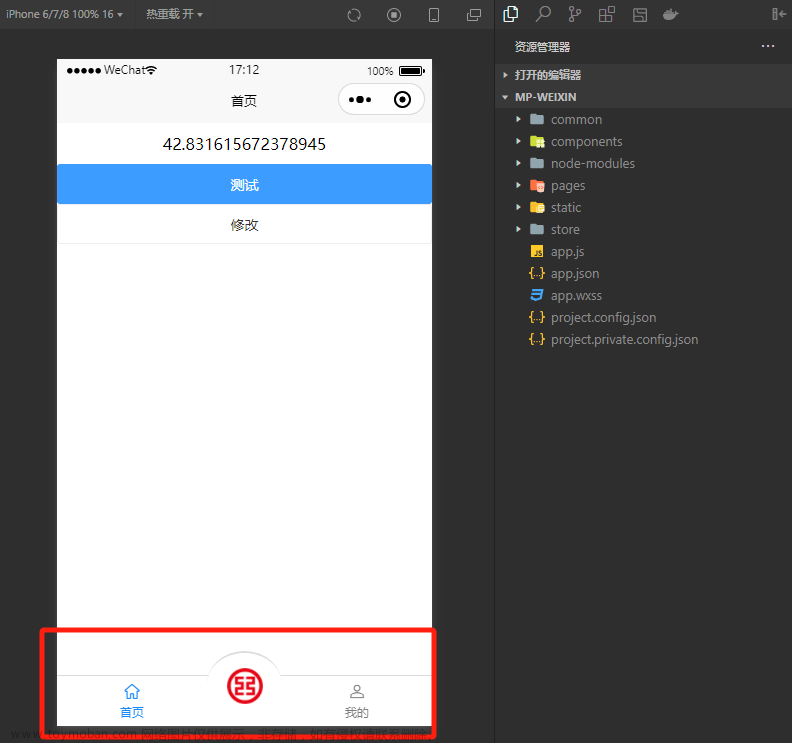
开发过程中遇到了动态tabBar的需求,用户登录后要根据用户信息动态展示tab栏,这里跟PC端的用户权限页面是一个意思,核心步骤就是:
先在Page.json文件中tabBar/list数组内配置好所有需要展示的页面,这里只需要在list各对象中设置好pagePath这个必填属性就好(必填属性,不填控制台报错,无法展示导航页面)
"list": [{
        "pagePath": "pages/tabBar/home/home",
      },
      {
        "pagePath": "pages/tabBar/inspect/inspect",
      },
      {
        "pagePath": "pages/tabBar/cart/cart",
      },
      {
        "pagePath": "pages/tabBar/mine/mine",
      },
      {
        "pagePath": "pages/tabBar/centerBar/centerBar",
      }
    ]
隐藏所有tabBar页面对应的.vue页面的导航栏
    onReady() {
      uni.hideTabBar()//隐藏导航栏方法
    }
根据需求确定publicBar公共导航数据 及 selfBar个人导航数据,需定义如下.js文件:
export const publicBar = [{
    "pagePath": "/pages/tabBar/home/home",
    "iconPath": require("@/static/home_line.png"),
    "selectedIconPath": require("@/static/home_line (1).png"),
    "text": "首页"
  },
  {
    "pagePath": "/pages/tabBar/inspect/inspect",
    "iconPath": require("@/static/car_black.png"),
    "selectedIconPath": require("@/static/car_light.png"),
    "text": "验货"
  }, {
    "pagePath": "/pages/tabBar/cart/cart",
    "iconPath": require("@/static/shopping_cart_line.png"),
    "selectedIconPath": require("@/static/shopping_cart_line (1).png"),
    "text": "购物车"
  }, {
    "pagePath": "/pages/tabBar/mine/mine",
    "iconPath": require("@/static/user_circle_line.png"),
    "selectedIconPath": require("@/static/user_circle_line (1).png"),
    "text": "我的"
  }
]

export const selfBar = [{
  "pagePath": "/pages/tabBar/centerBar/centerBar",
  "iconPath": require("@/static/add_line.png"),
  "selectedIconPath": require("@/static/add_line (1).png"),
  "text": "个人中心"
}]
根据用户身份或登录状态匹配出需要展示的tabBar页面,建立vuex进行存储
//导入上方定义好的两组tabBar数据
import {
  publicBar,
  selfBar
} from '@/utils/myTabBar.js';
export default {
  namespaced: true,
  state: {
    userInfo: uni.getStorageSync('userInfo') || {},
    tabBarList: publicBar,
    activeIndex: uni.getStorageSync('acIndex') || 0,  //本地化index 控制页面刷新导航高亮位置不变
  },
  mutations: {
    //用户登录后触发次方法存储用户信息
    setUserInfo(state, obj) {
      uni.setStorageSync('userInfo', obj)
      console.log(obj, 'storage');
      state.userInfo = obj;
      //判断用户是否登录,登录后将个人导航栏加入要展示的数组中(大家根据需求来做)
      obj.nickName && (state.tabBarList = [...publicBar, ...selfBar])
    },
    //用户改变当前高亮的导航栏后进行记录
    changeIndex(state, index) {
      uni.setStorageSync('acIndex', index)
      state.activeIndex = index
    }
  },
  getters: {
    //根据用户信息的改变俩获取到最新的导航栏数据
    barList(state) {
      return state.userInfo.nickName ? [...publicBar, ...selfBar] : state.tabBarList
    }
  }
}
自定义tabBar组件:在根目录下创建components/myTabBar/myTabBar.vue文件
引入vuex中tabBar数据,搭建tabBar结构:文章来源:https://www.toymoban.com/news/detail-506781.html
<template>
  <view class="tabBarList">
    <view class="Item" v-for="(item, index) in barList" :key="index" @click="changeActive(item, index)">
      <image class="img" :src="activeIndex === index ? item.selectedIconPath : item.iconPath"></image>
      <view style="font-size: 12px;">{{ item.text }}</view>
    </view>
  </view>
</template>


<script>
import { mapState, mapMutations, mapGetters } from 'vuex'
export default {
  data() {
    return {}
  },
  computed: {
    ...mapState('user', ['activeIndex']),
    ...mapGetters('user', ['barList'])
  },
  methods: {
    ...mapMutations('user', ['changeIndex']),
    //用户触发tabBar改变当前高亮并跳转至对应页面
    changeActive(item, index) {
      this.changeIndex(index)
      uni.switchTab({
        url: item.pagePath
      })
    }
  }
}
</script>
<style lang="scss" scoped>
.tabBarList {
  display: flex;
  position: fixed;
  bottom: 0;
  width: 100%;
  height: 100rpx;
  border: 1px solid #ccc;
  overflow: hidden;
  .Item {
    flex: 1;
    display: flex;
    flex-direction: column;
    align-items: center;
    justify-content: center;
    .img {
      width: 50rpx;
      height: 50rpx;
    }
  }
}
</style>
最后一步:在各导航栏.vue文件中使用该组件即可文章来源地址https://www.toymoban.com/news/detail-506781.html
<template>
  <view>
    <tabBarList></tabBarList>
  </view>
</template>

<script>
  export default {
    data() {
      return {

      };
    },
    onReady() {
      uni.hideTabBar()
    }
  }
</script>

<style lang="scss">

</style>
到了这里,关于超详细版:HBuilderX中实现uniapp小程序动态tabBar的文章就介绍完了。如果您还想了解更多内容,请在右上角搜索TOY模板网以前的文章或继续浏览下面的相关文章,希望大家以后多多支持TOY模板网!


